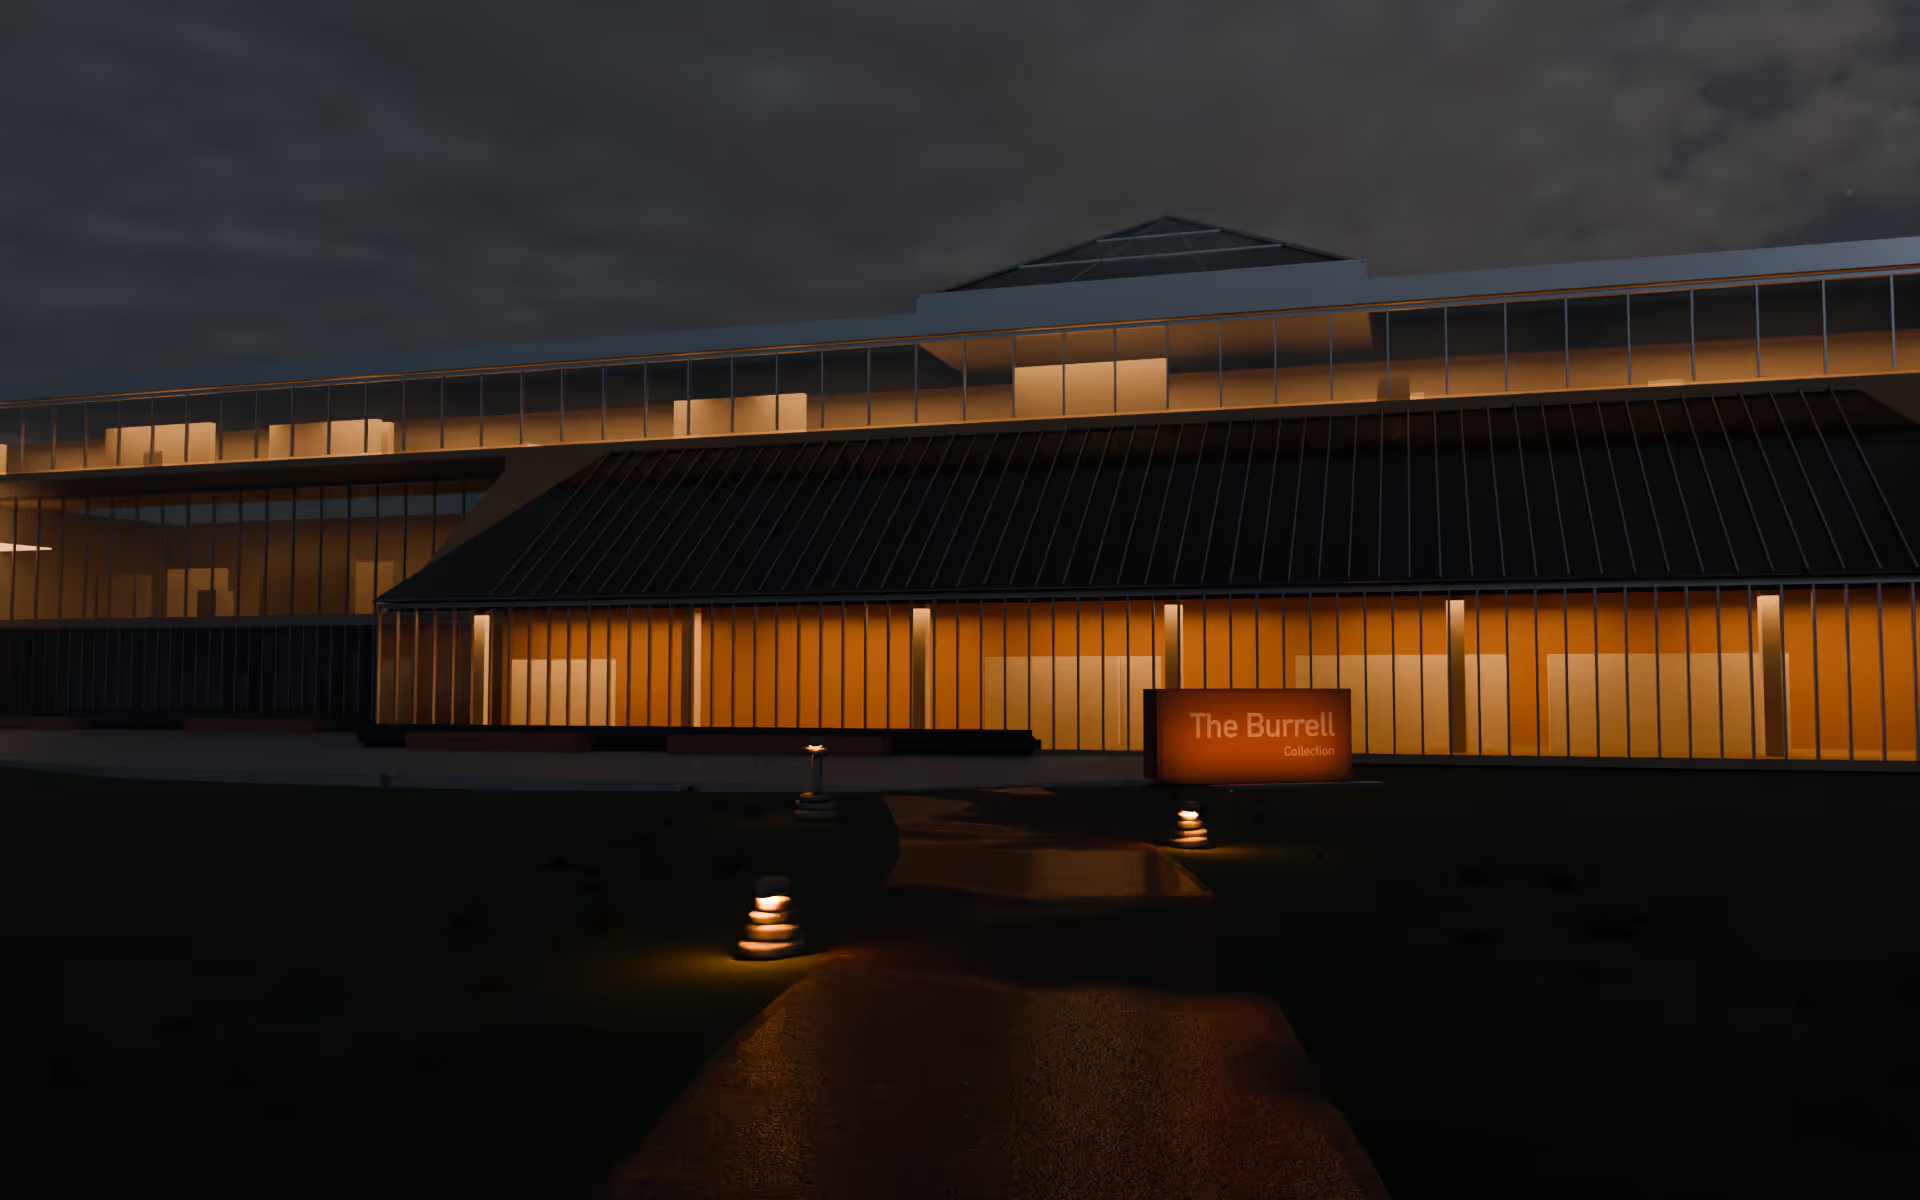
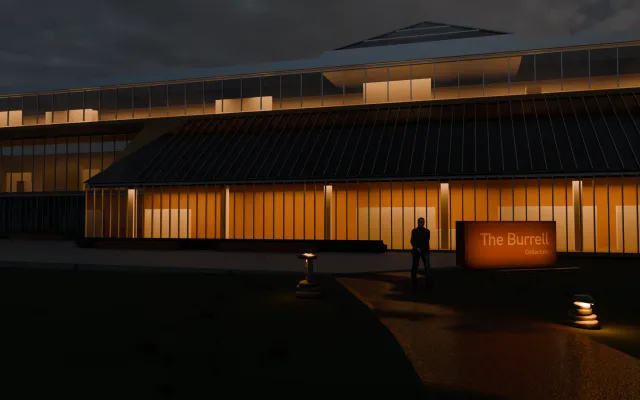
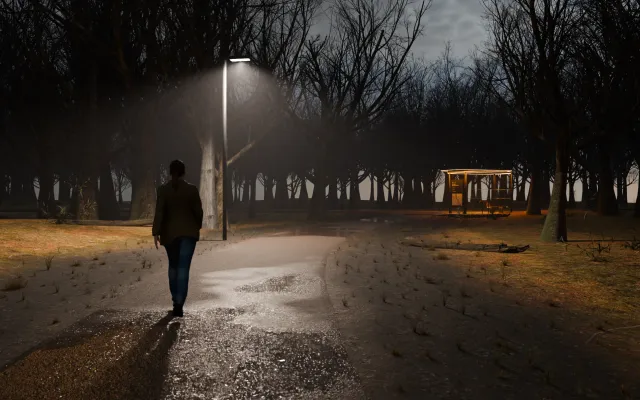
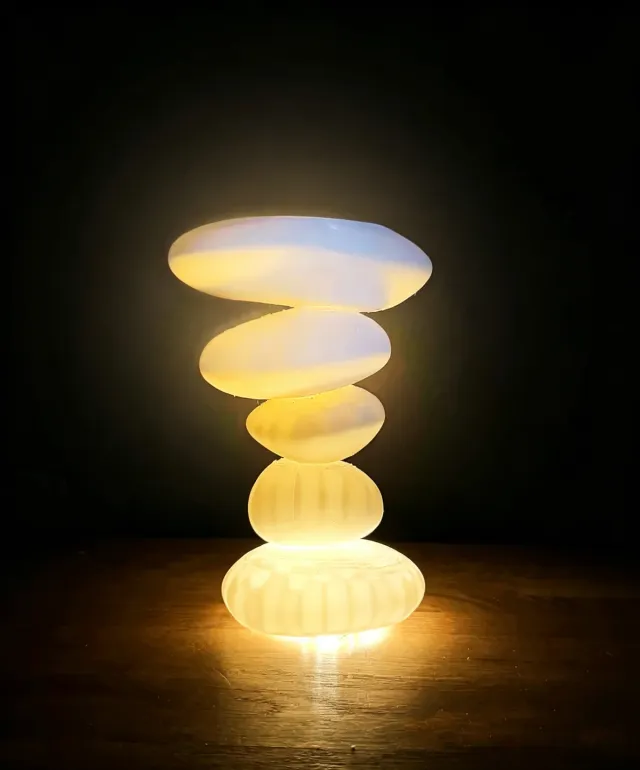
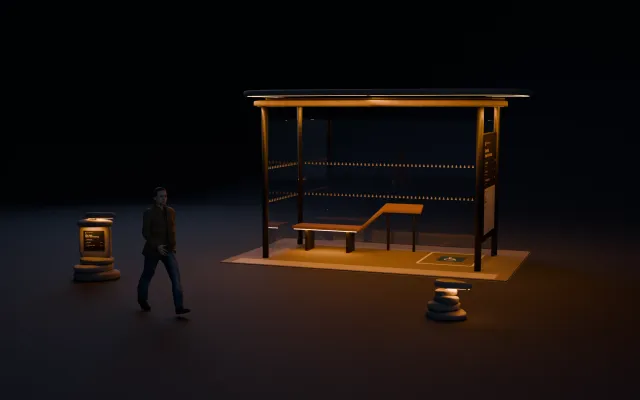
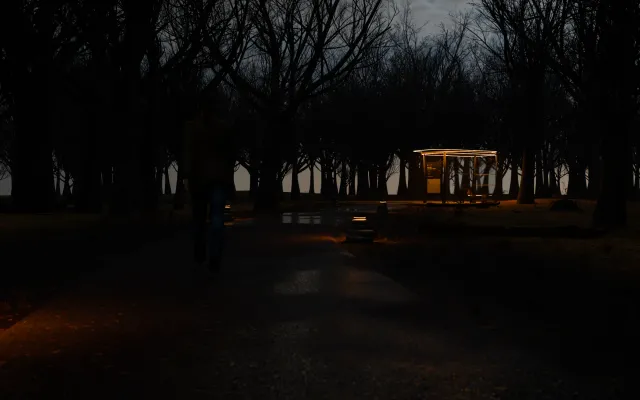
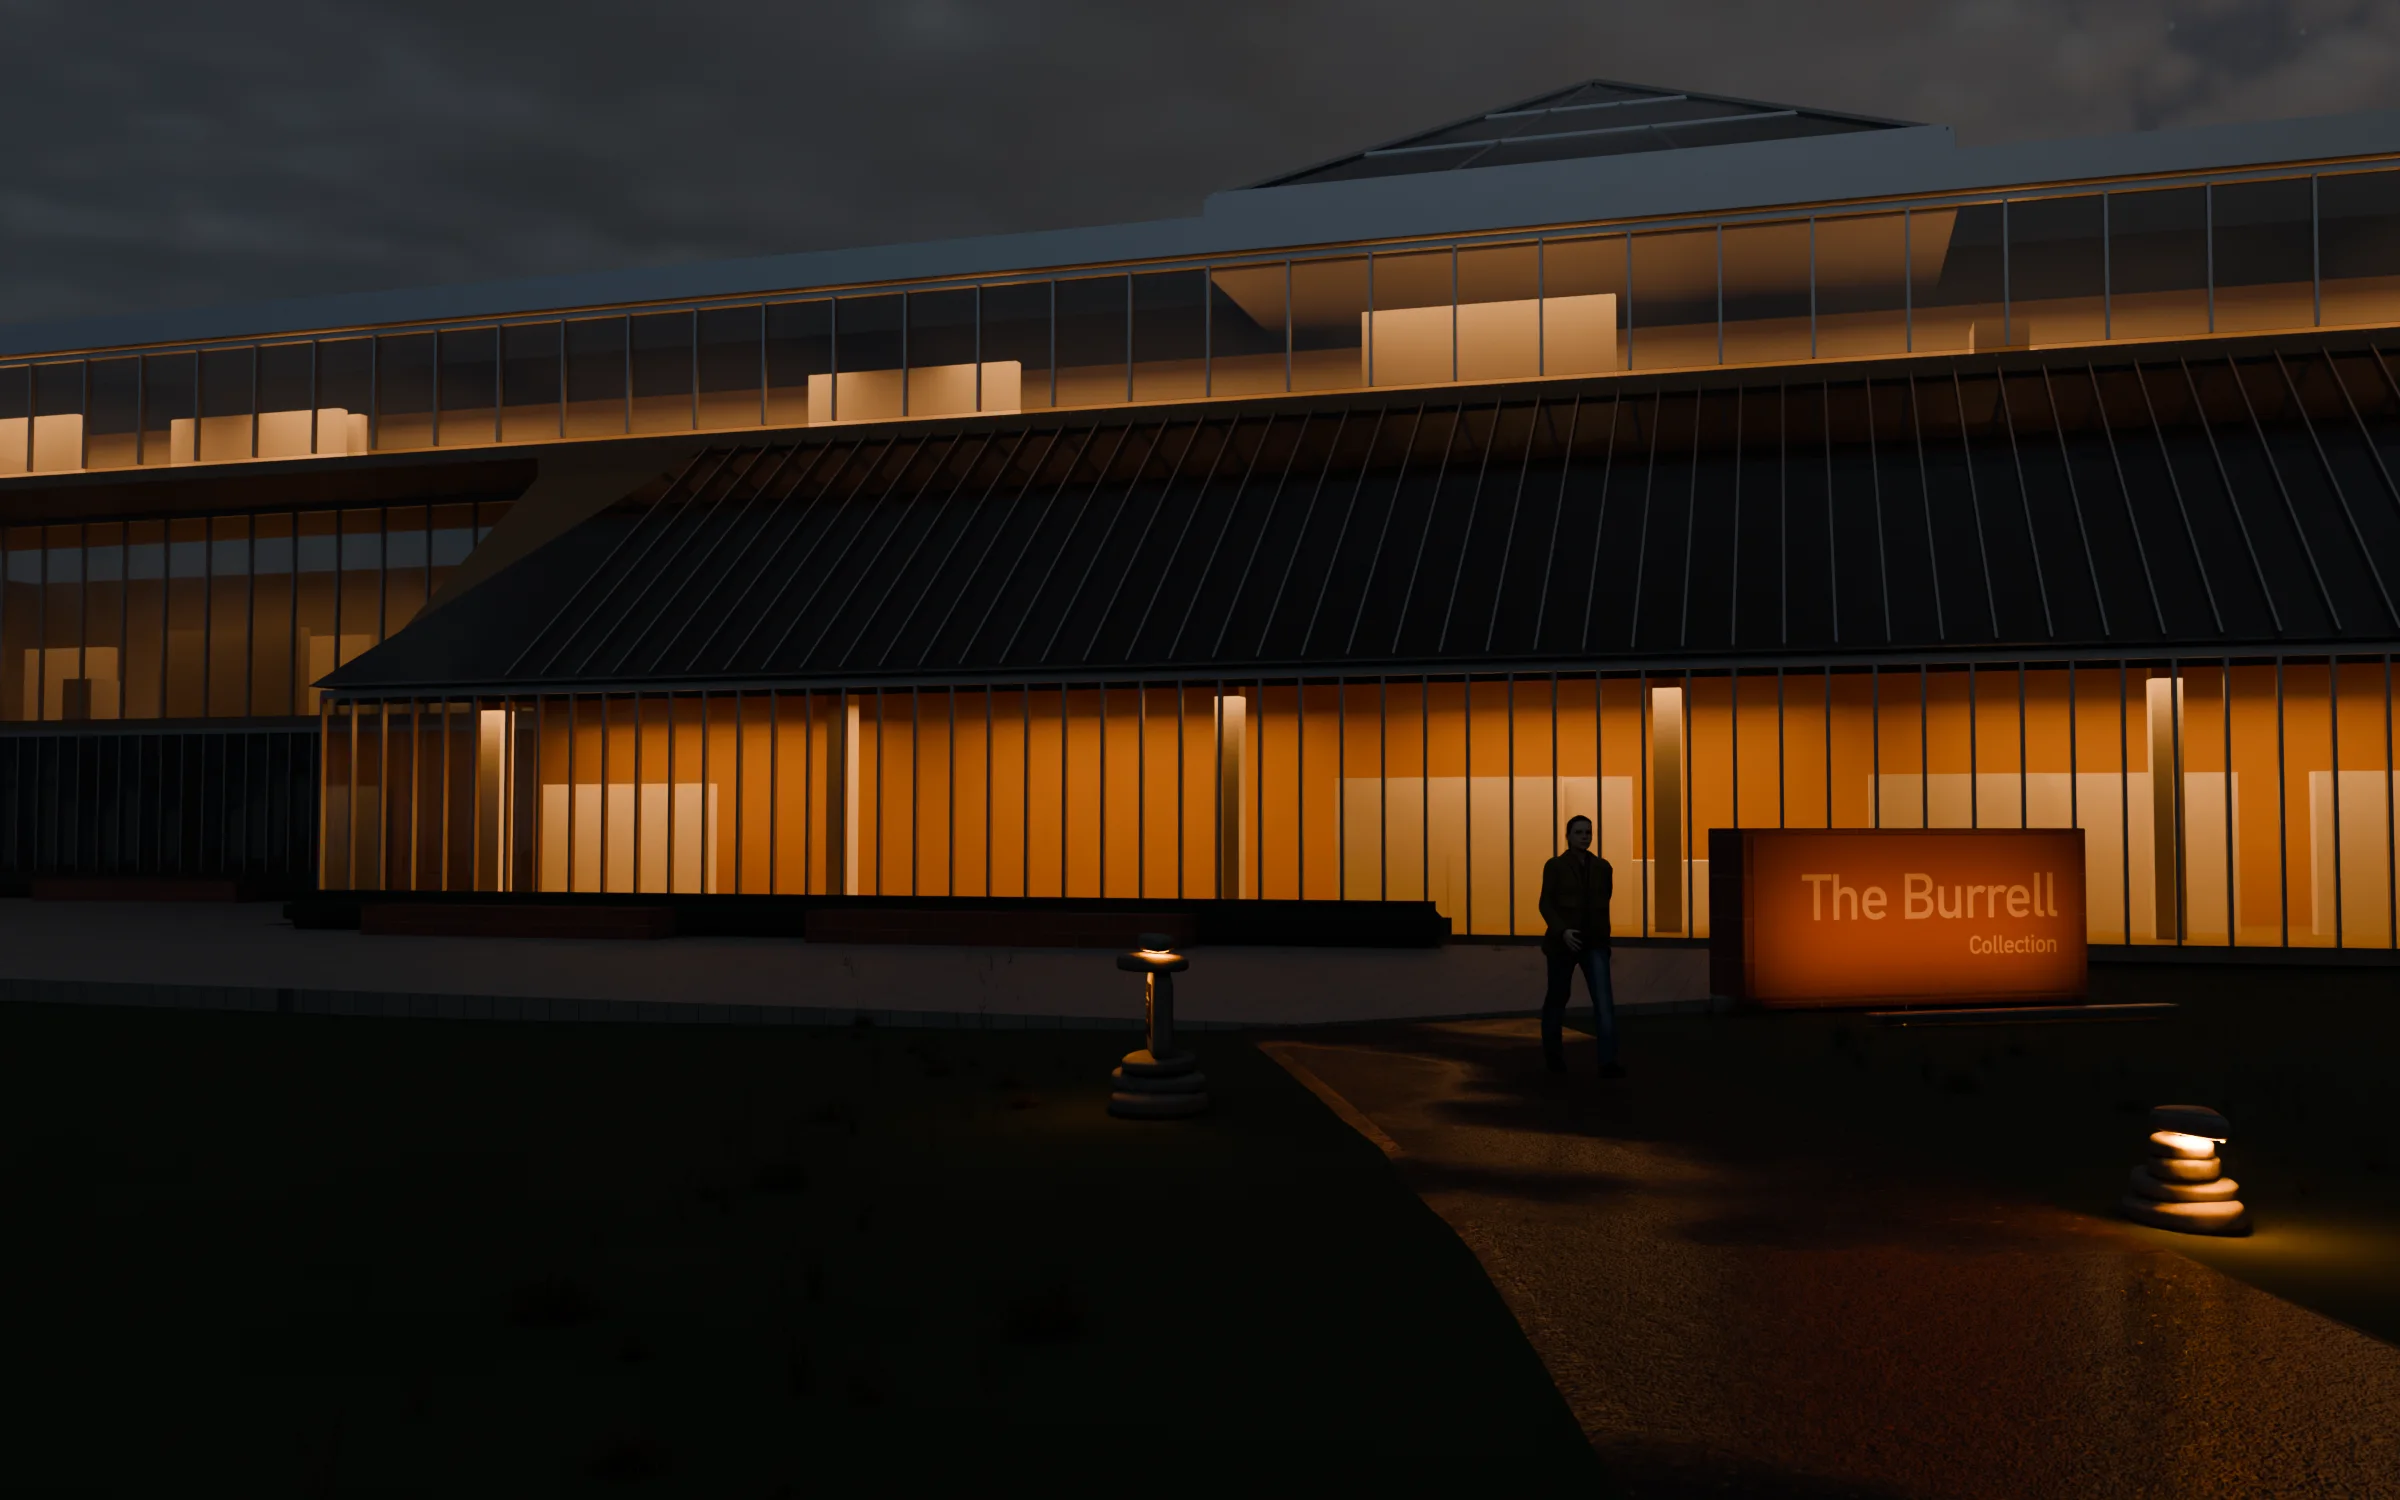
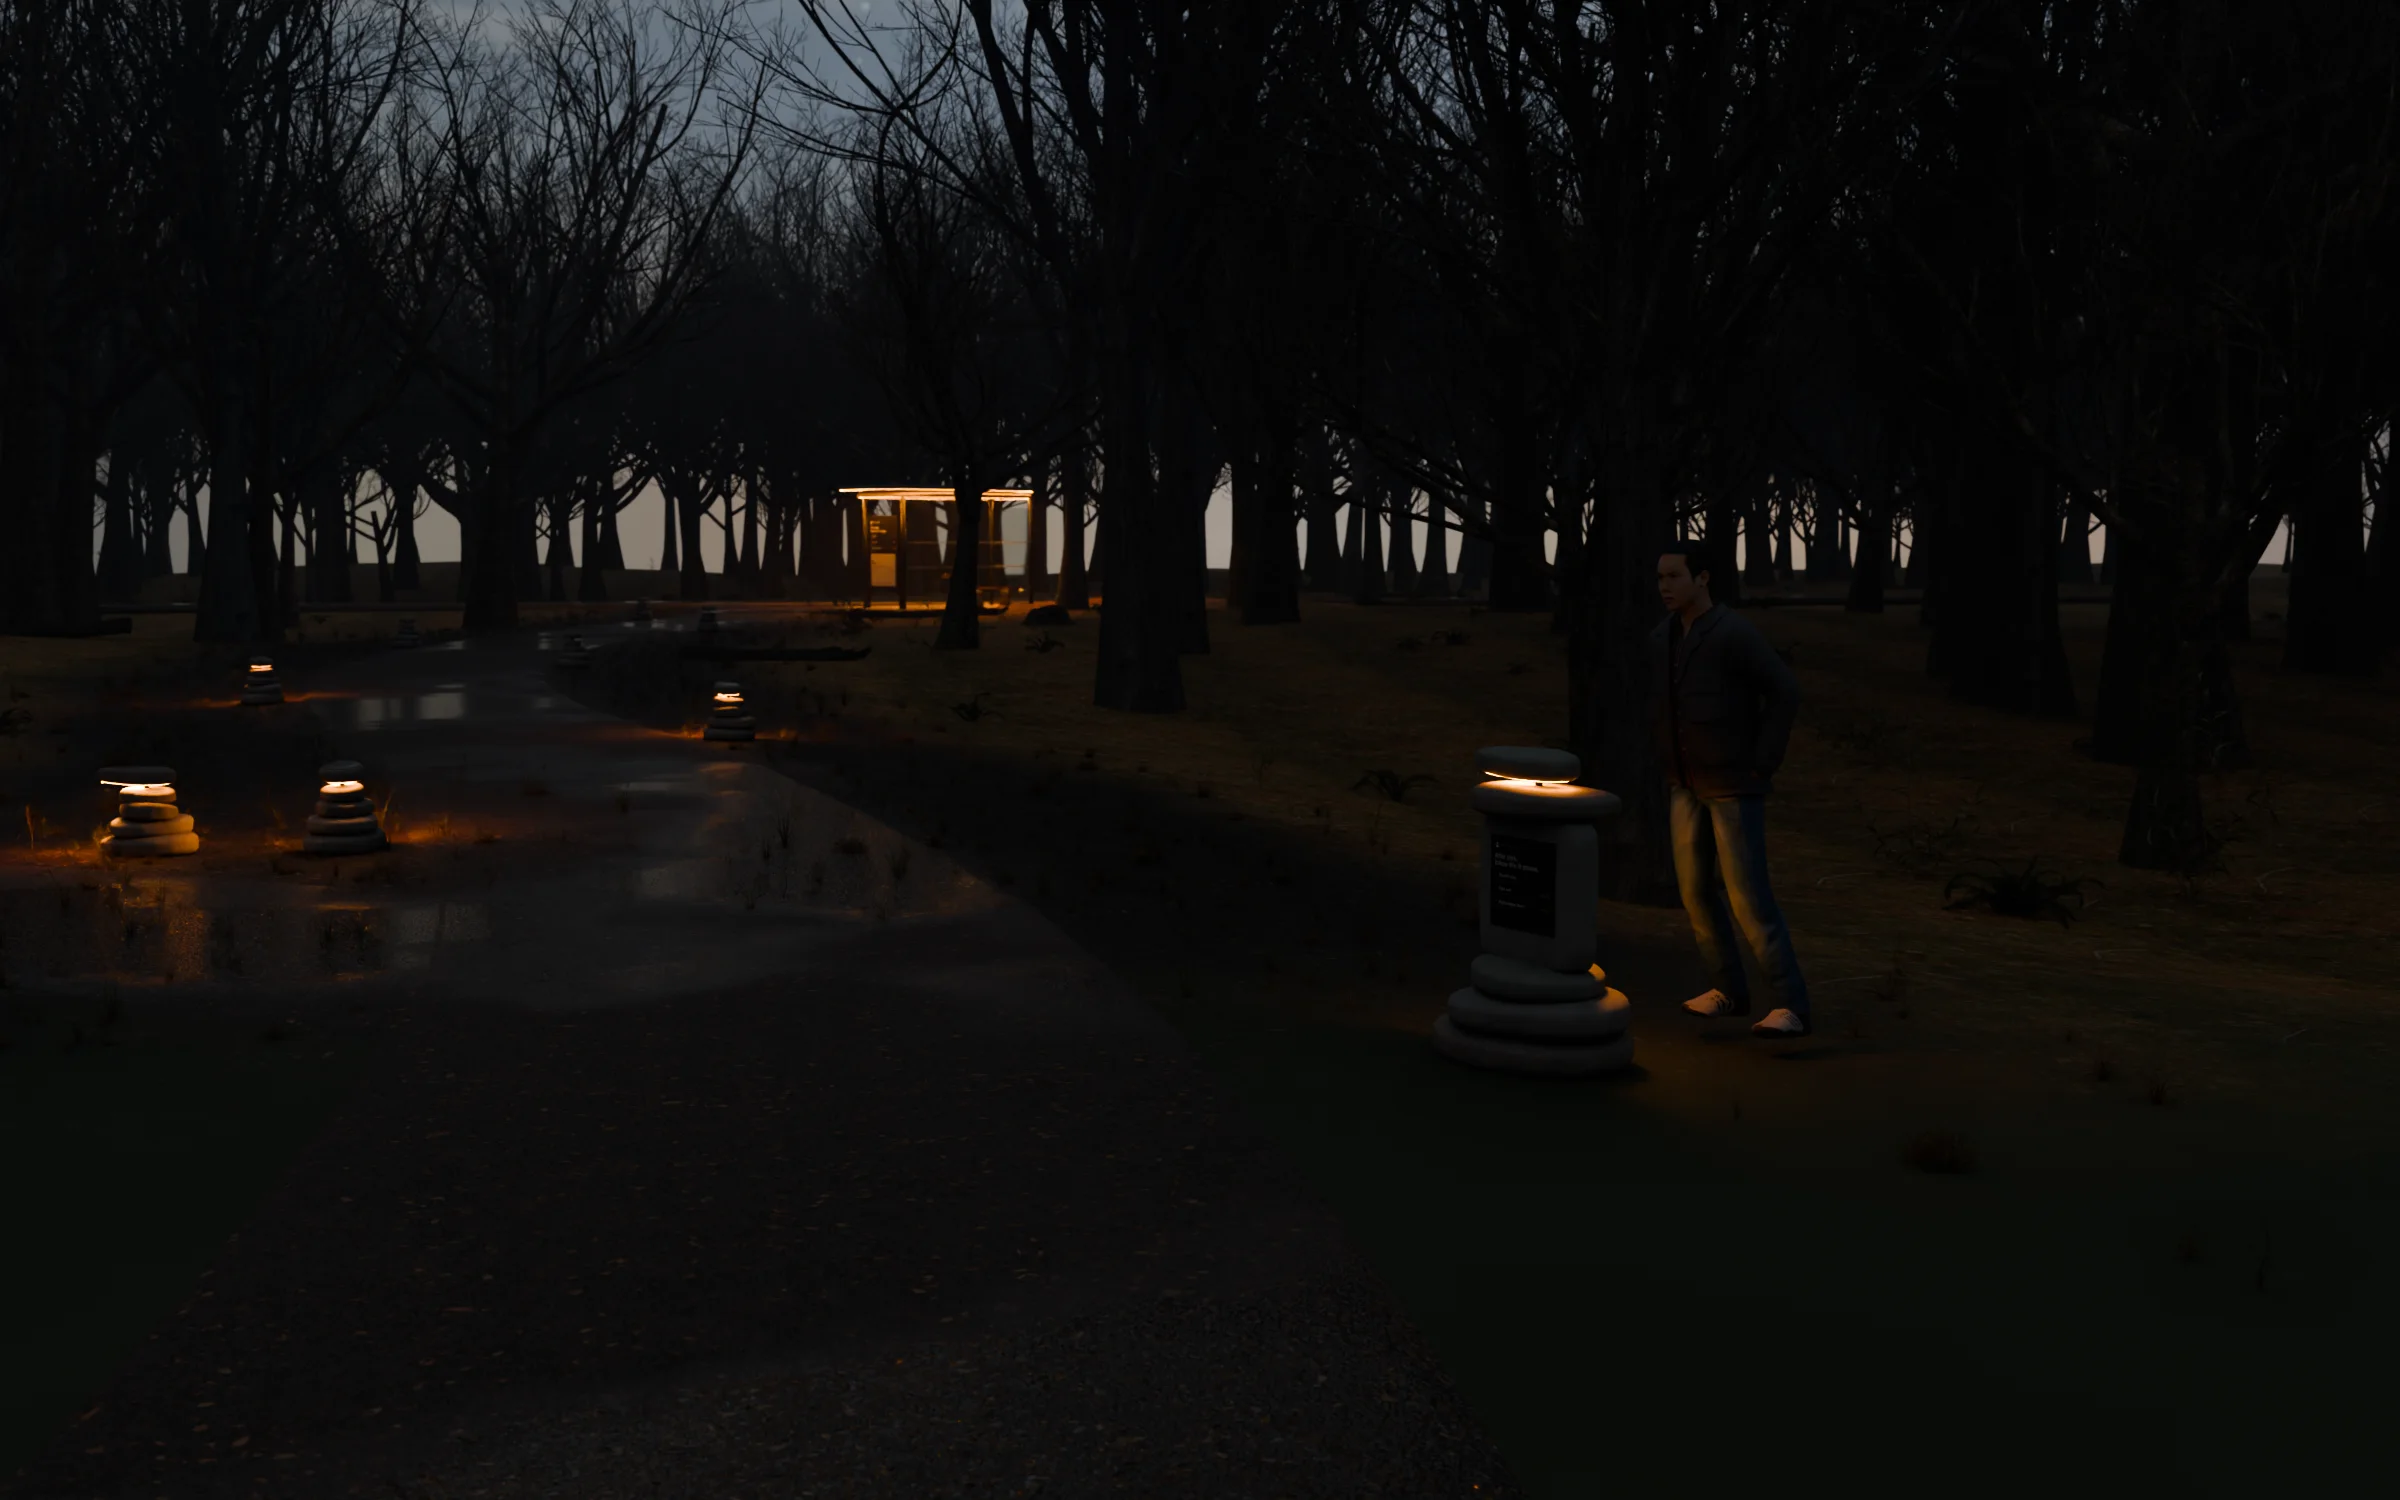
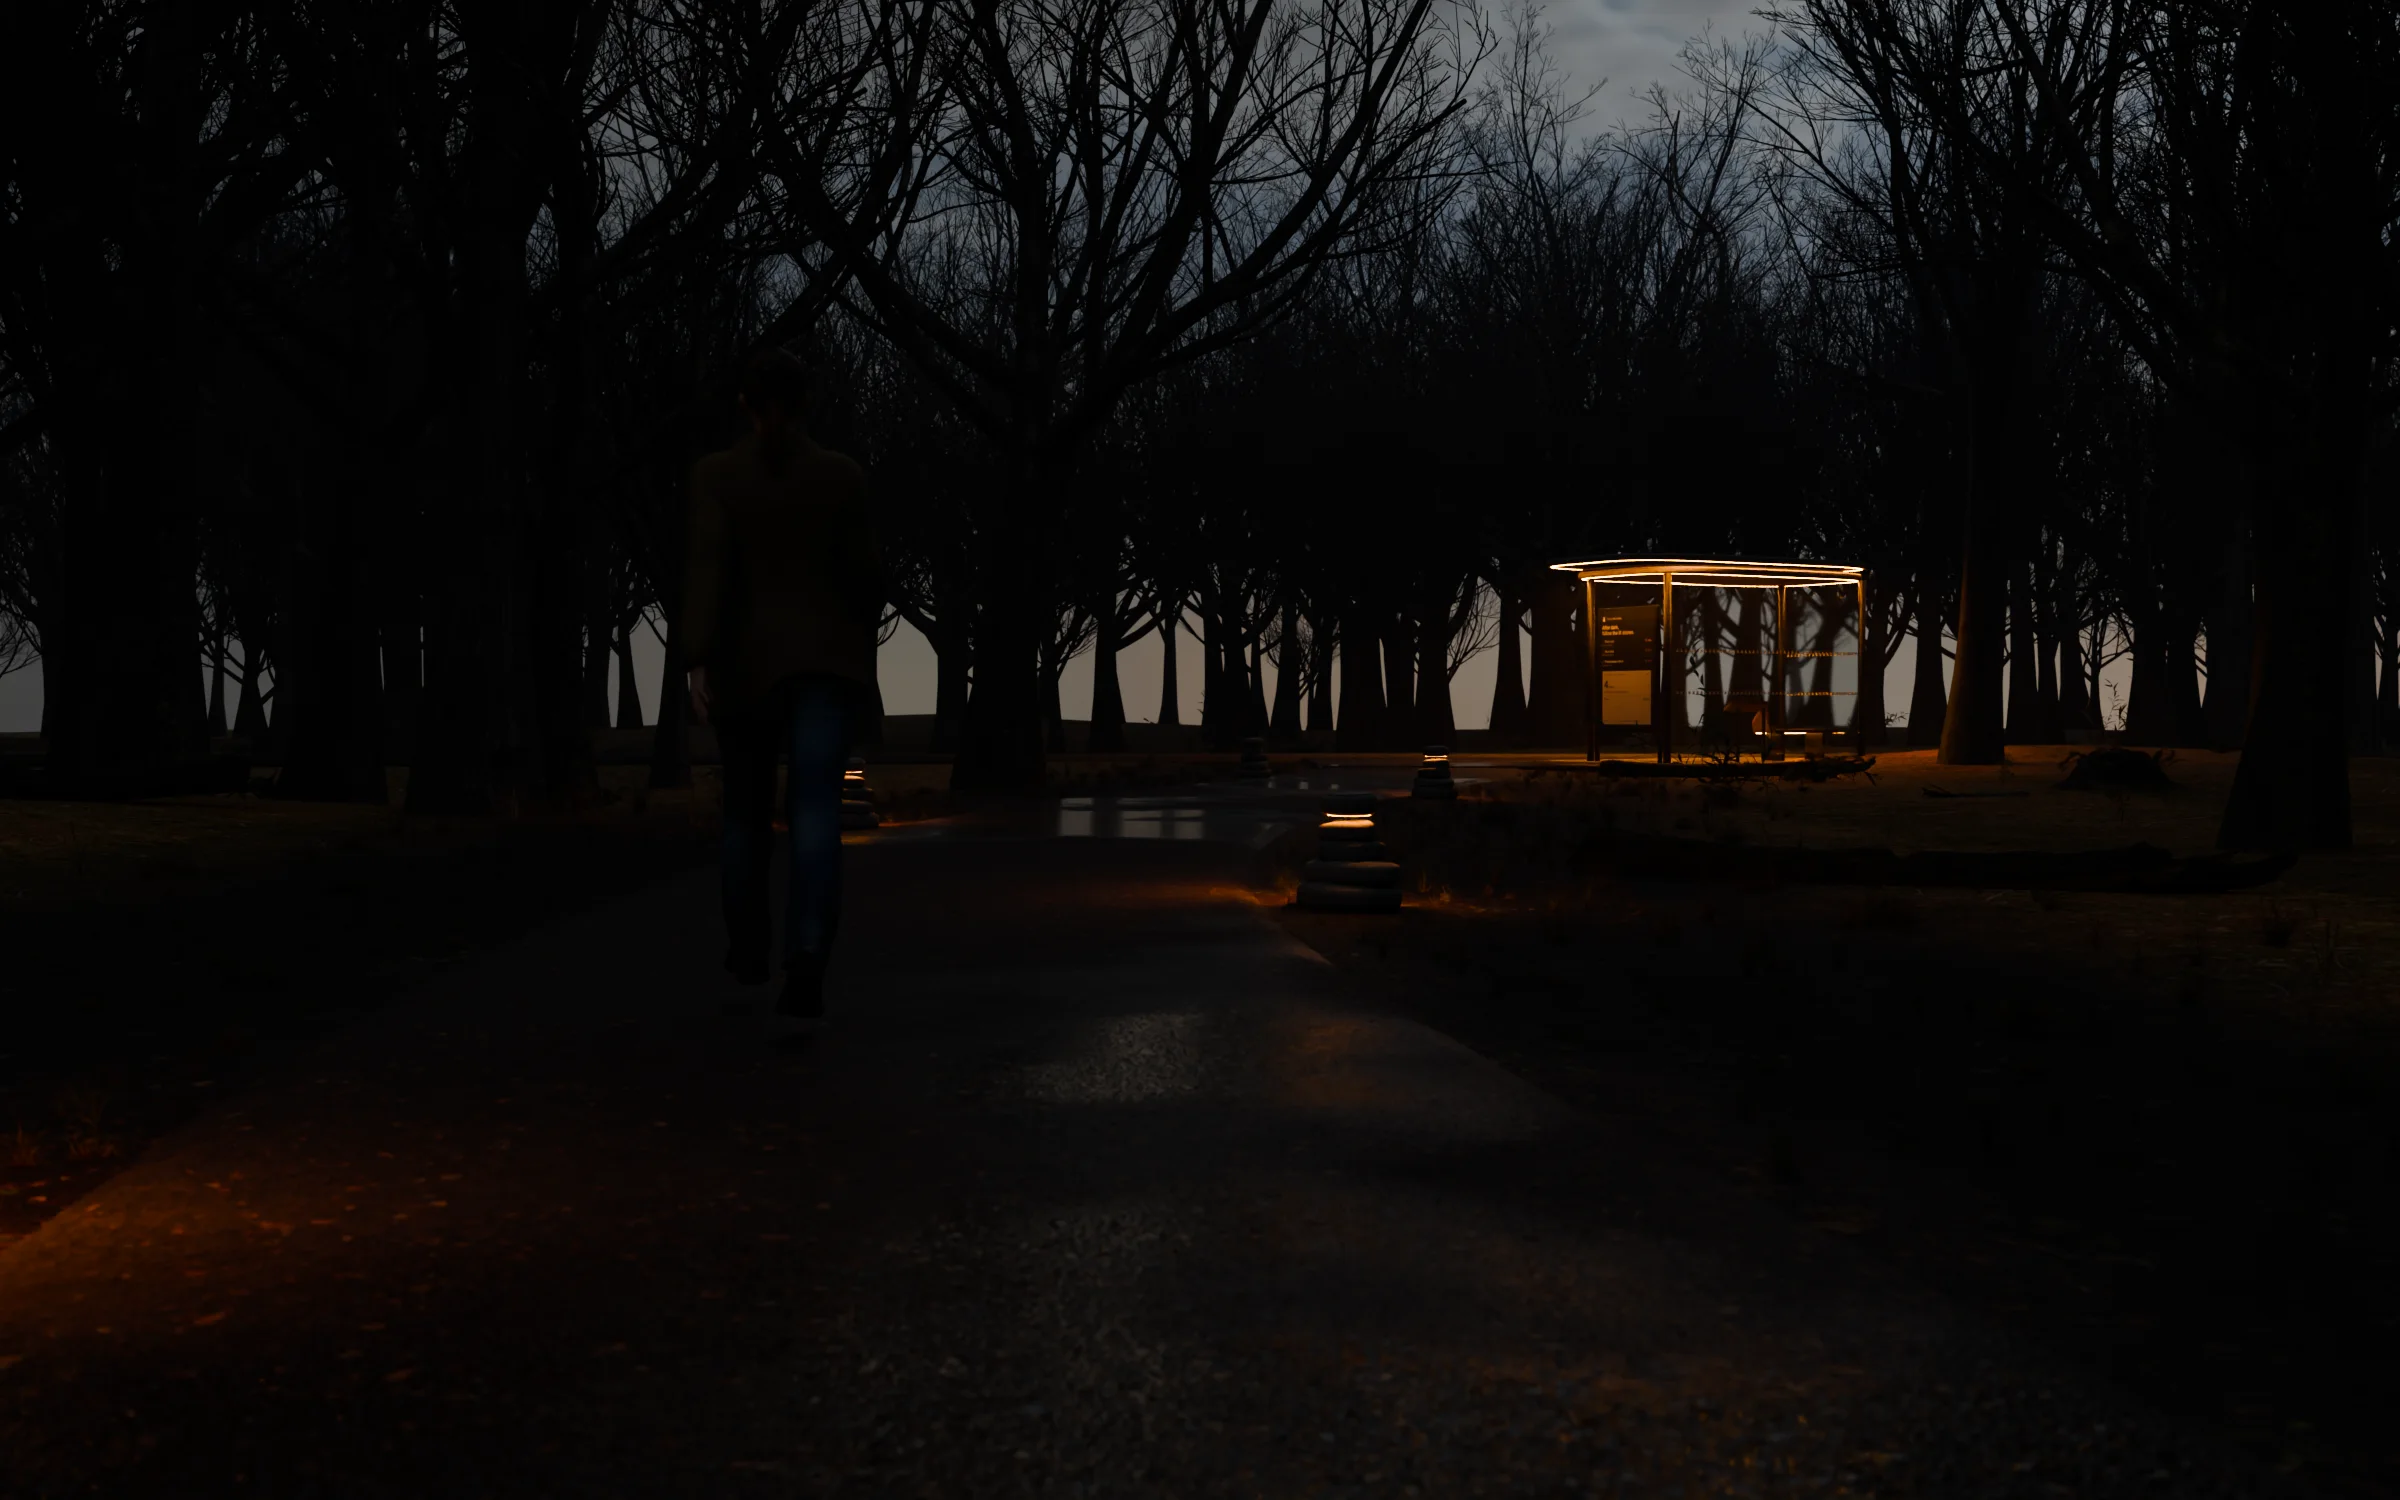
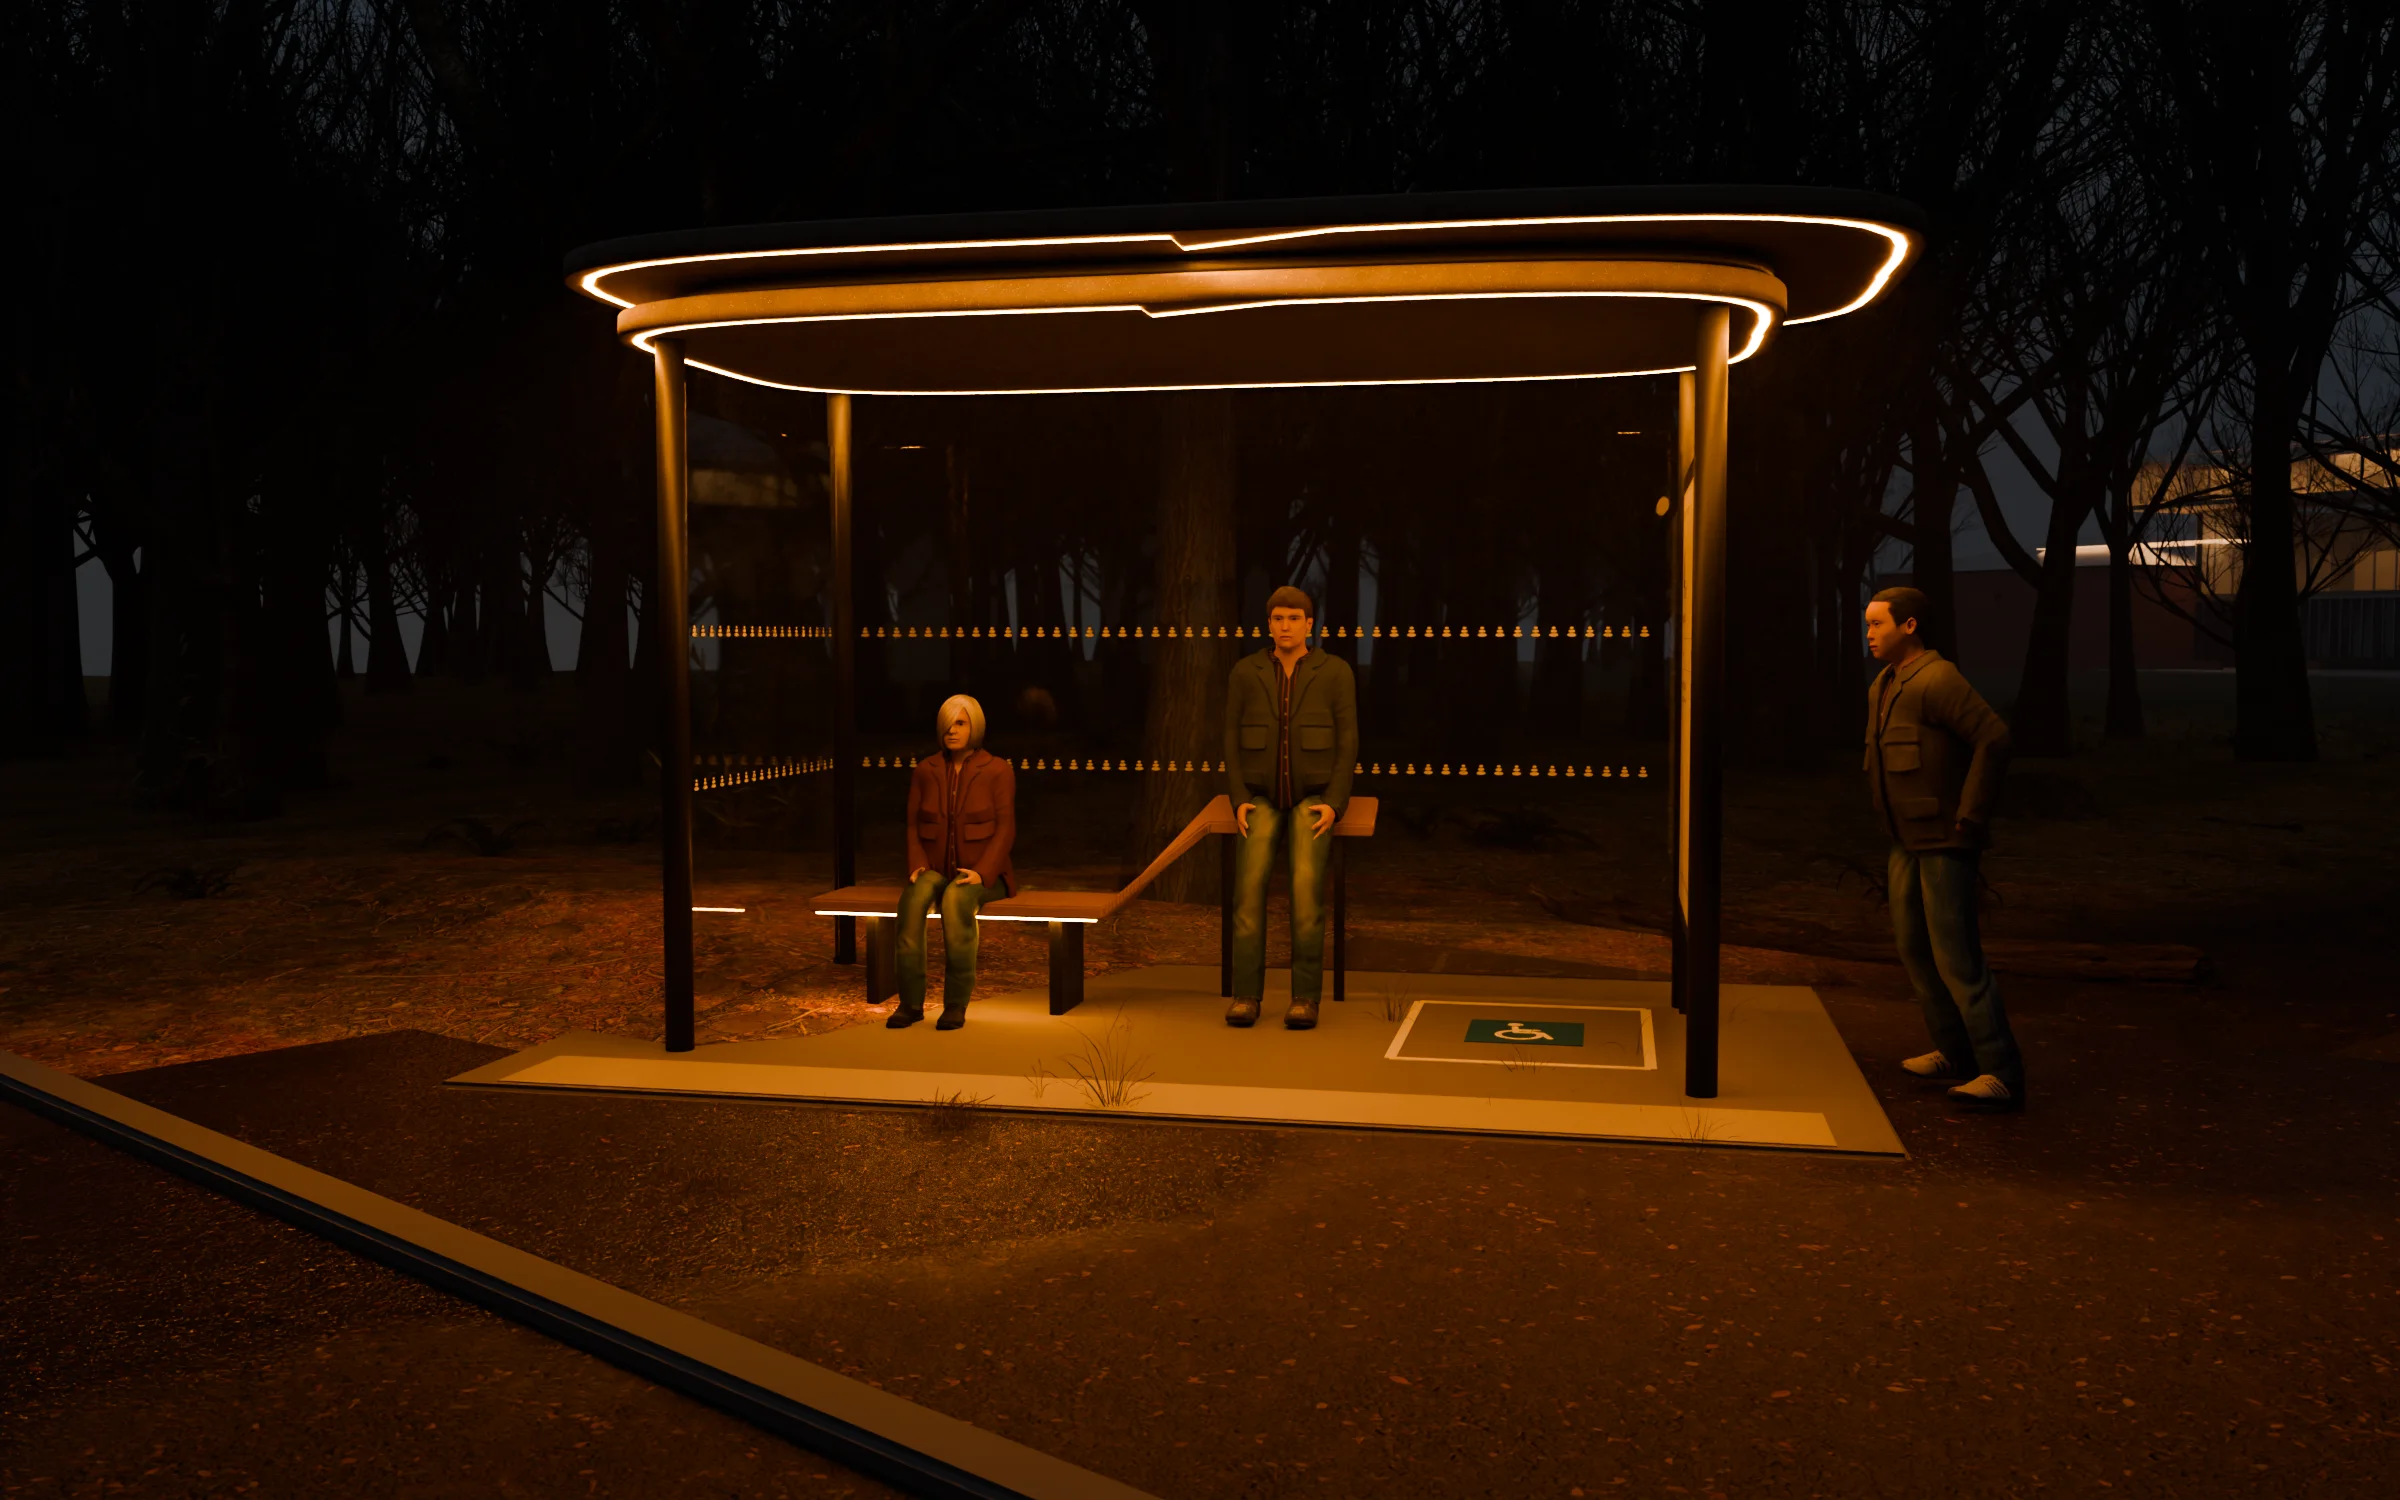
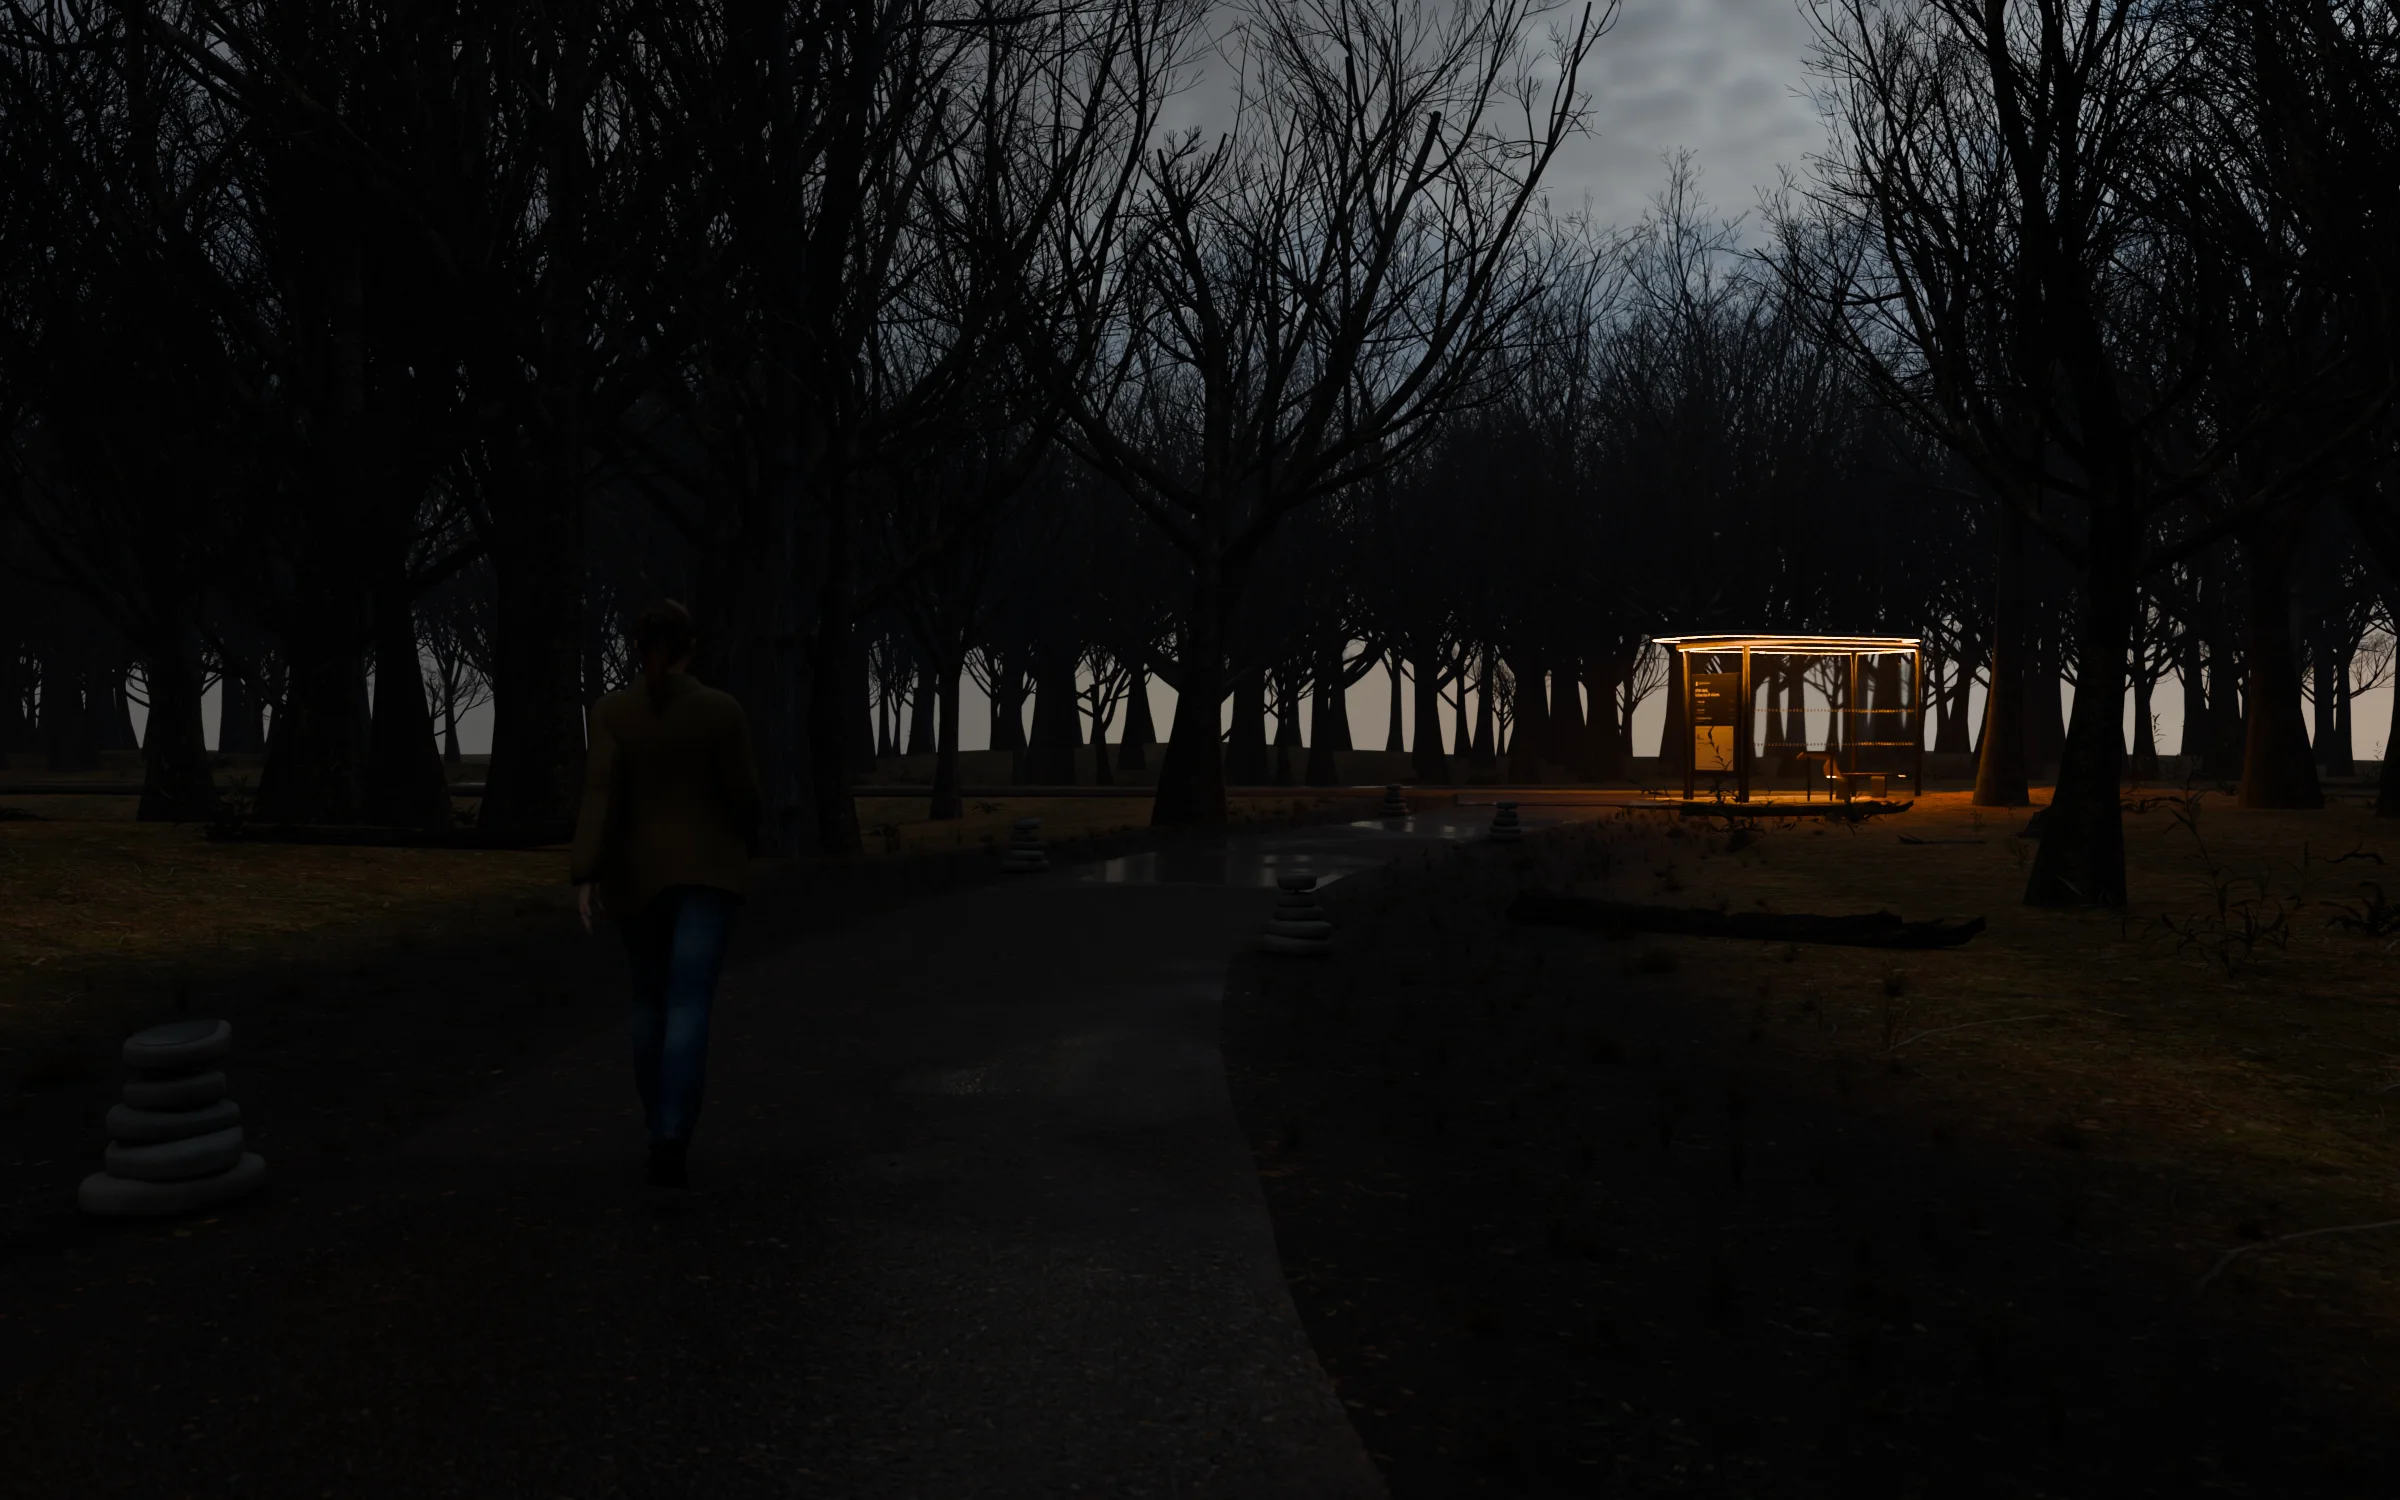
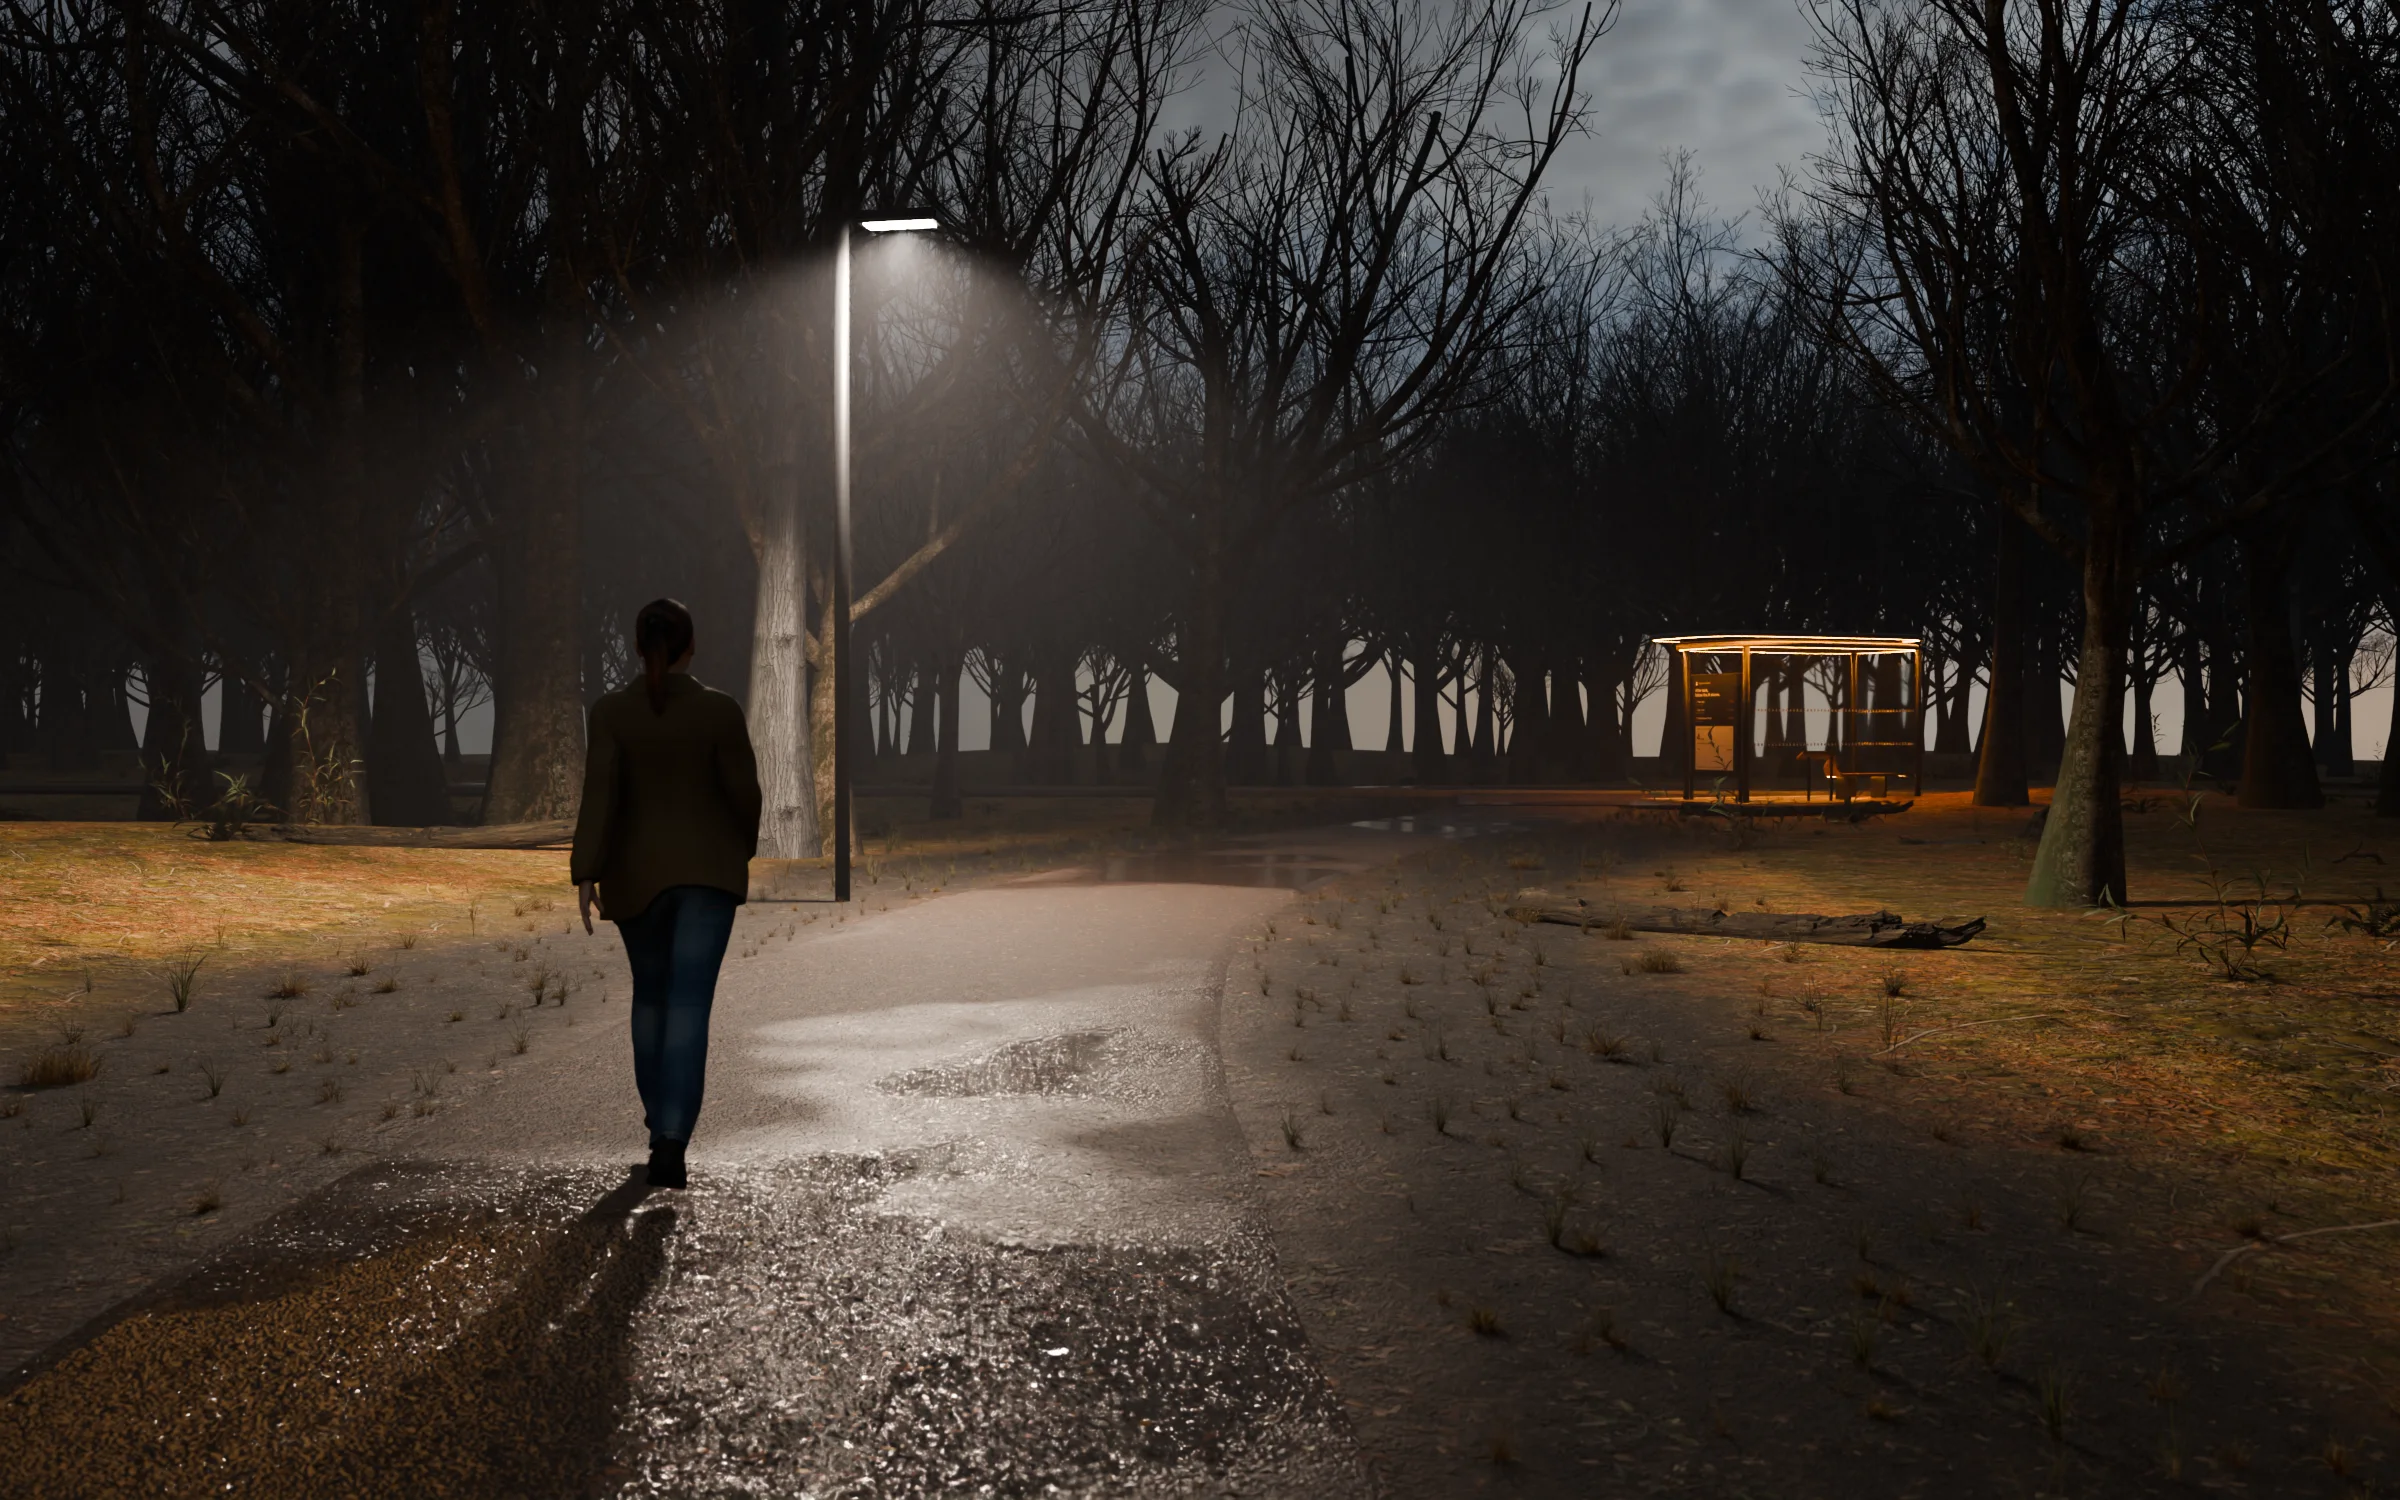
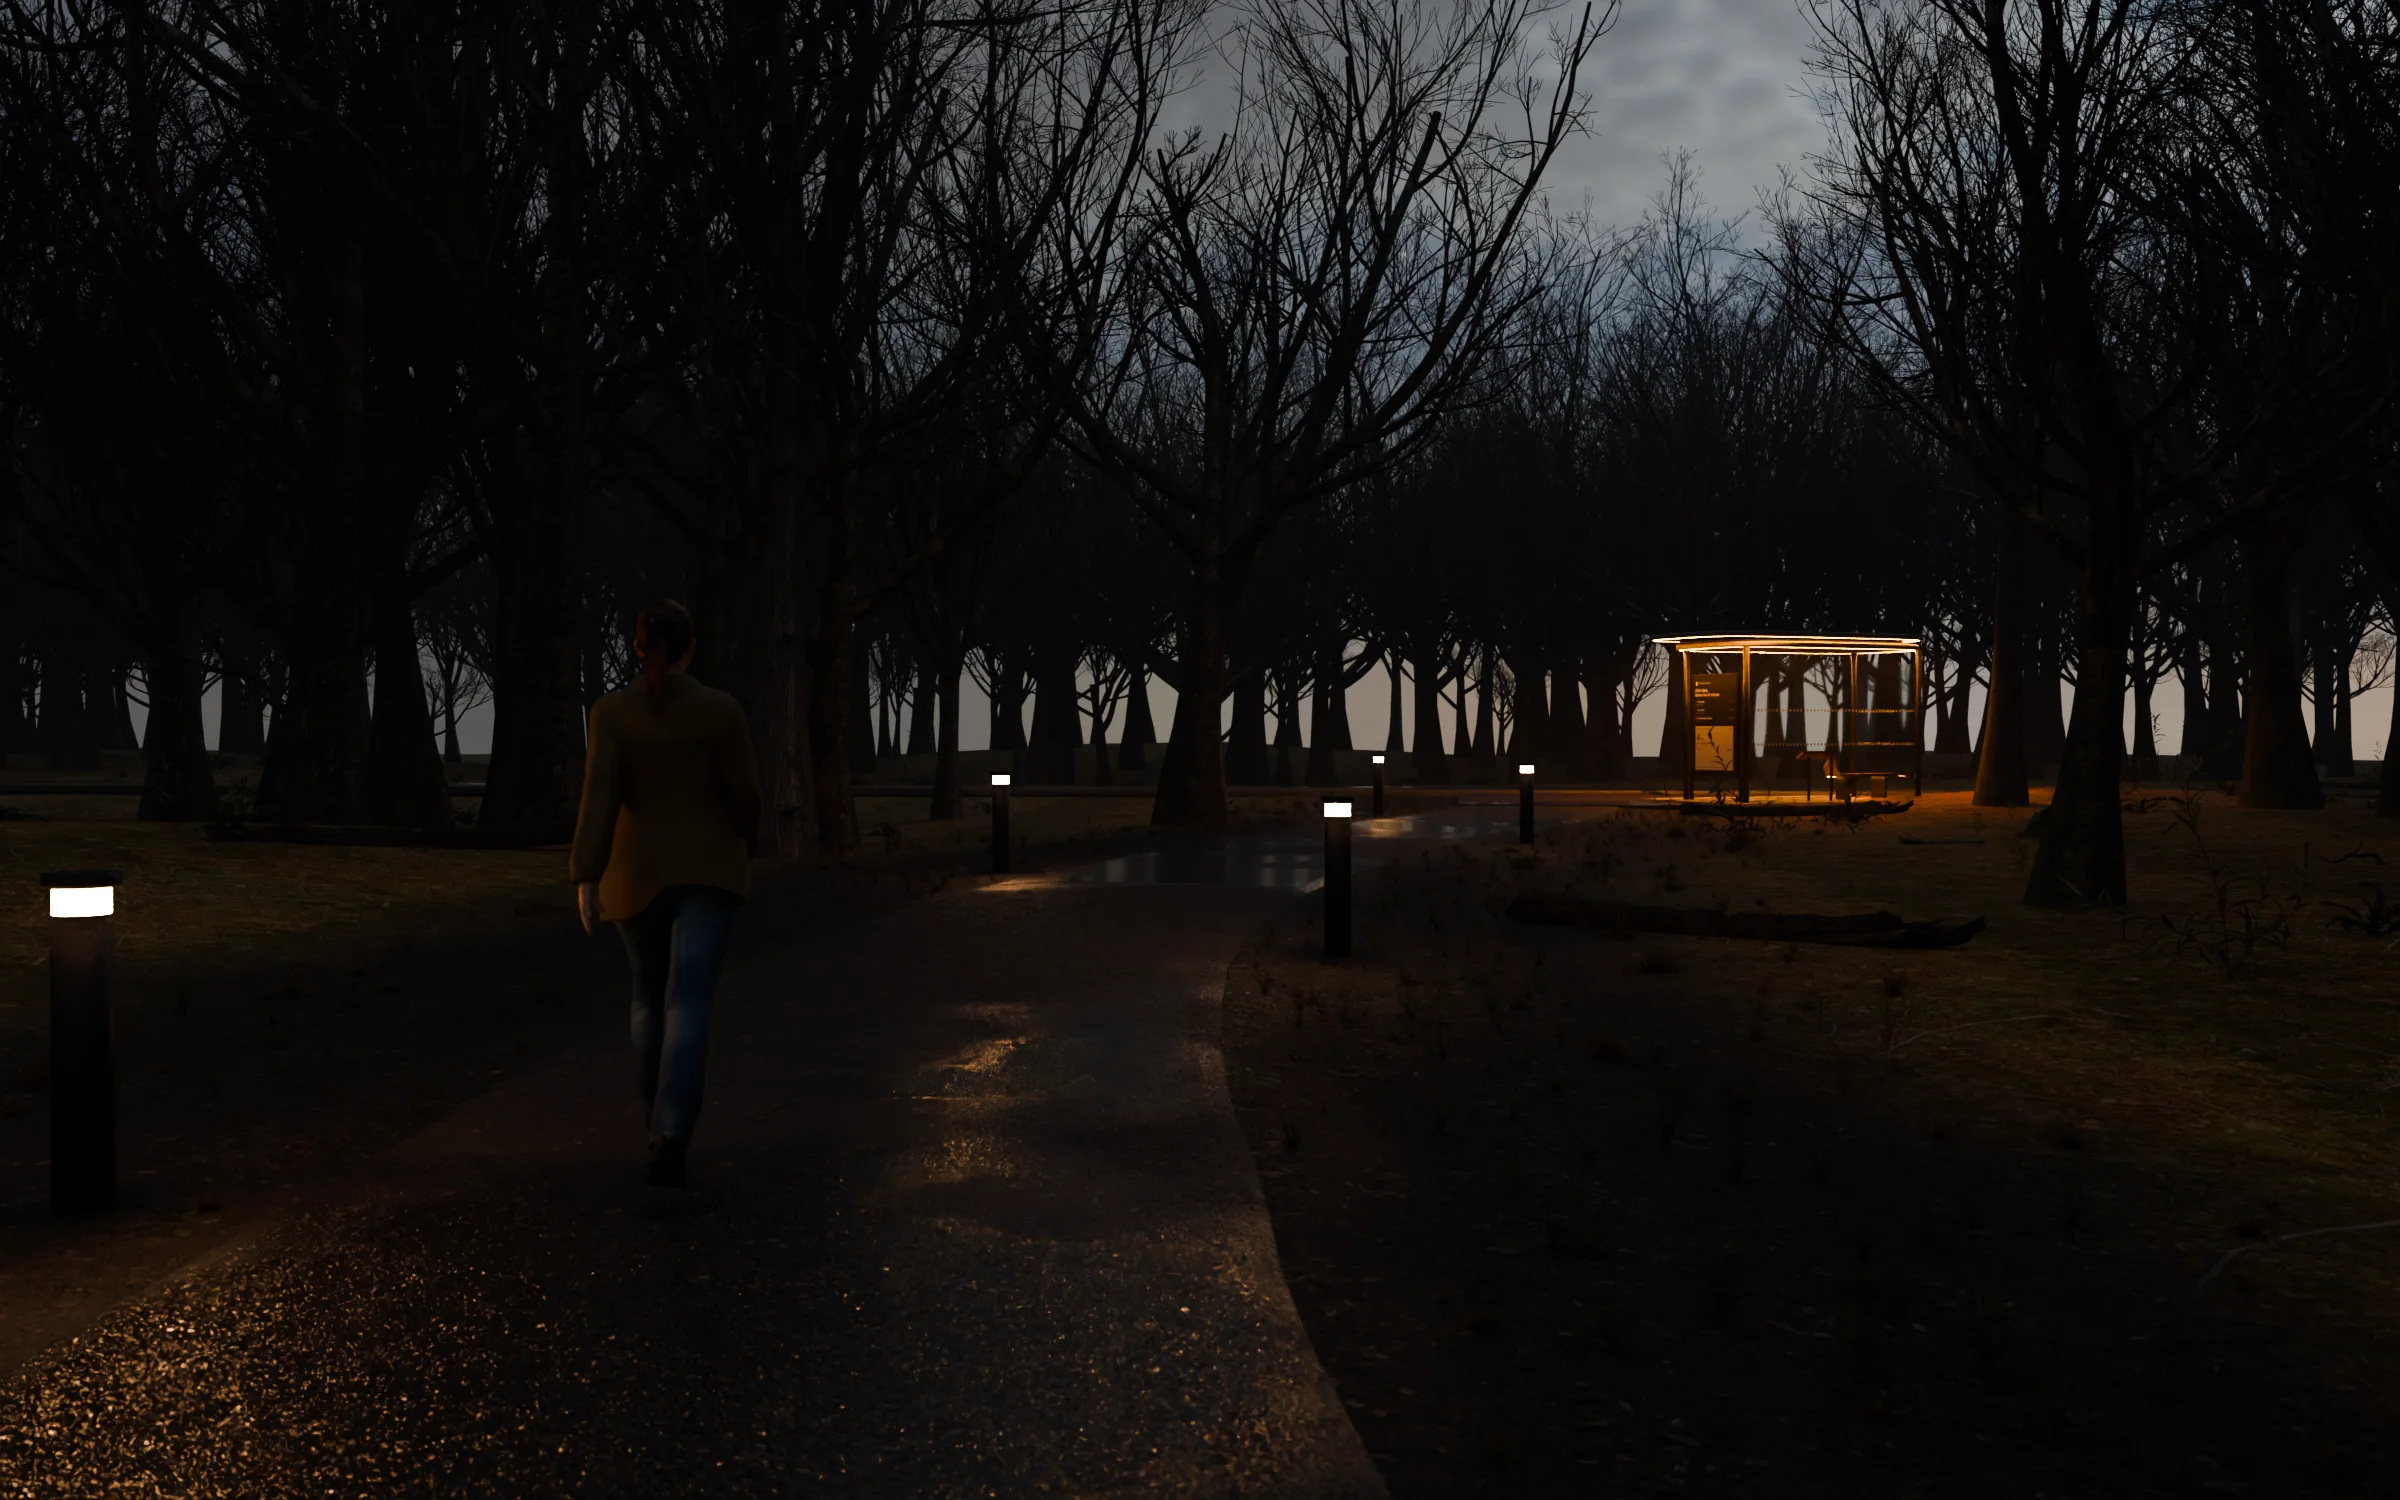
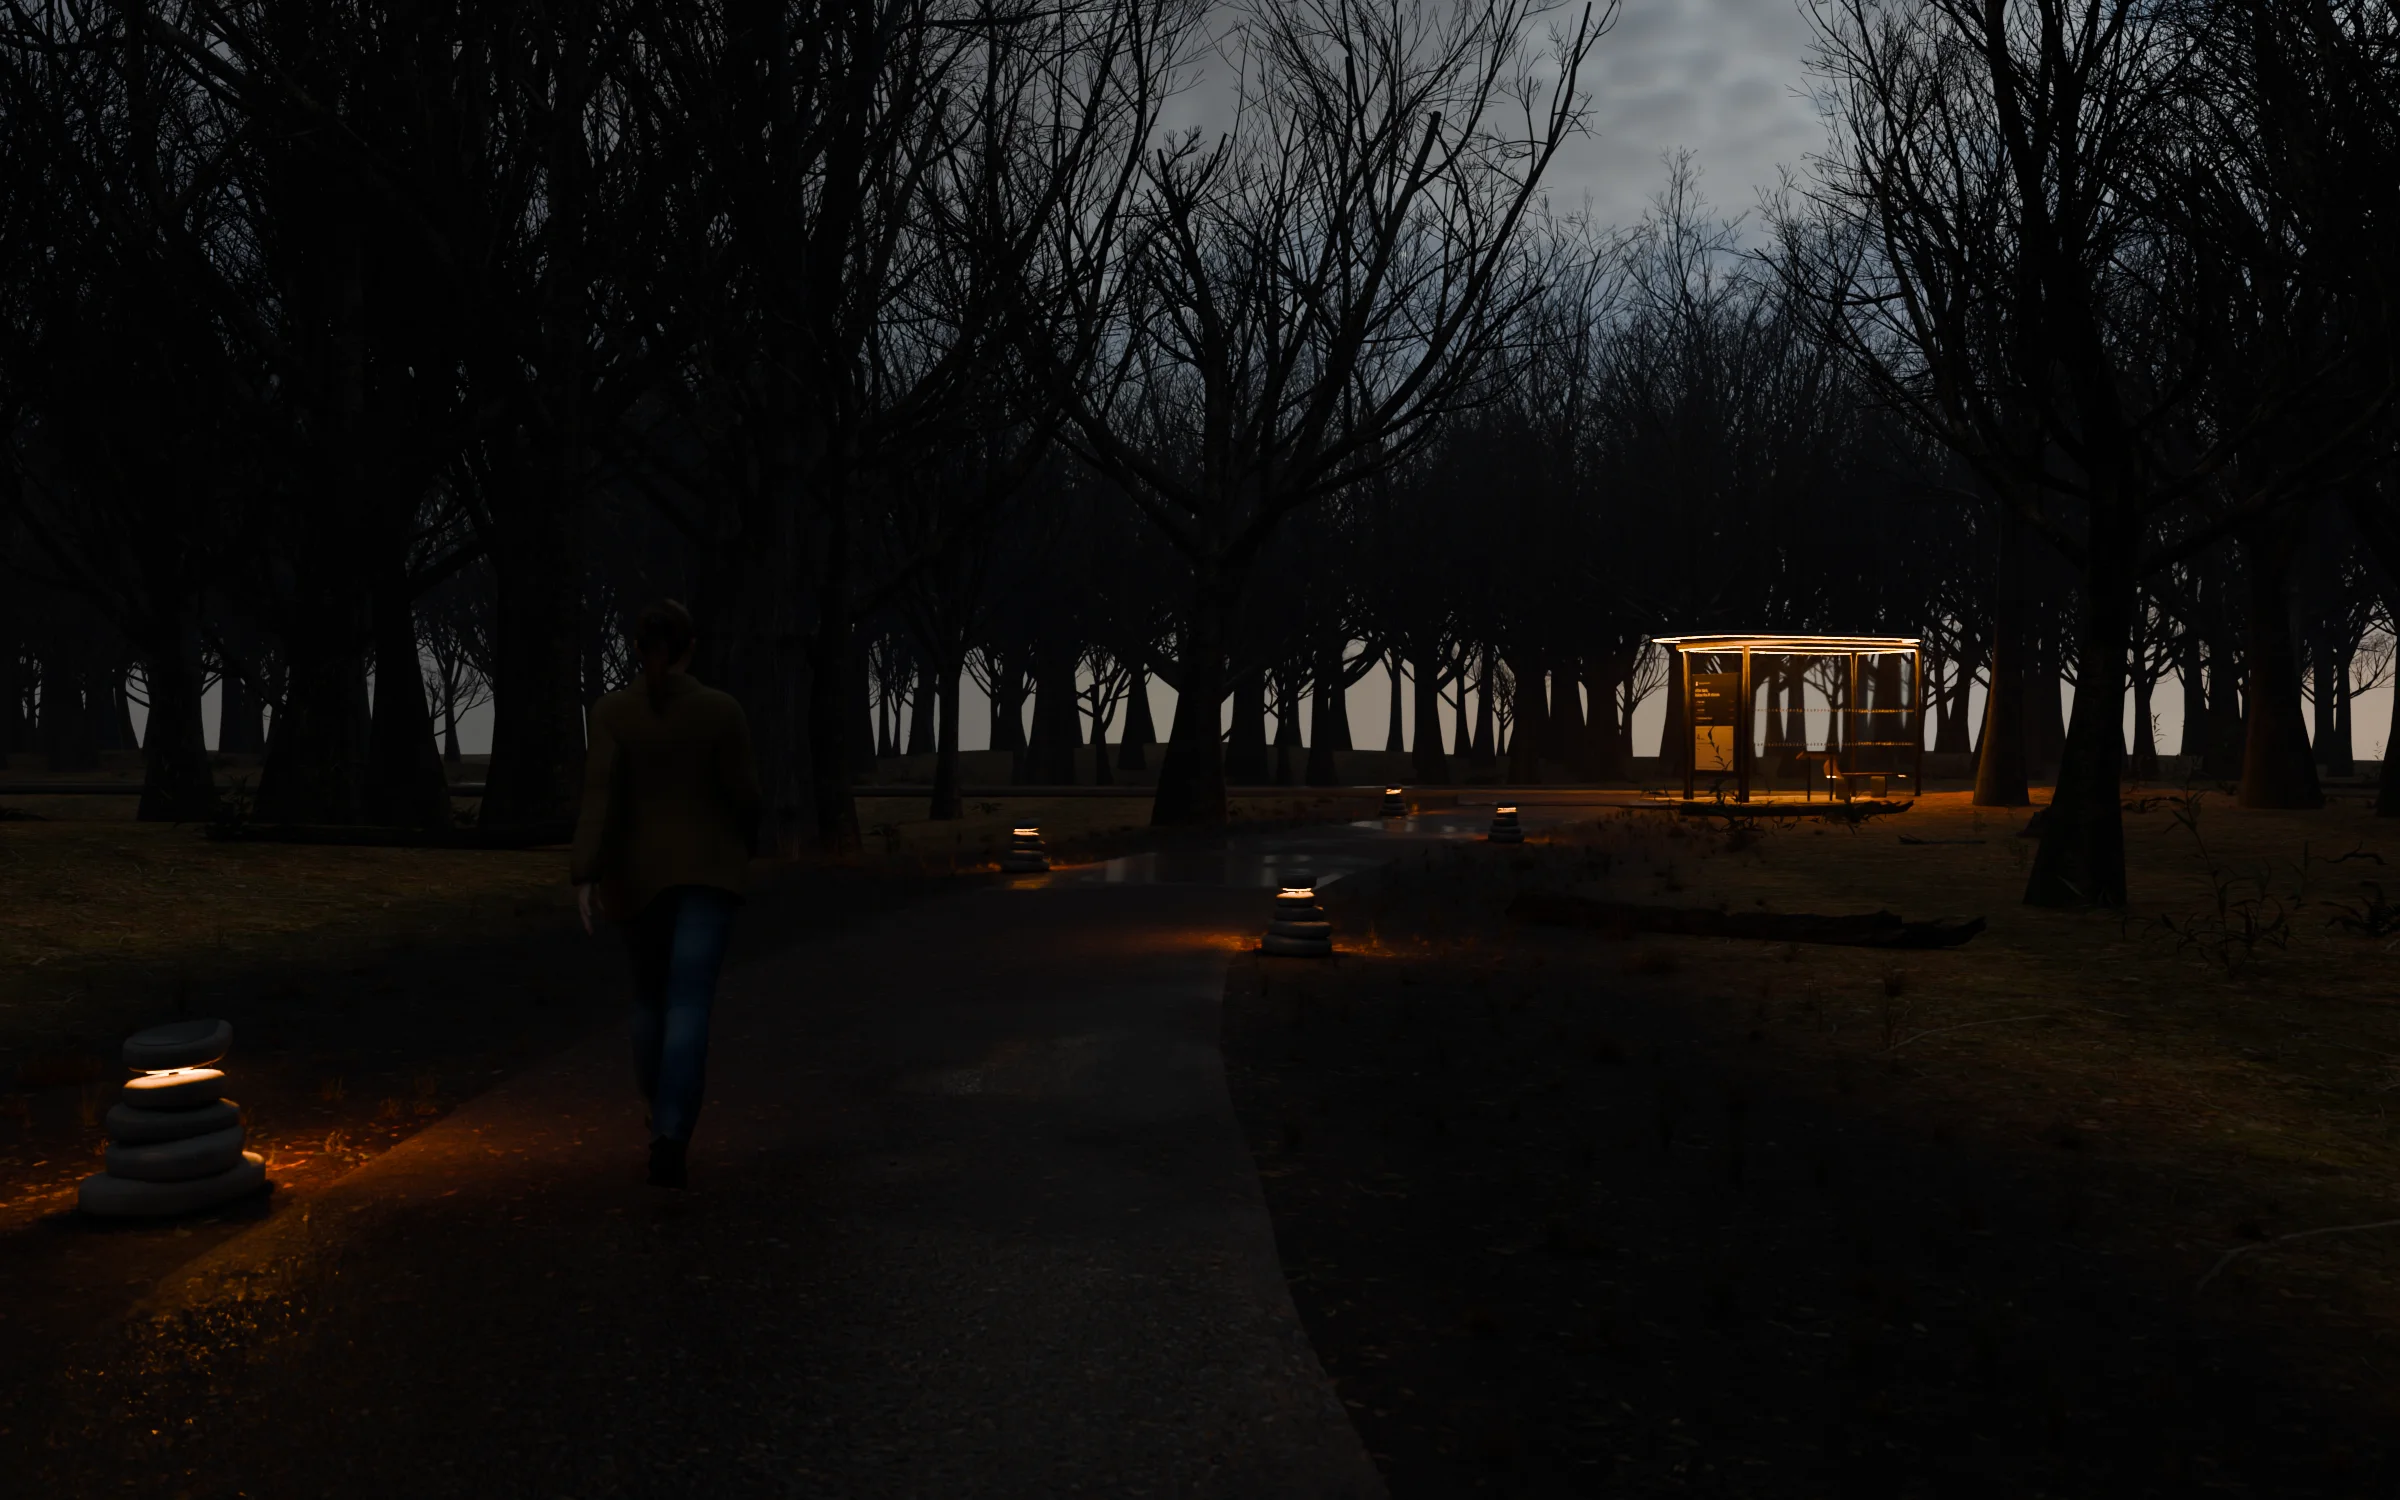
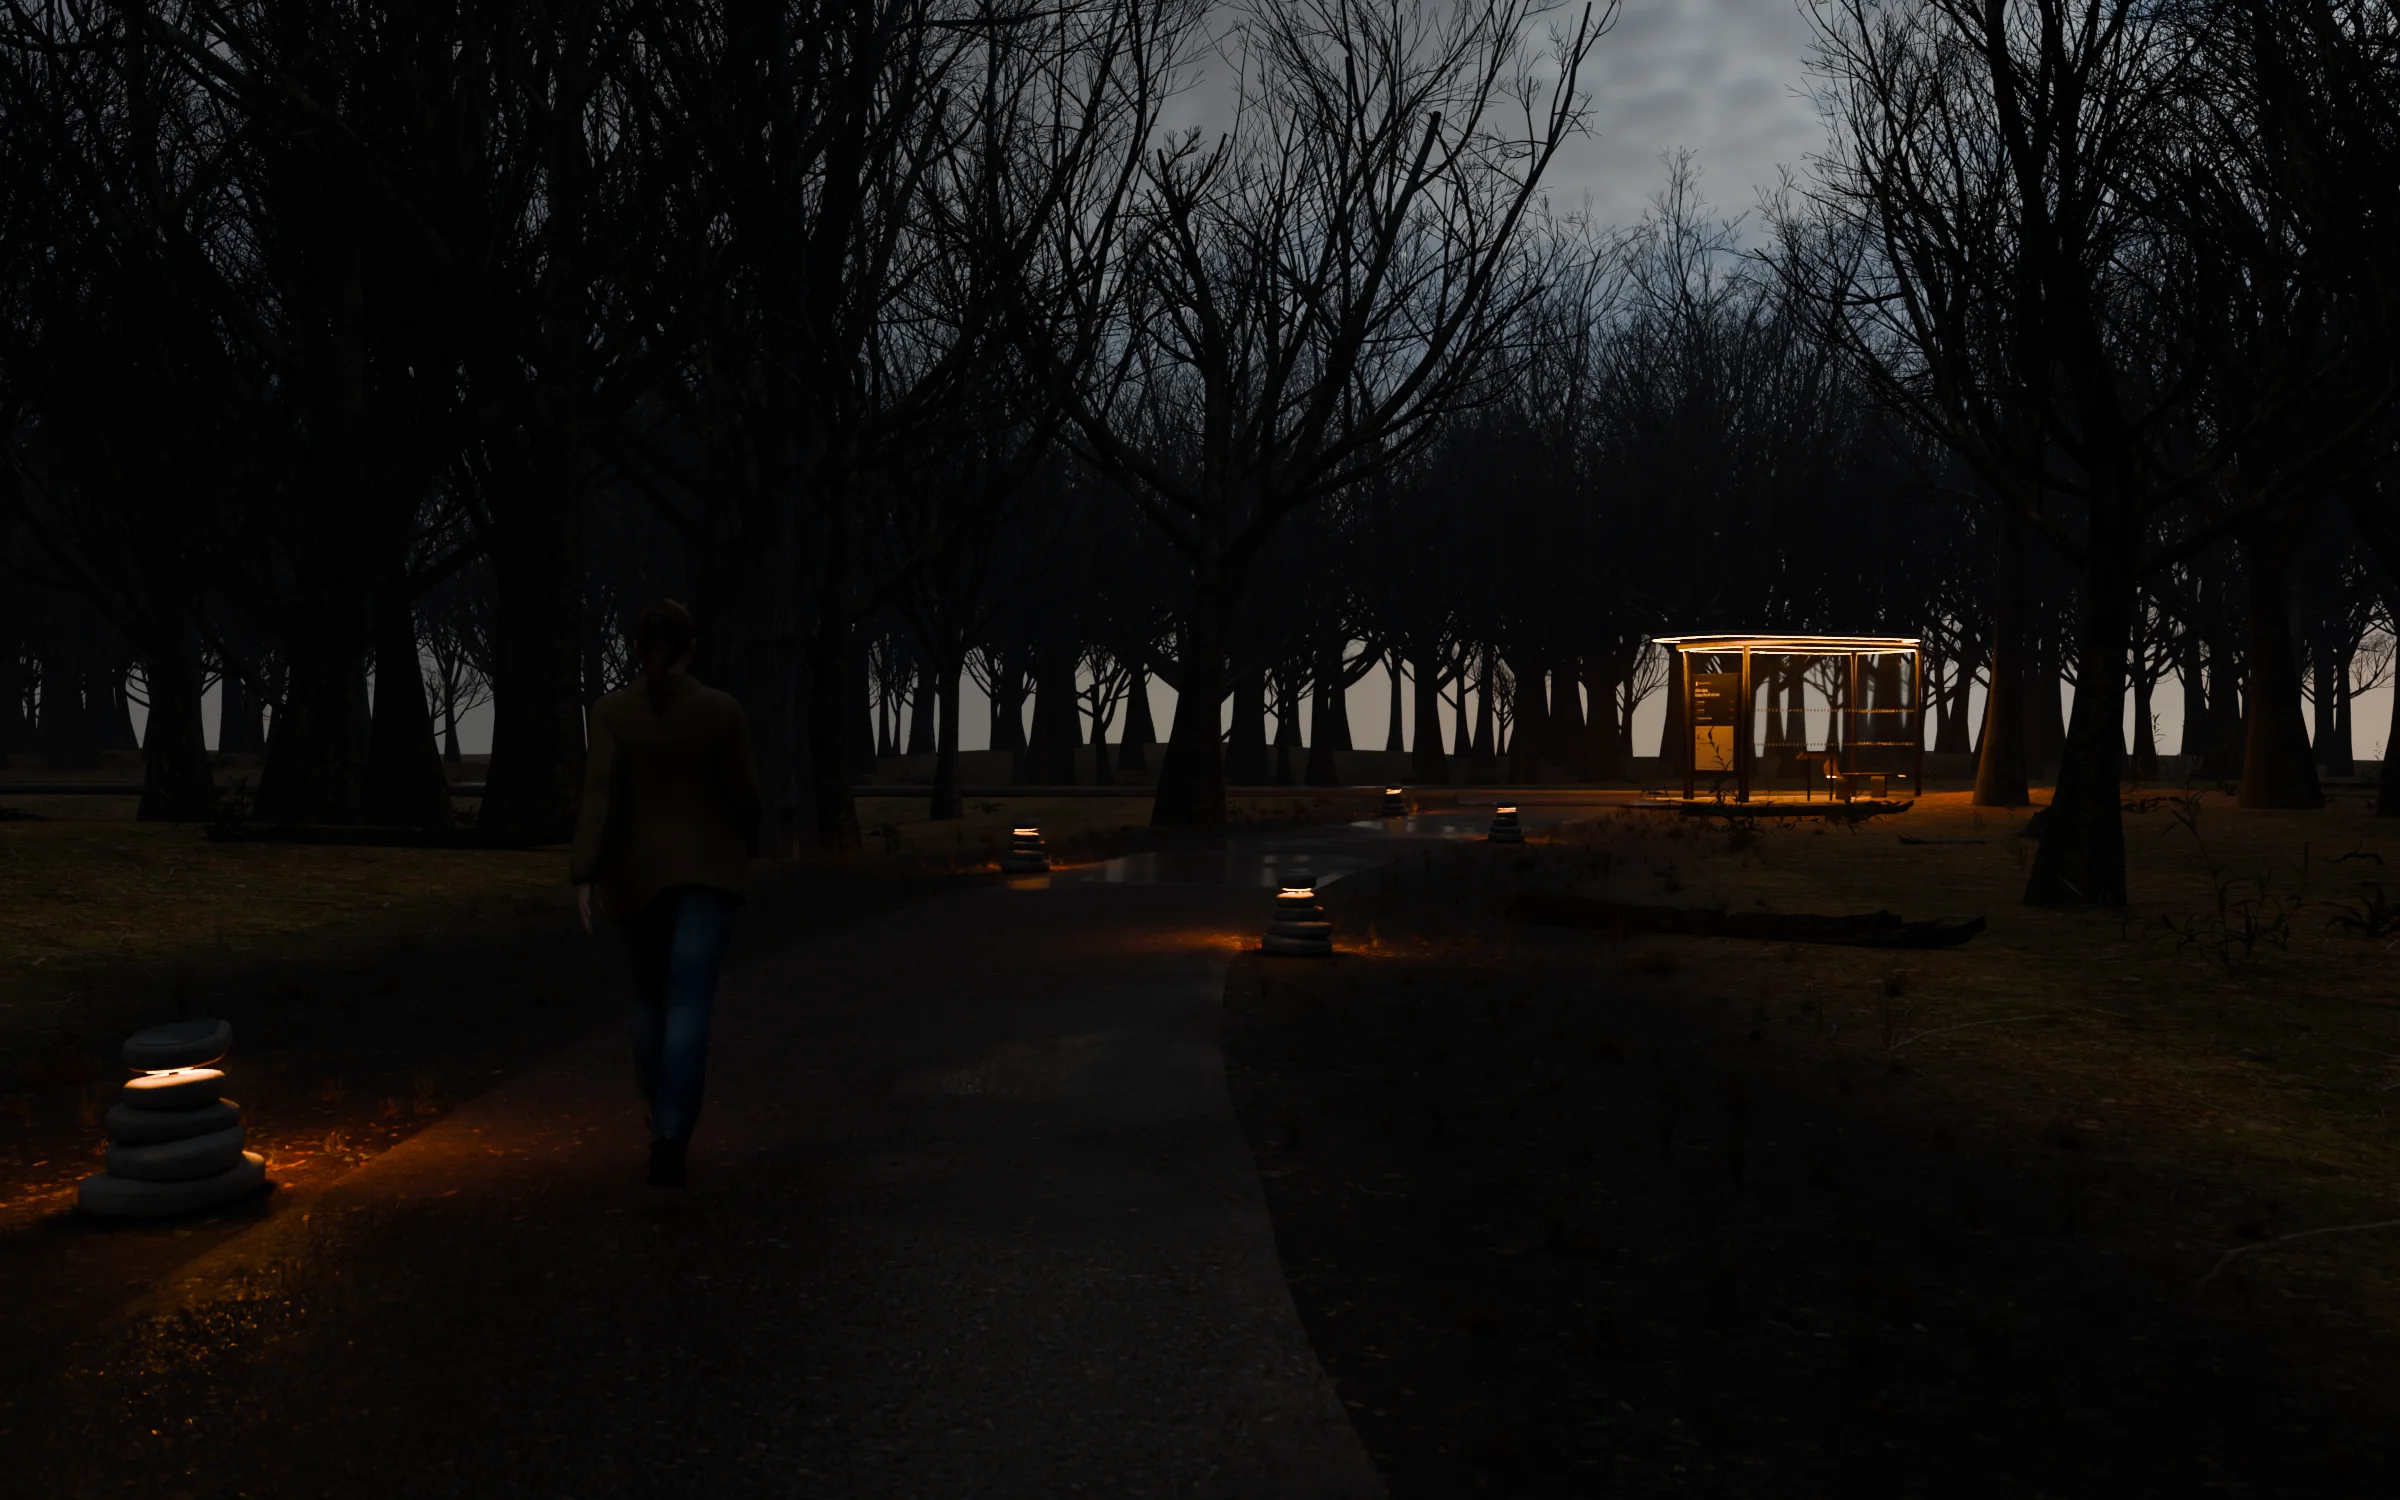
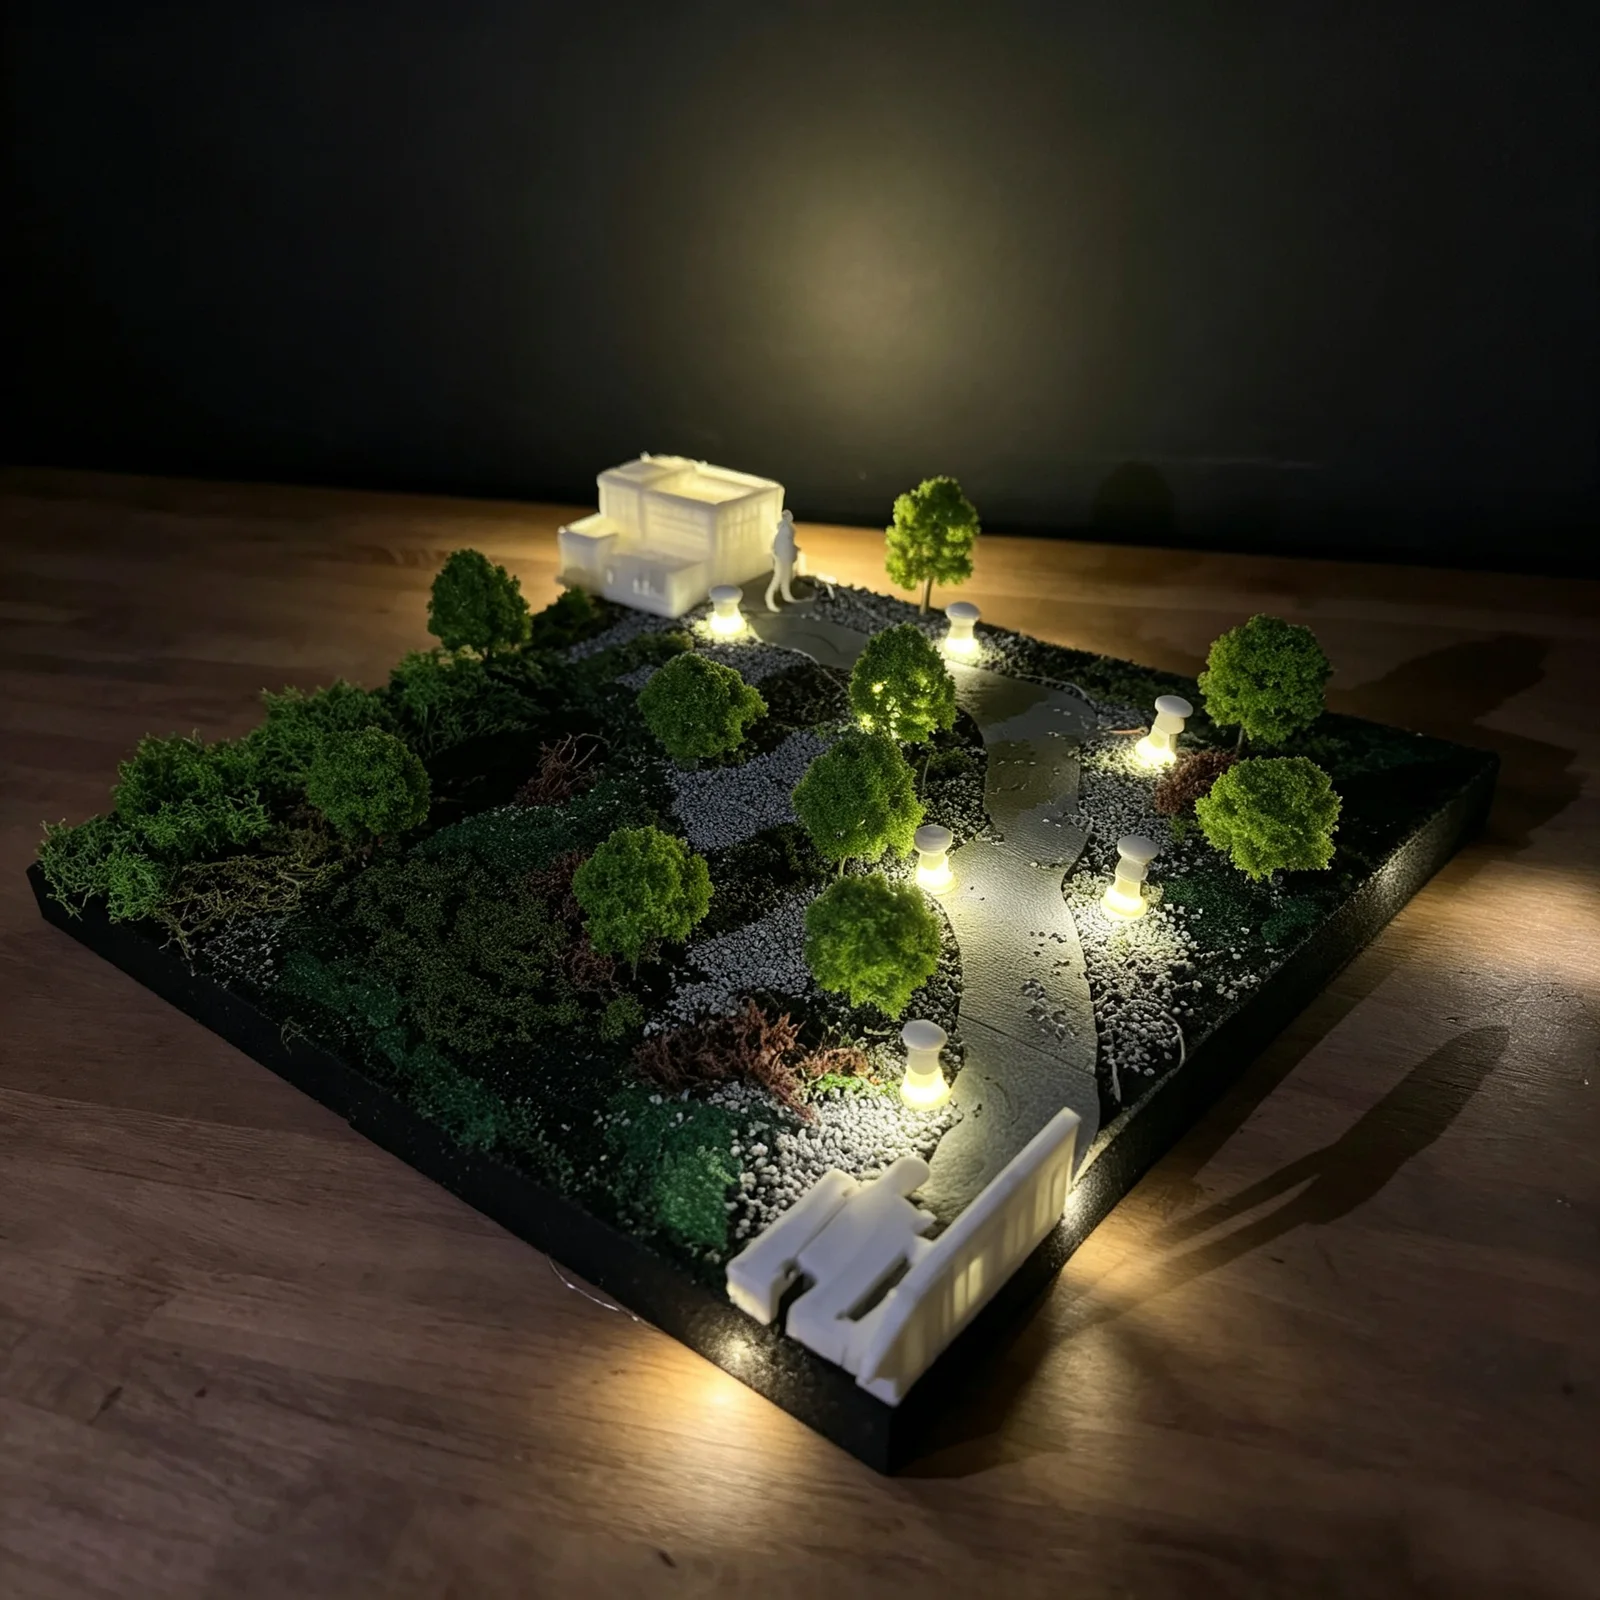
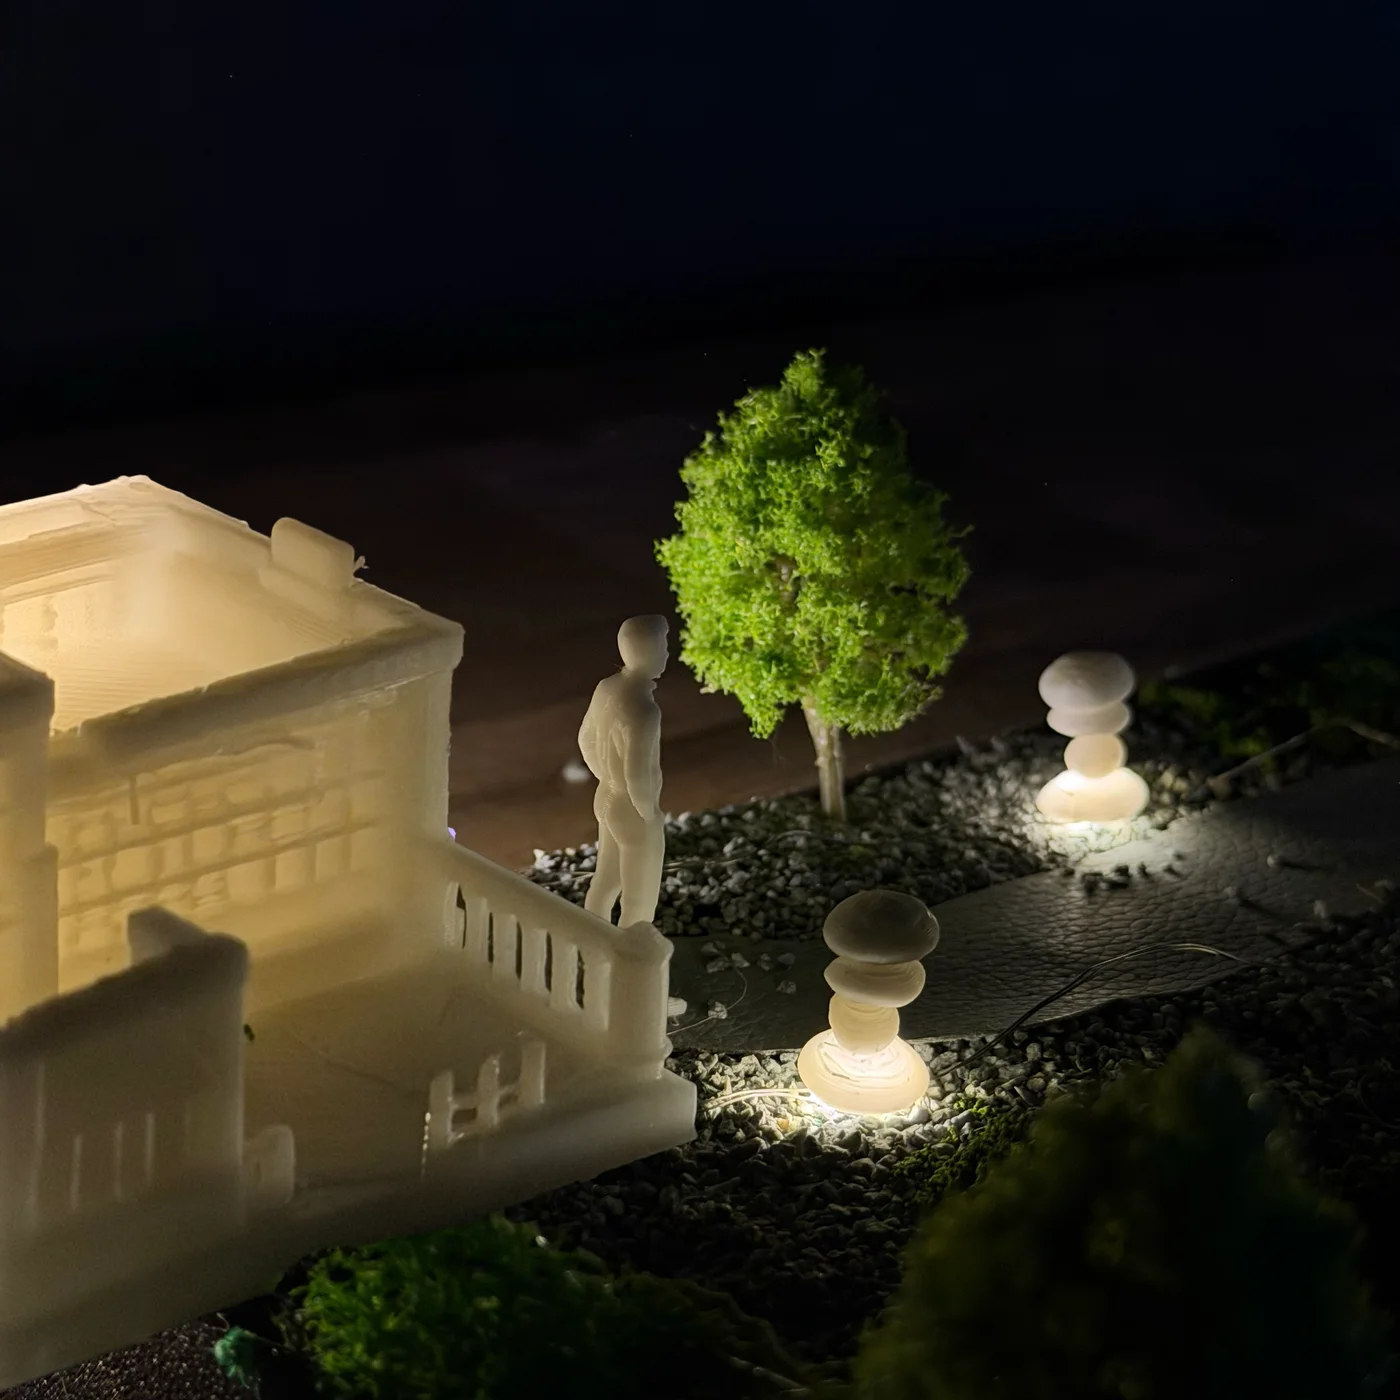
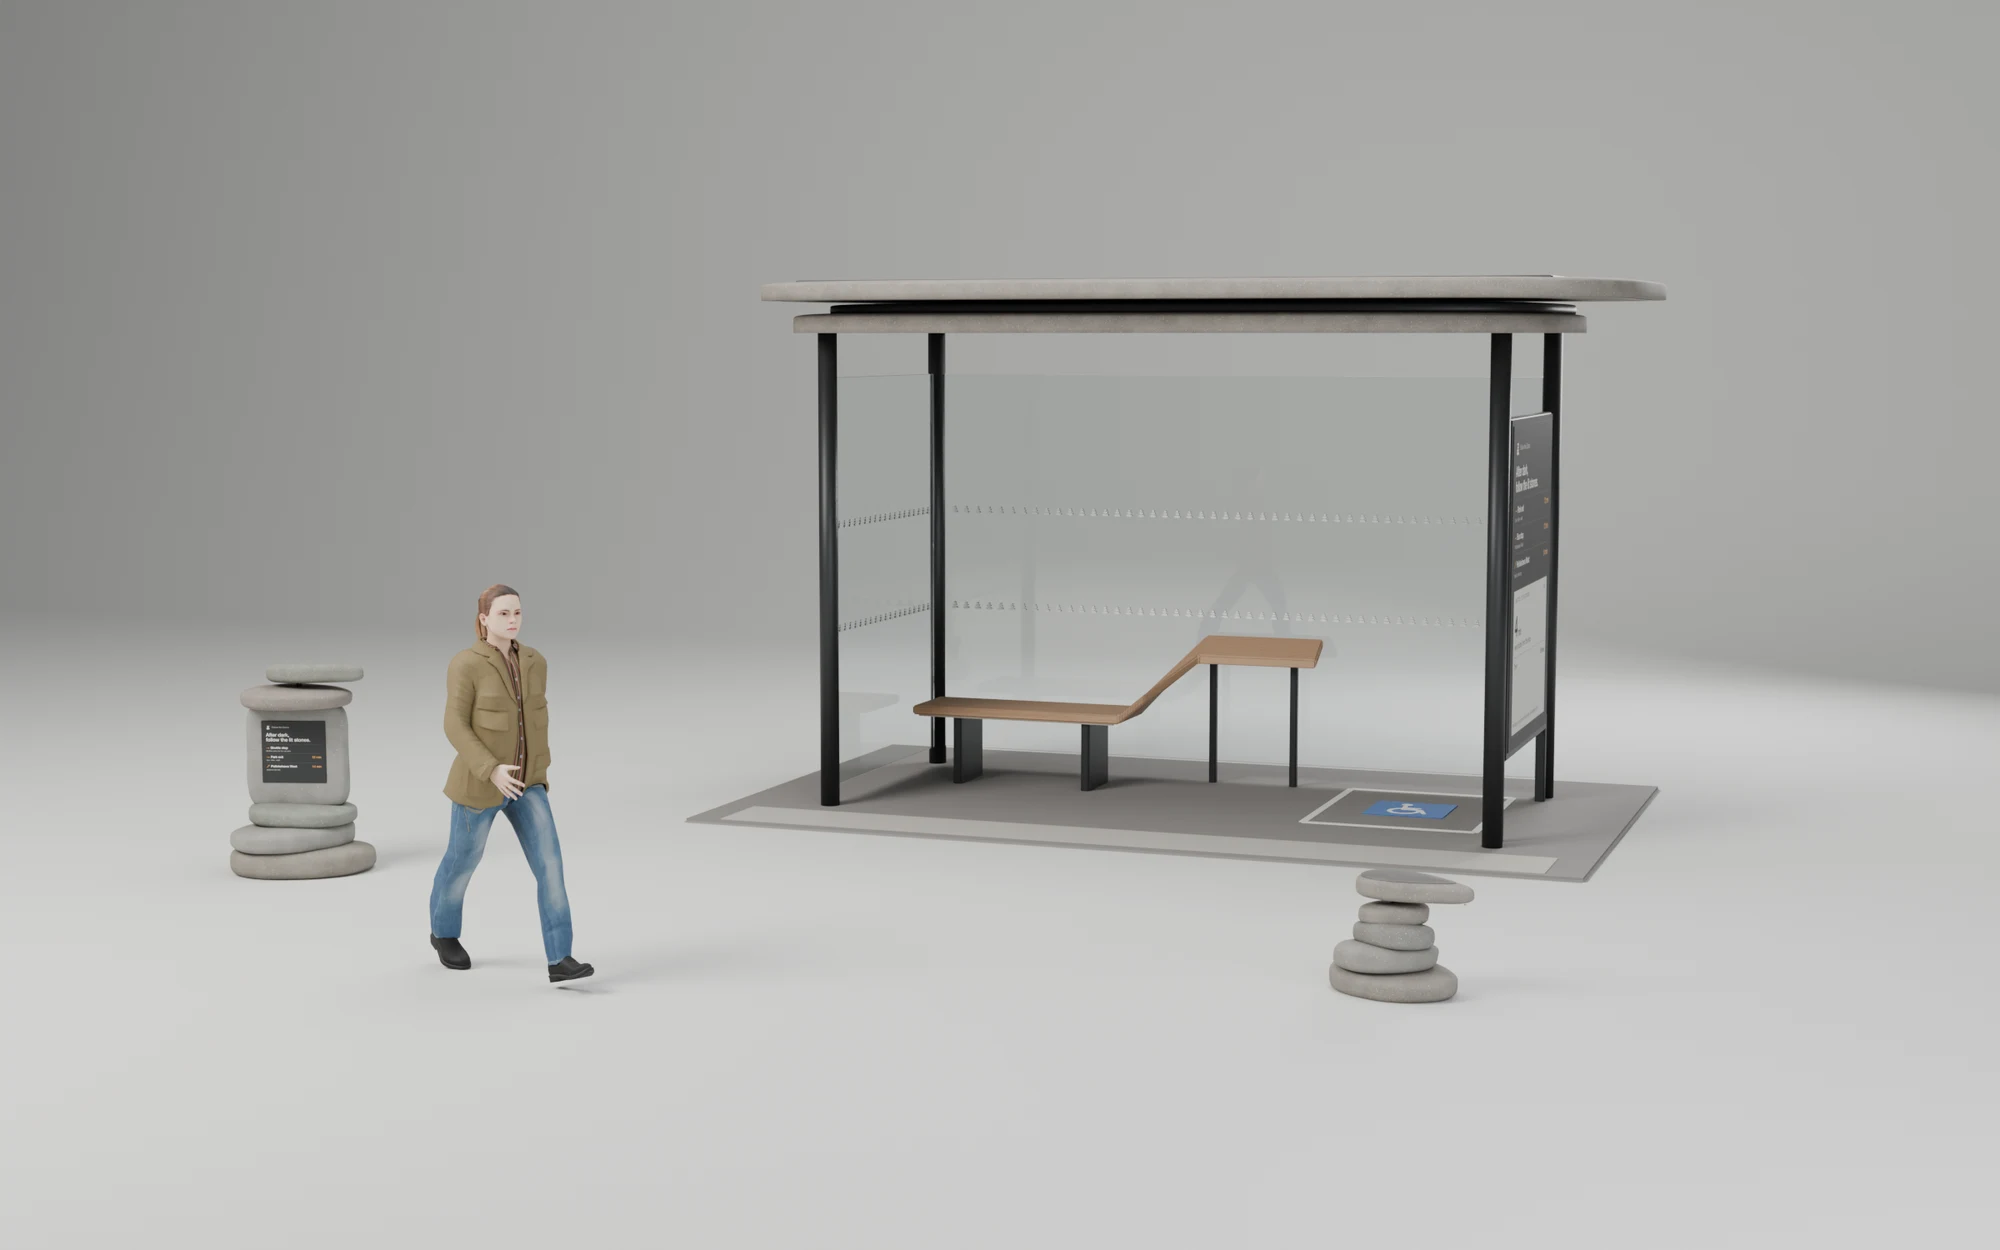
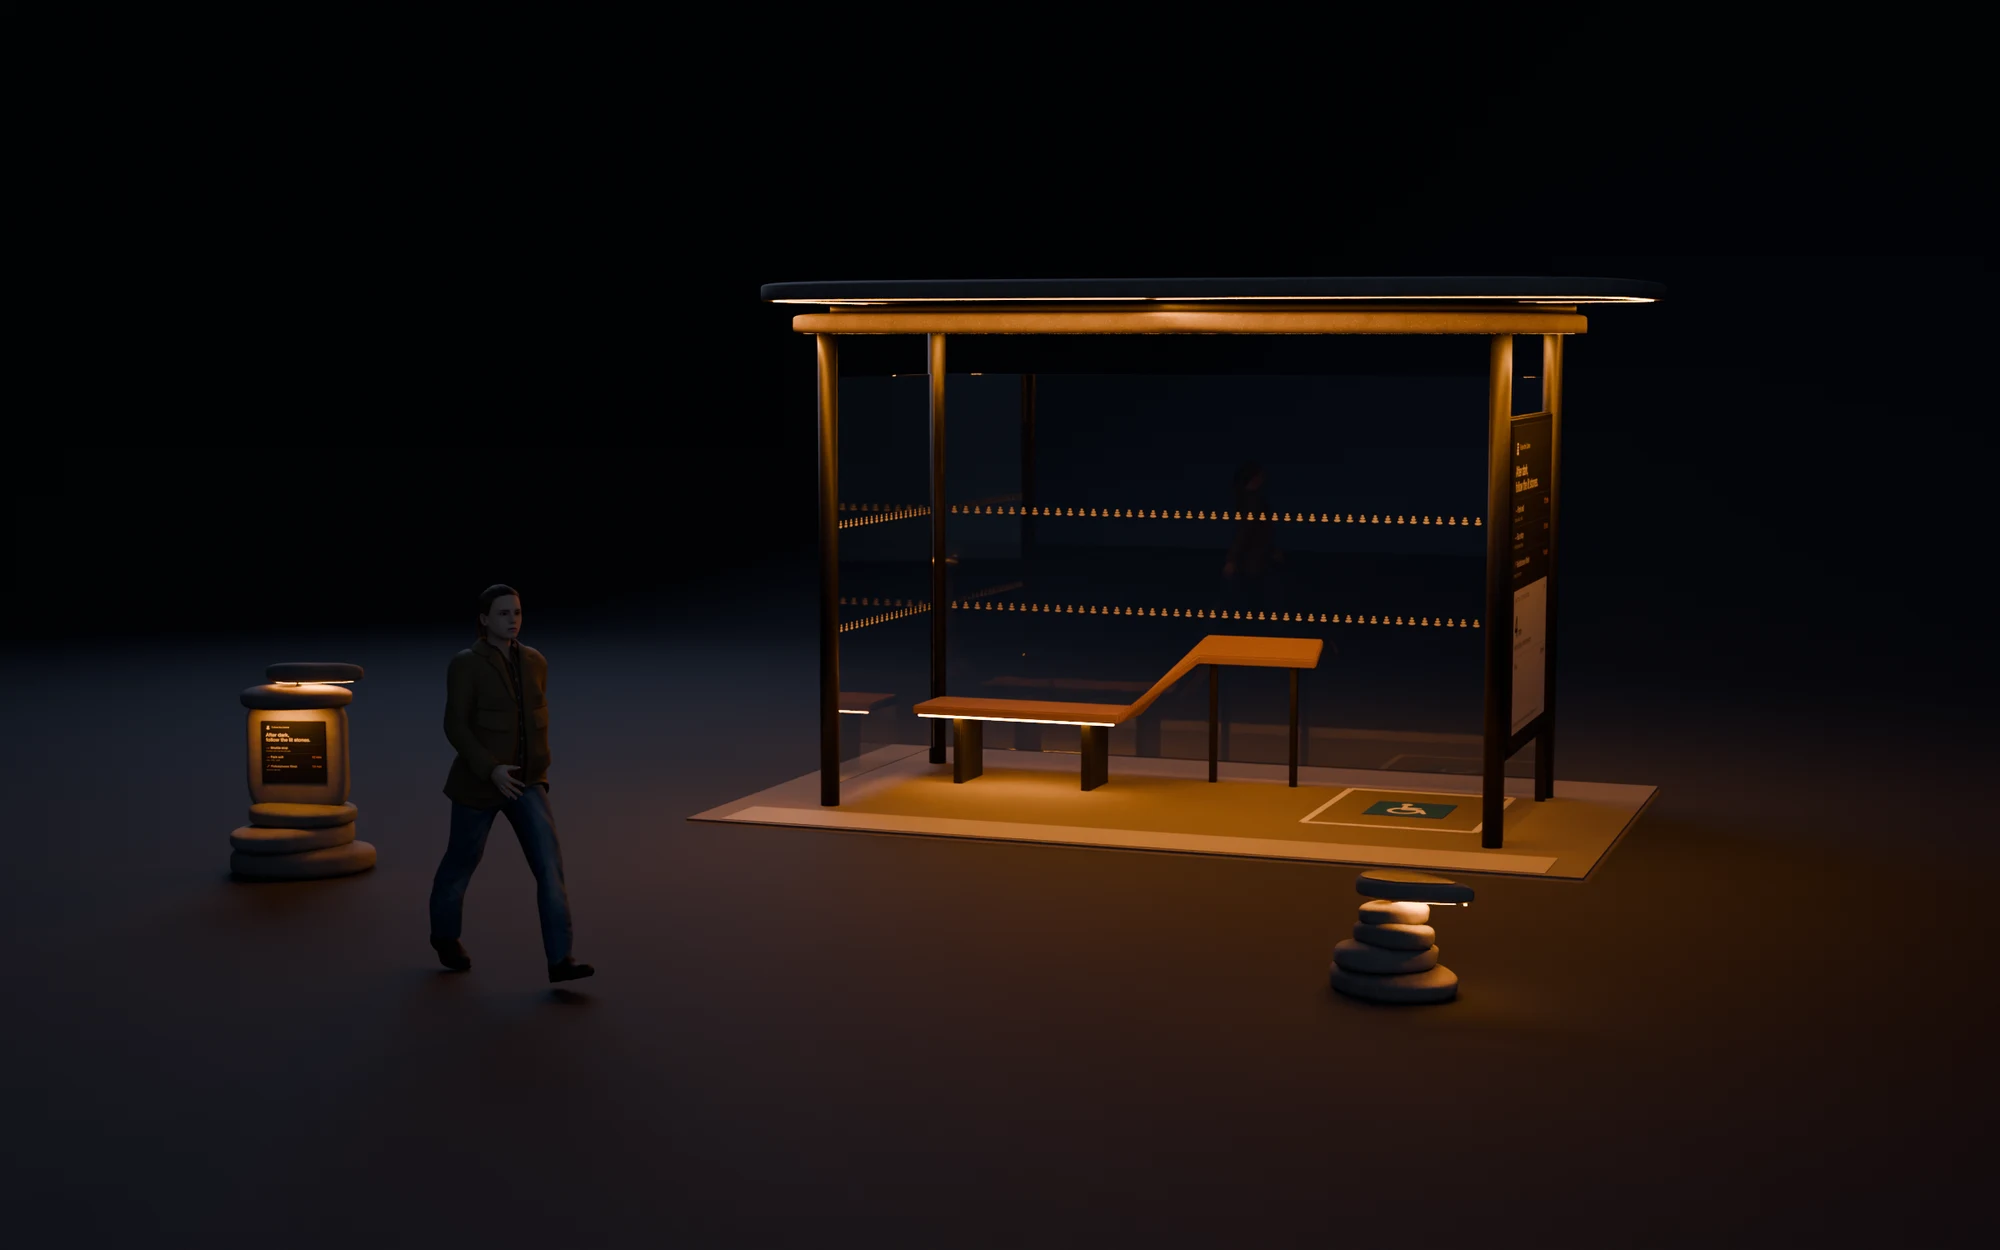
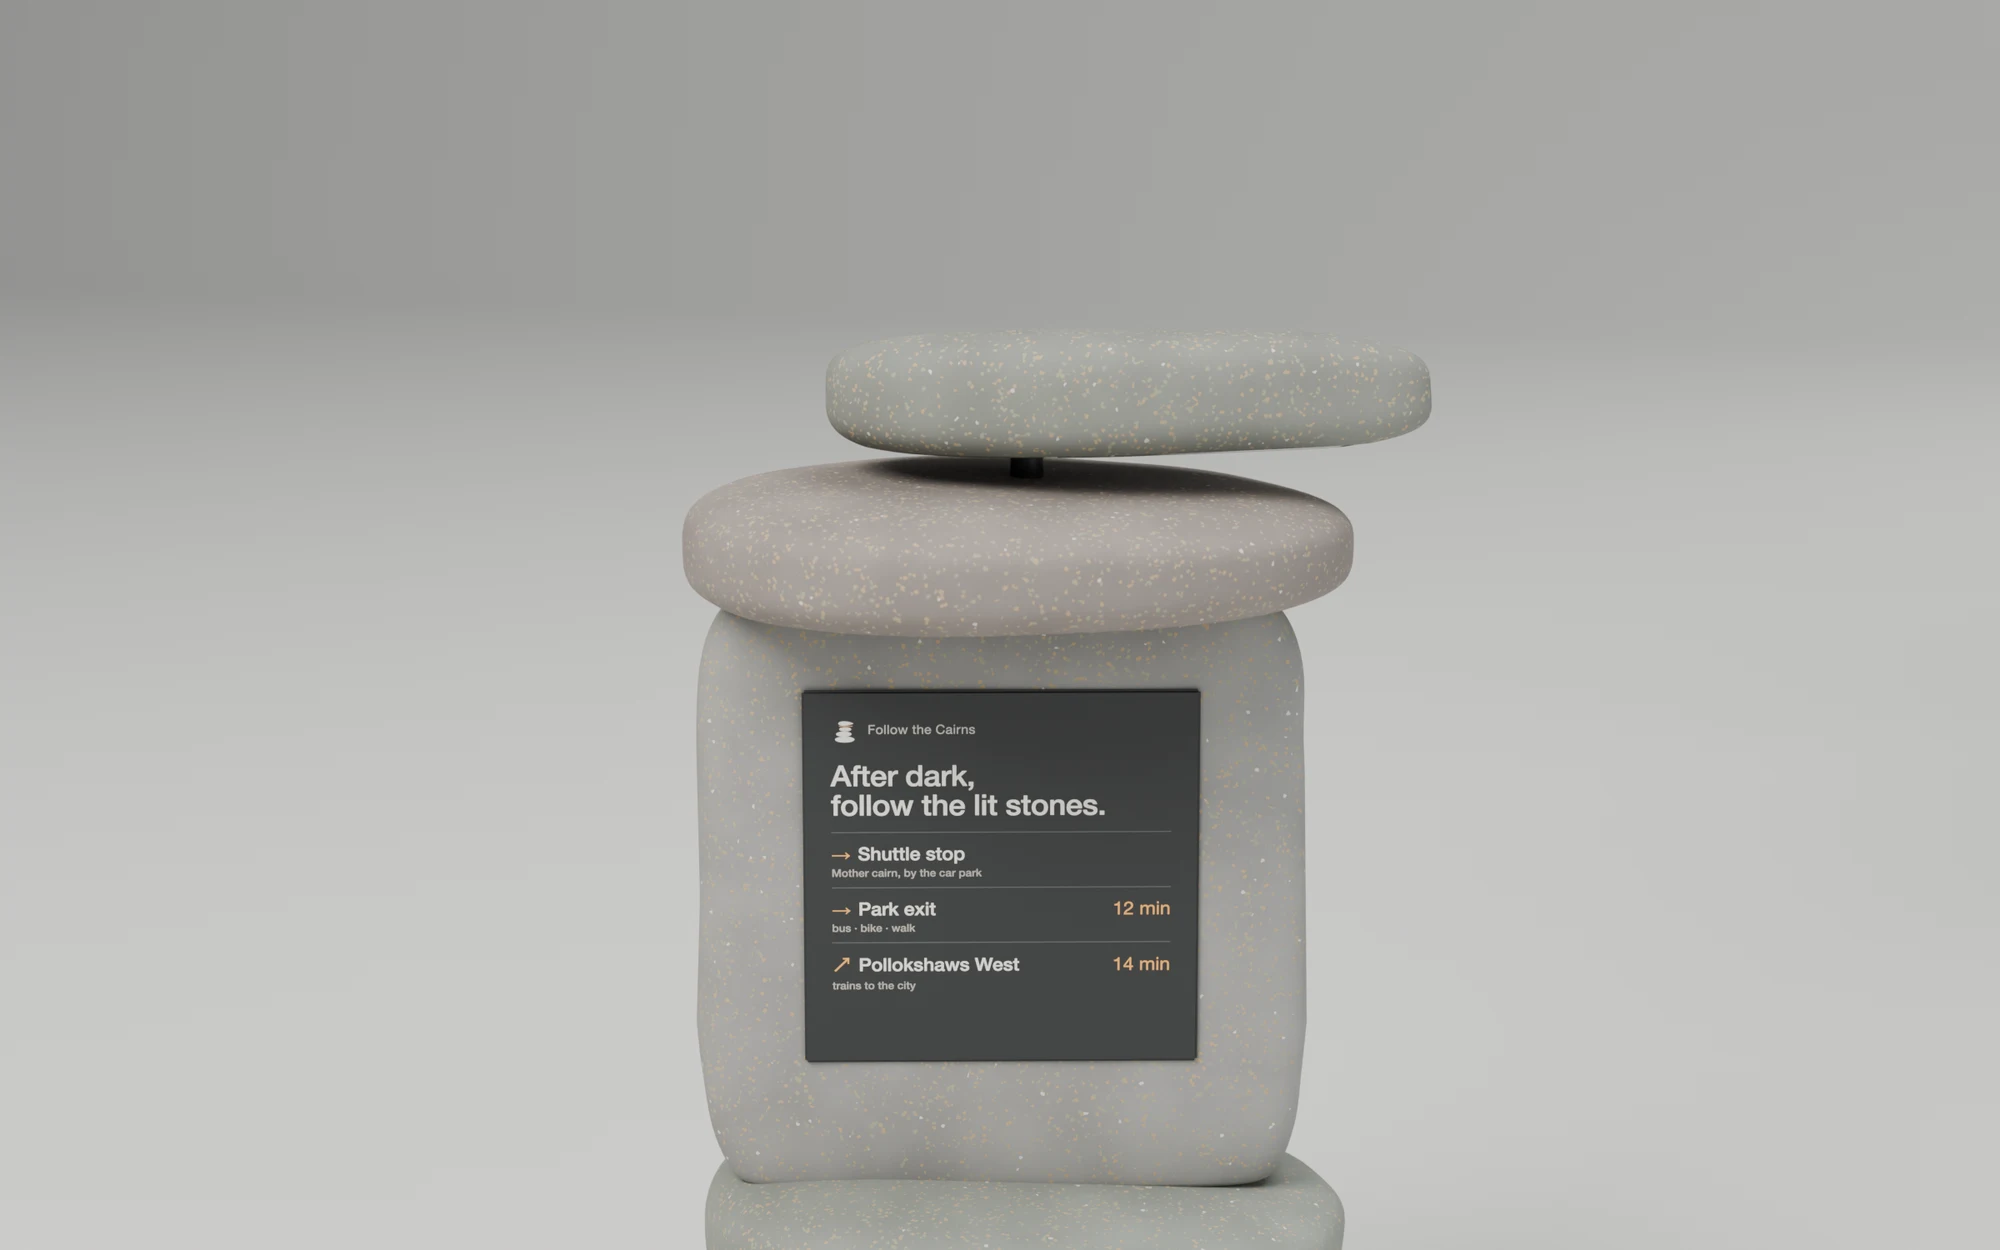
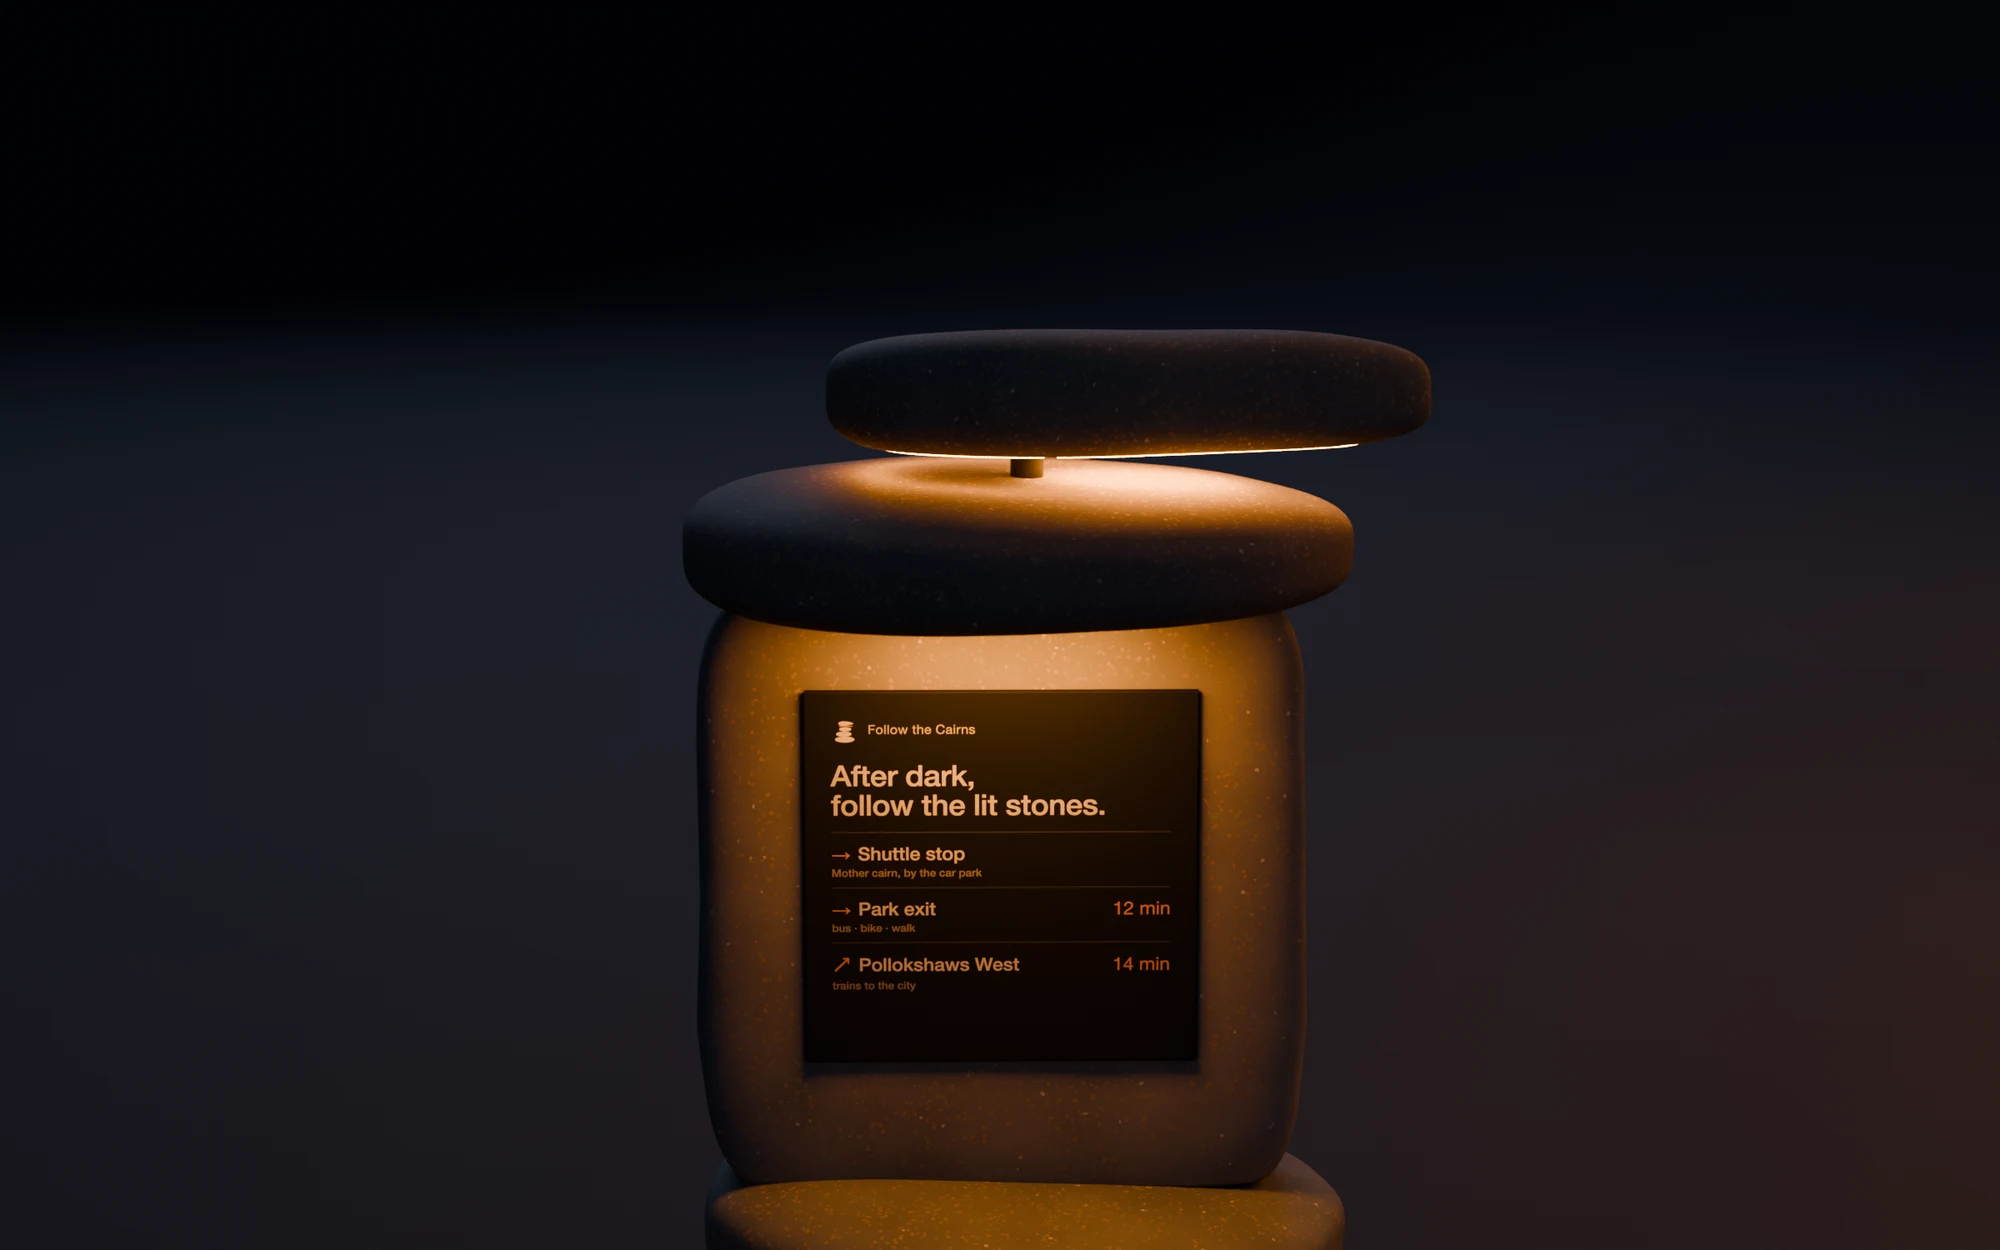
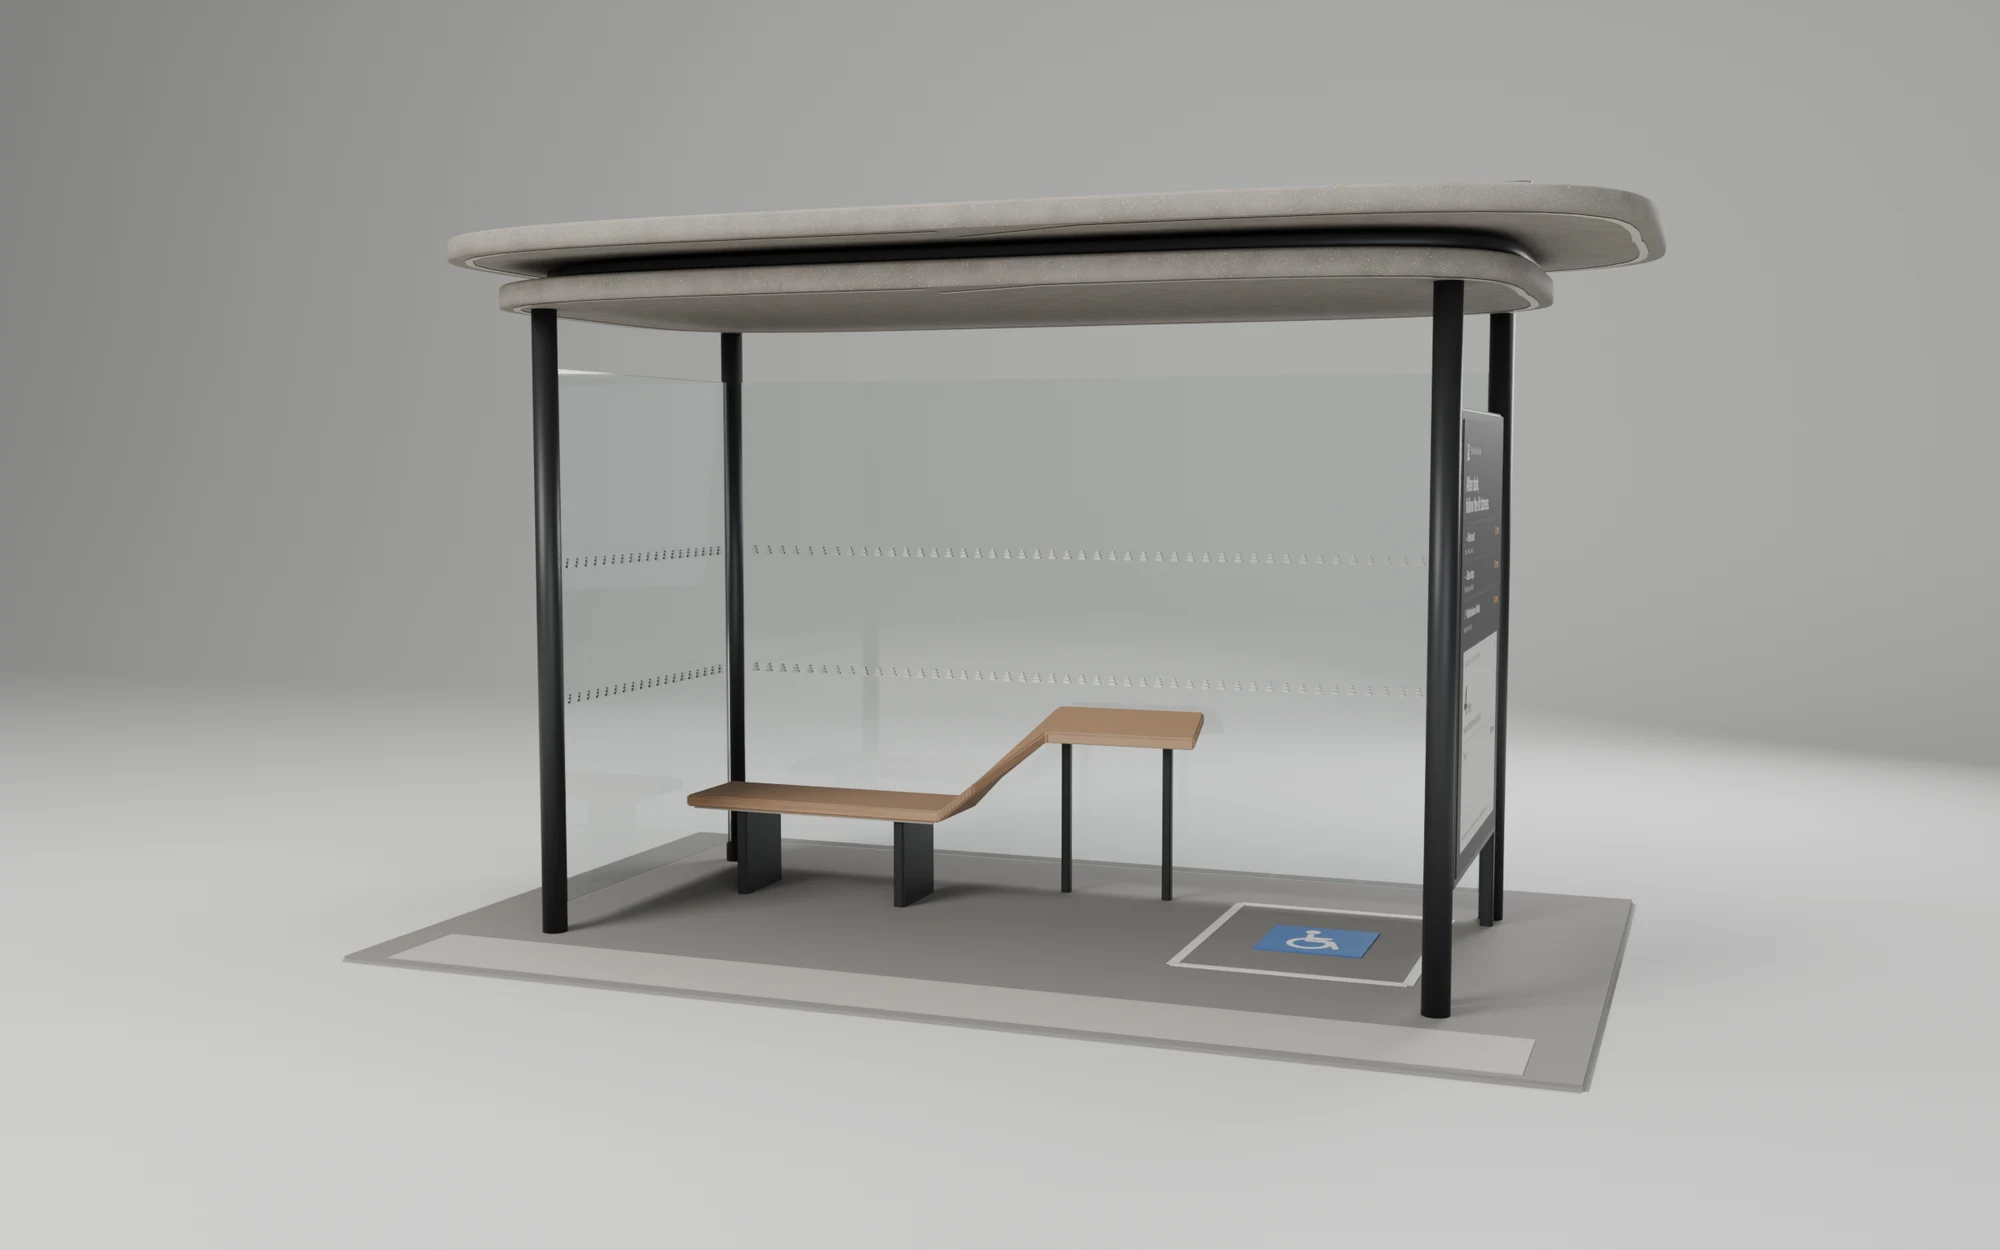
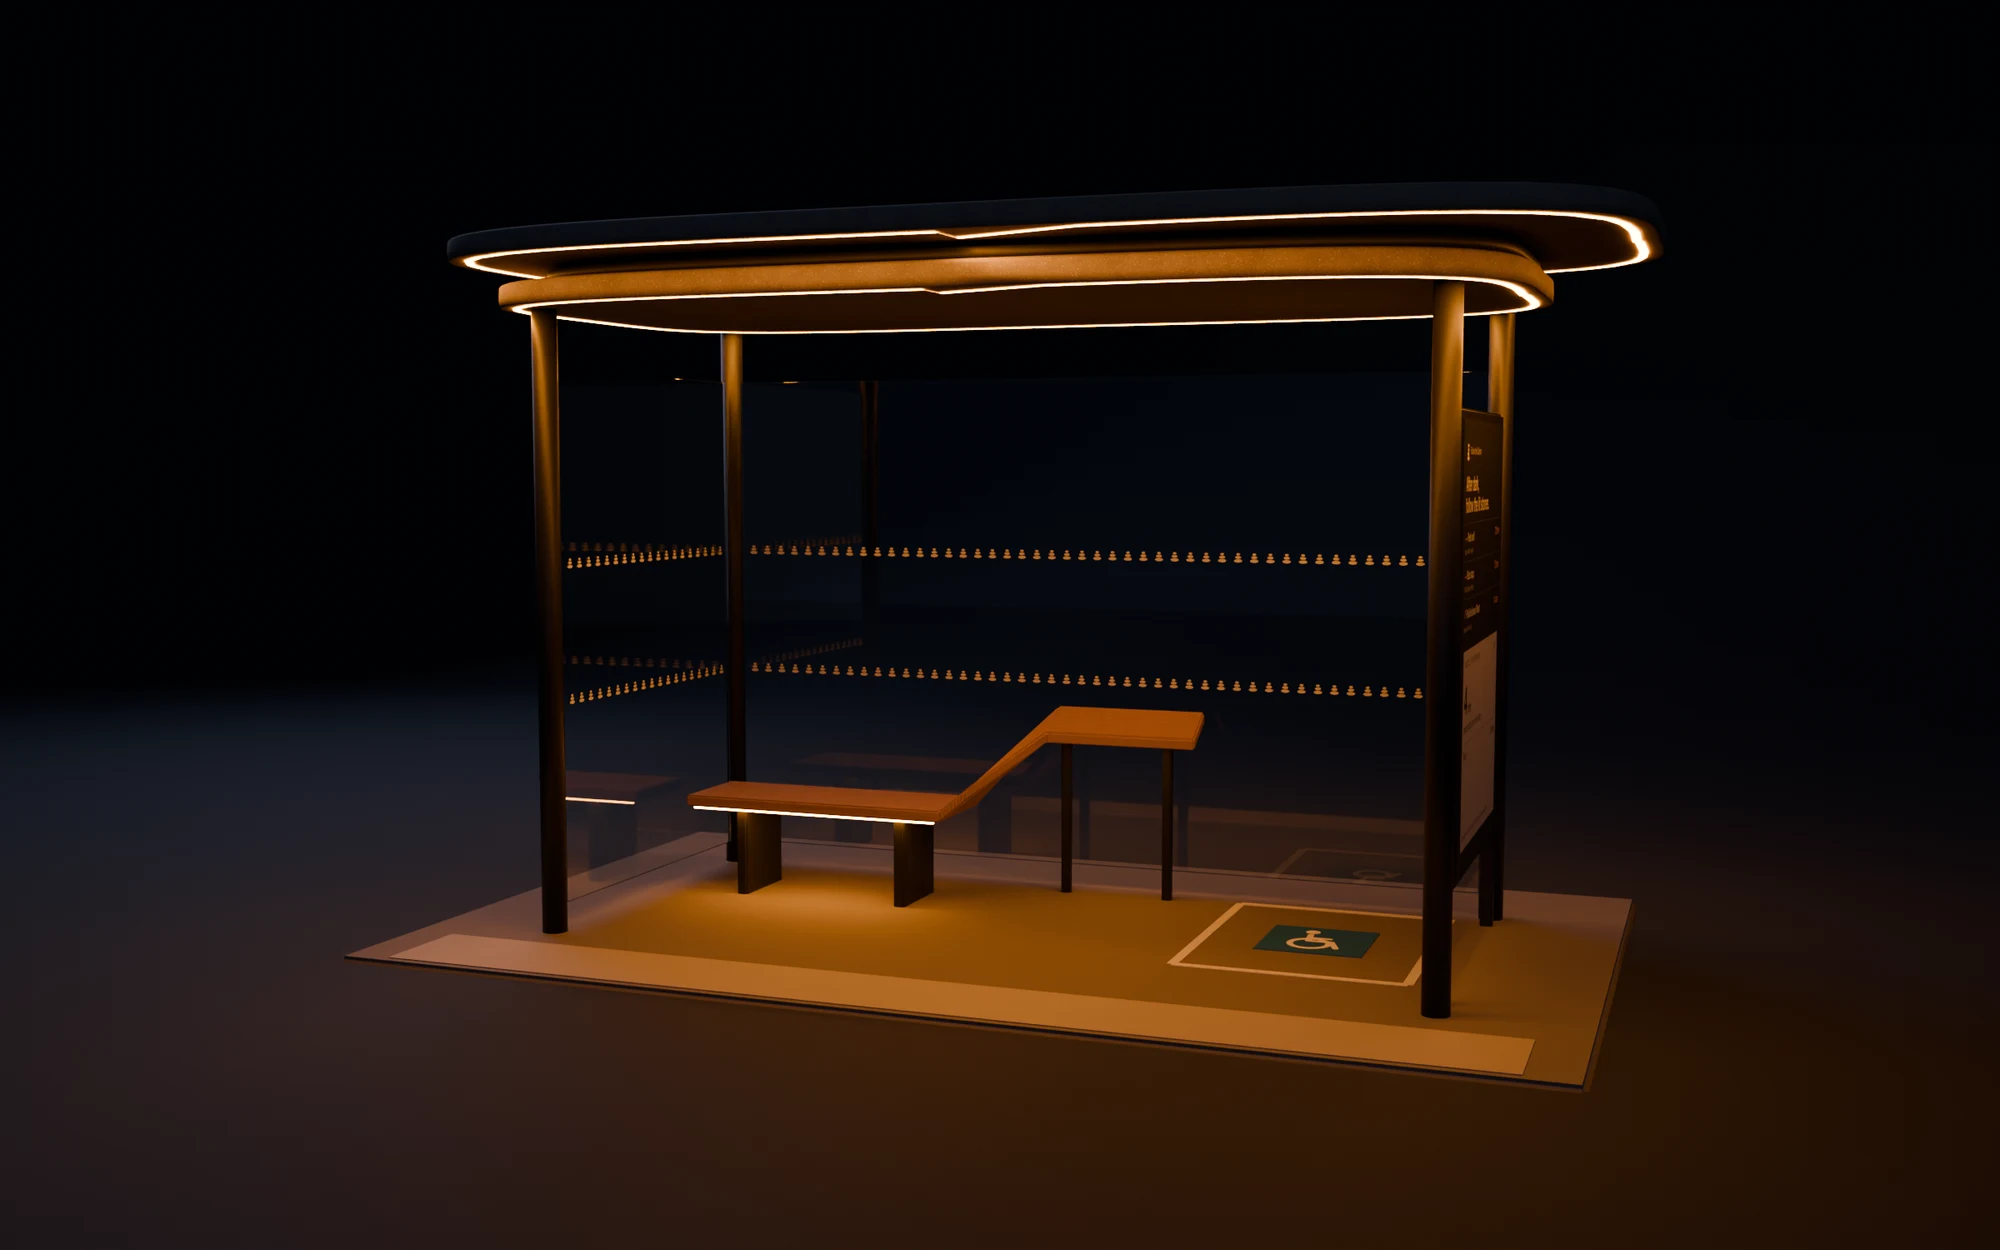
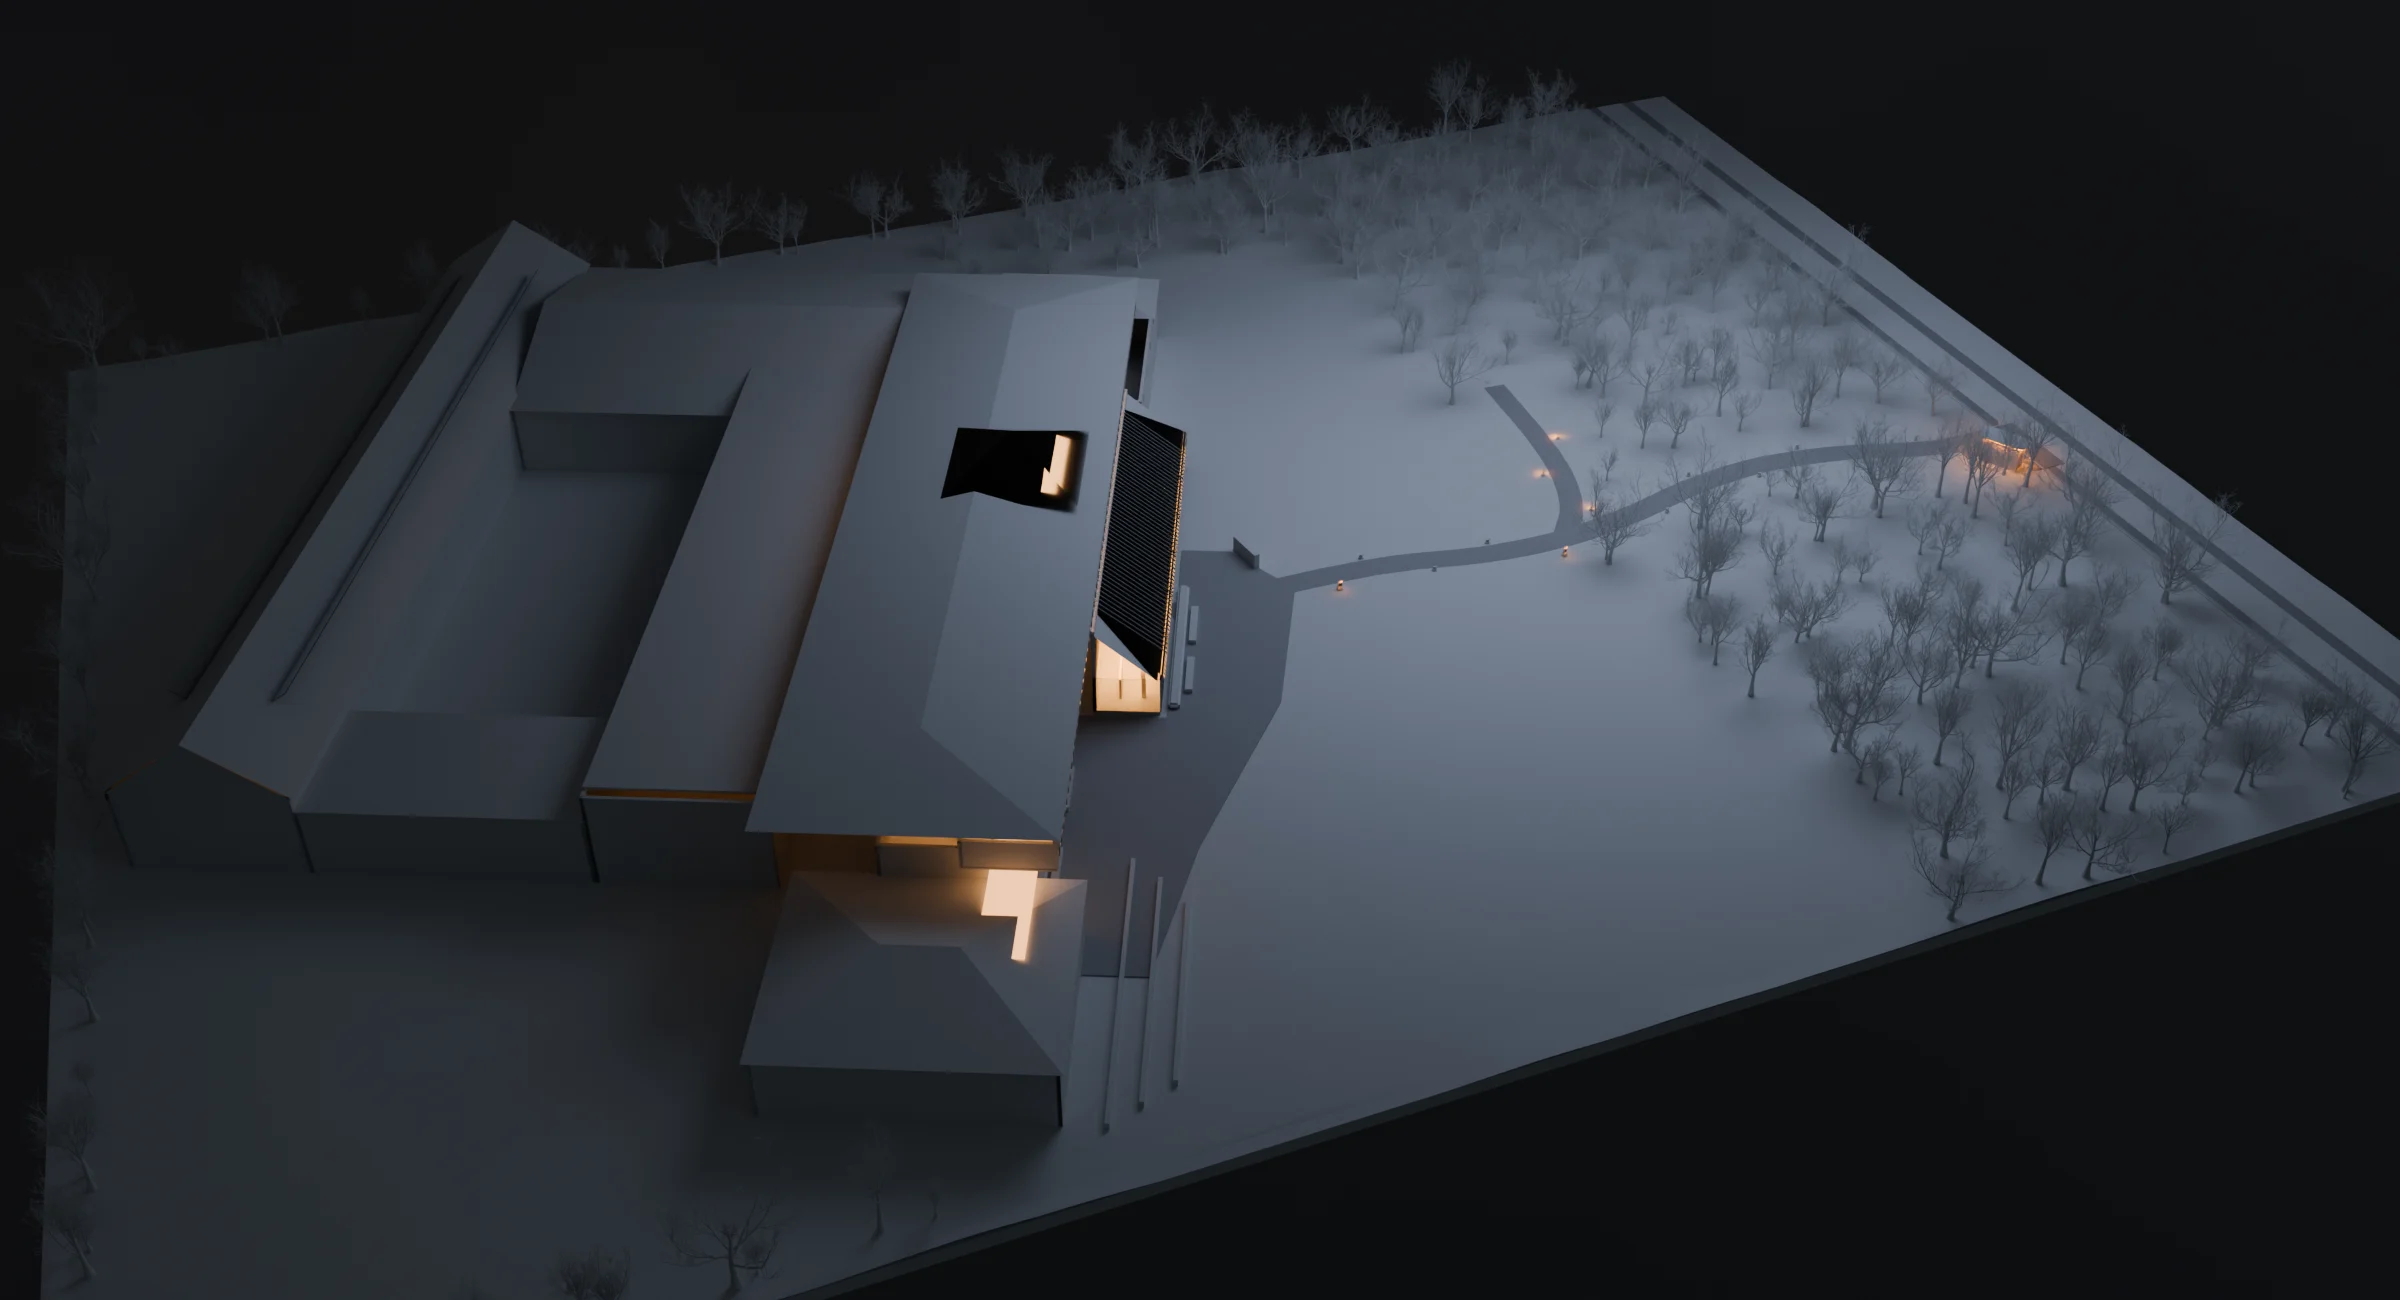
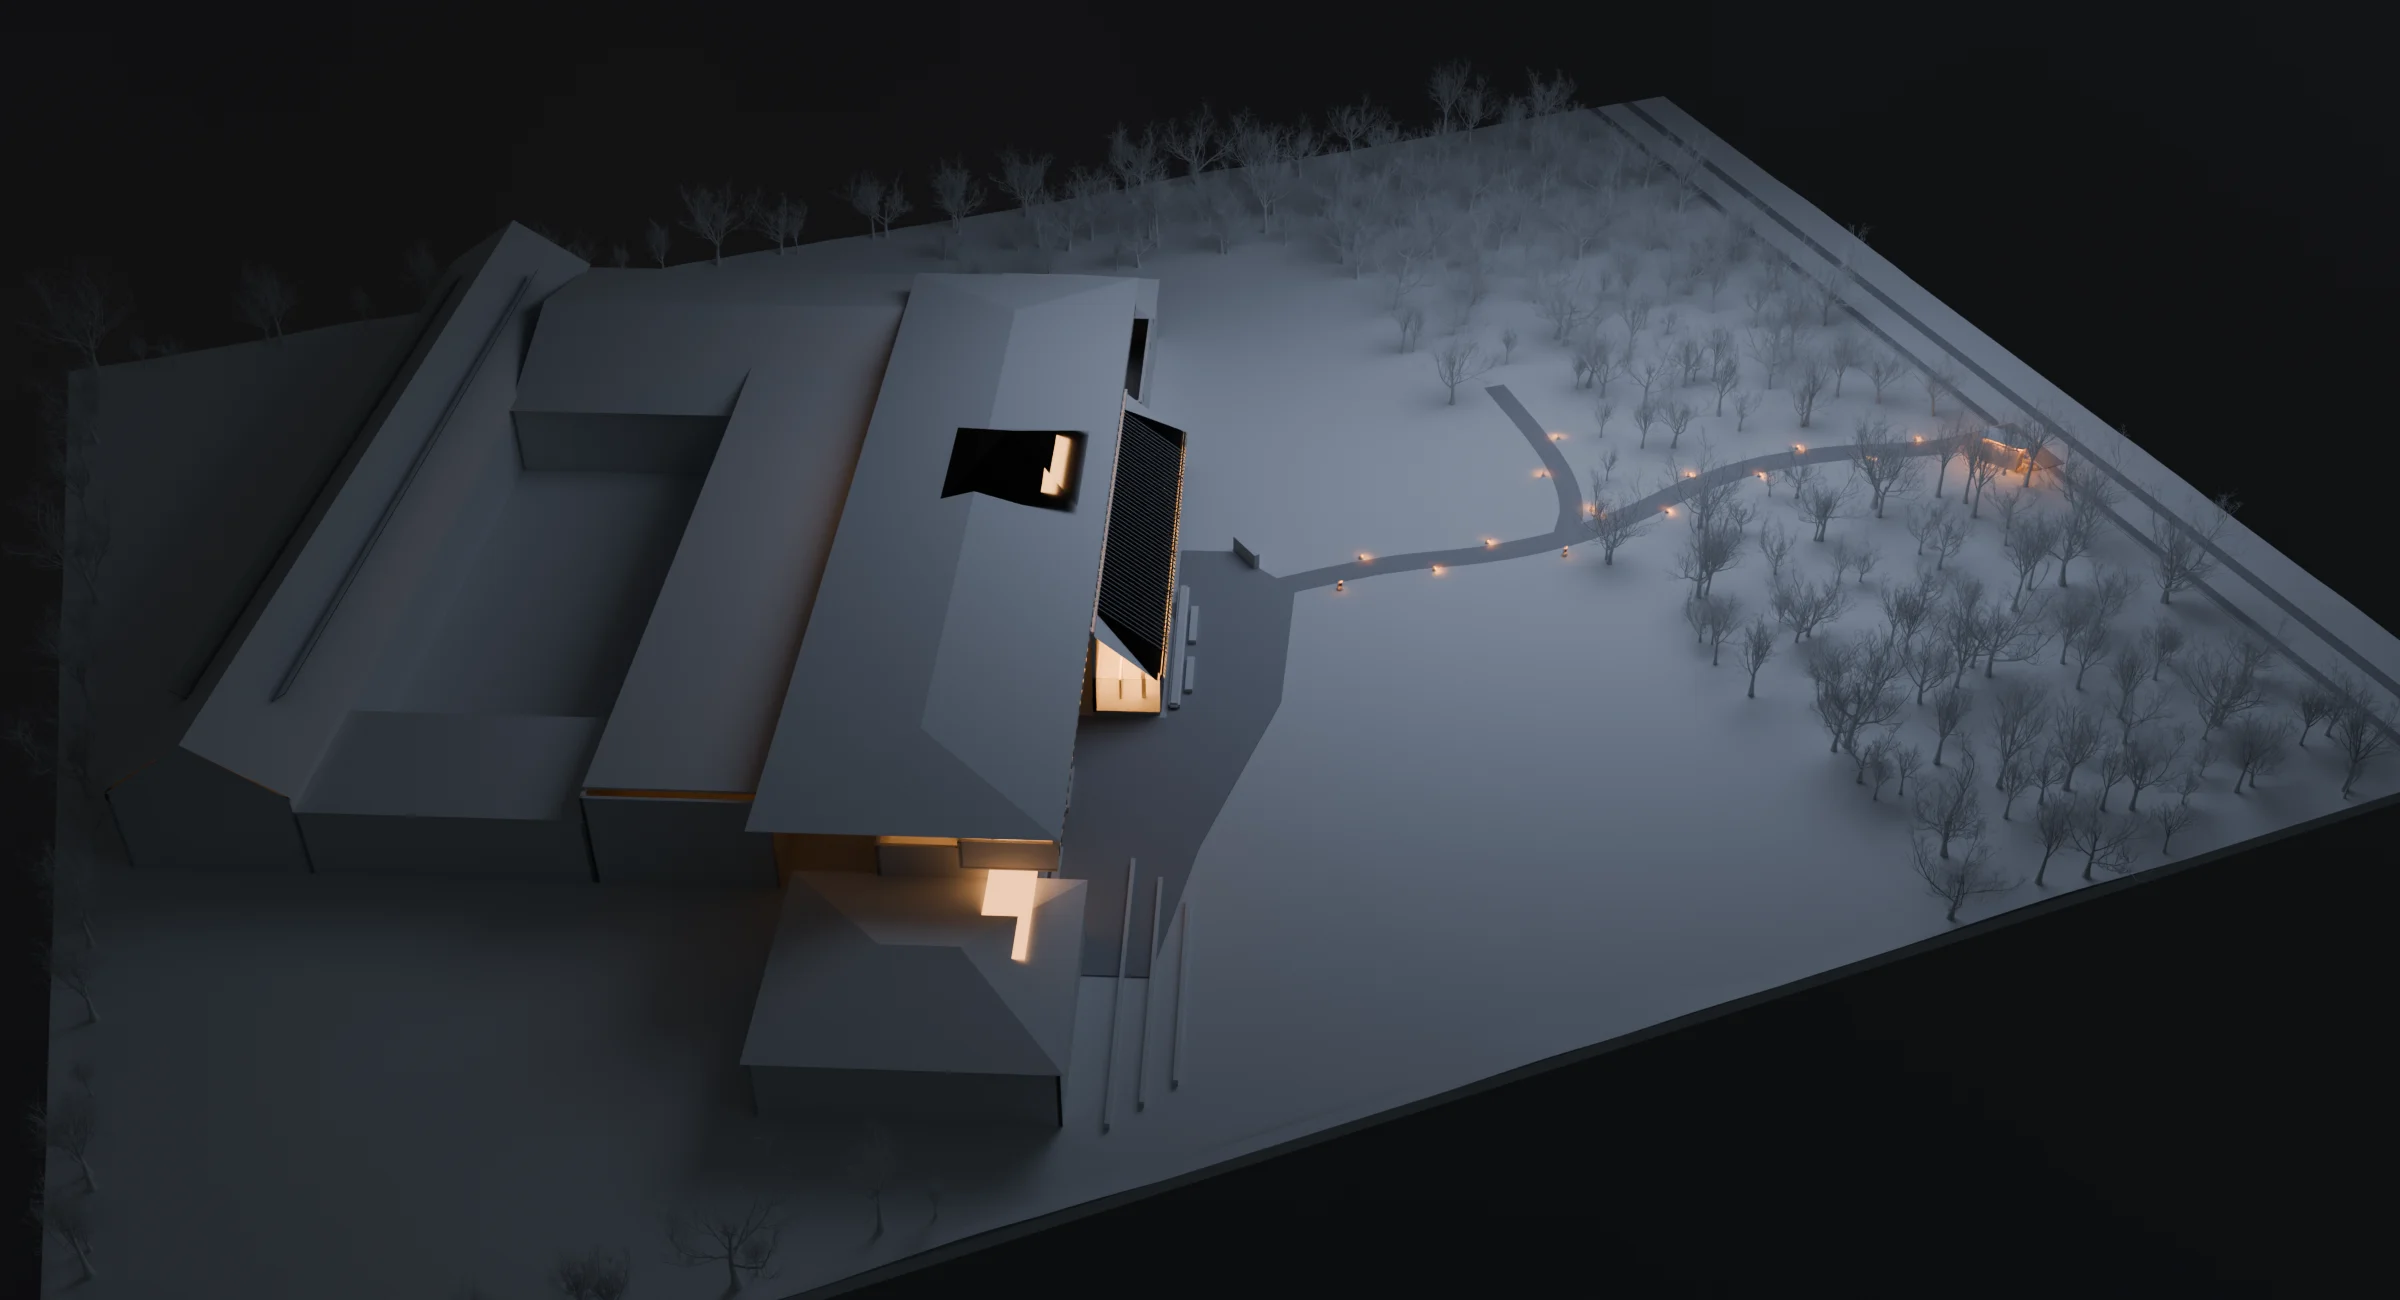
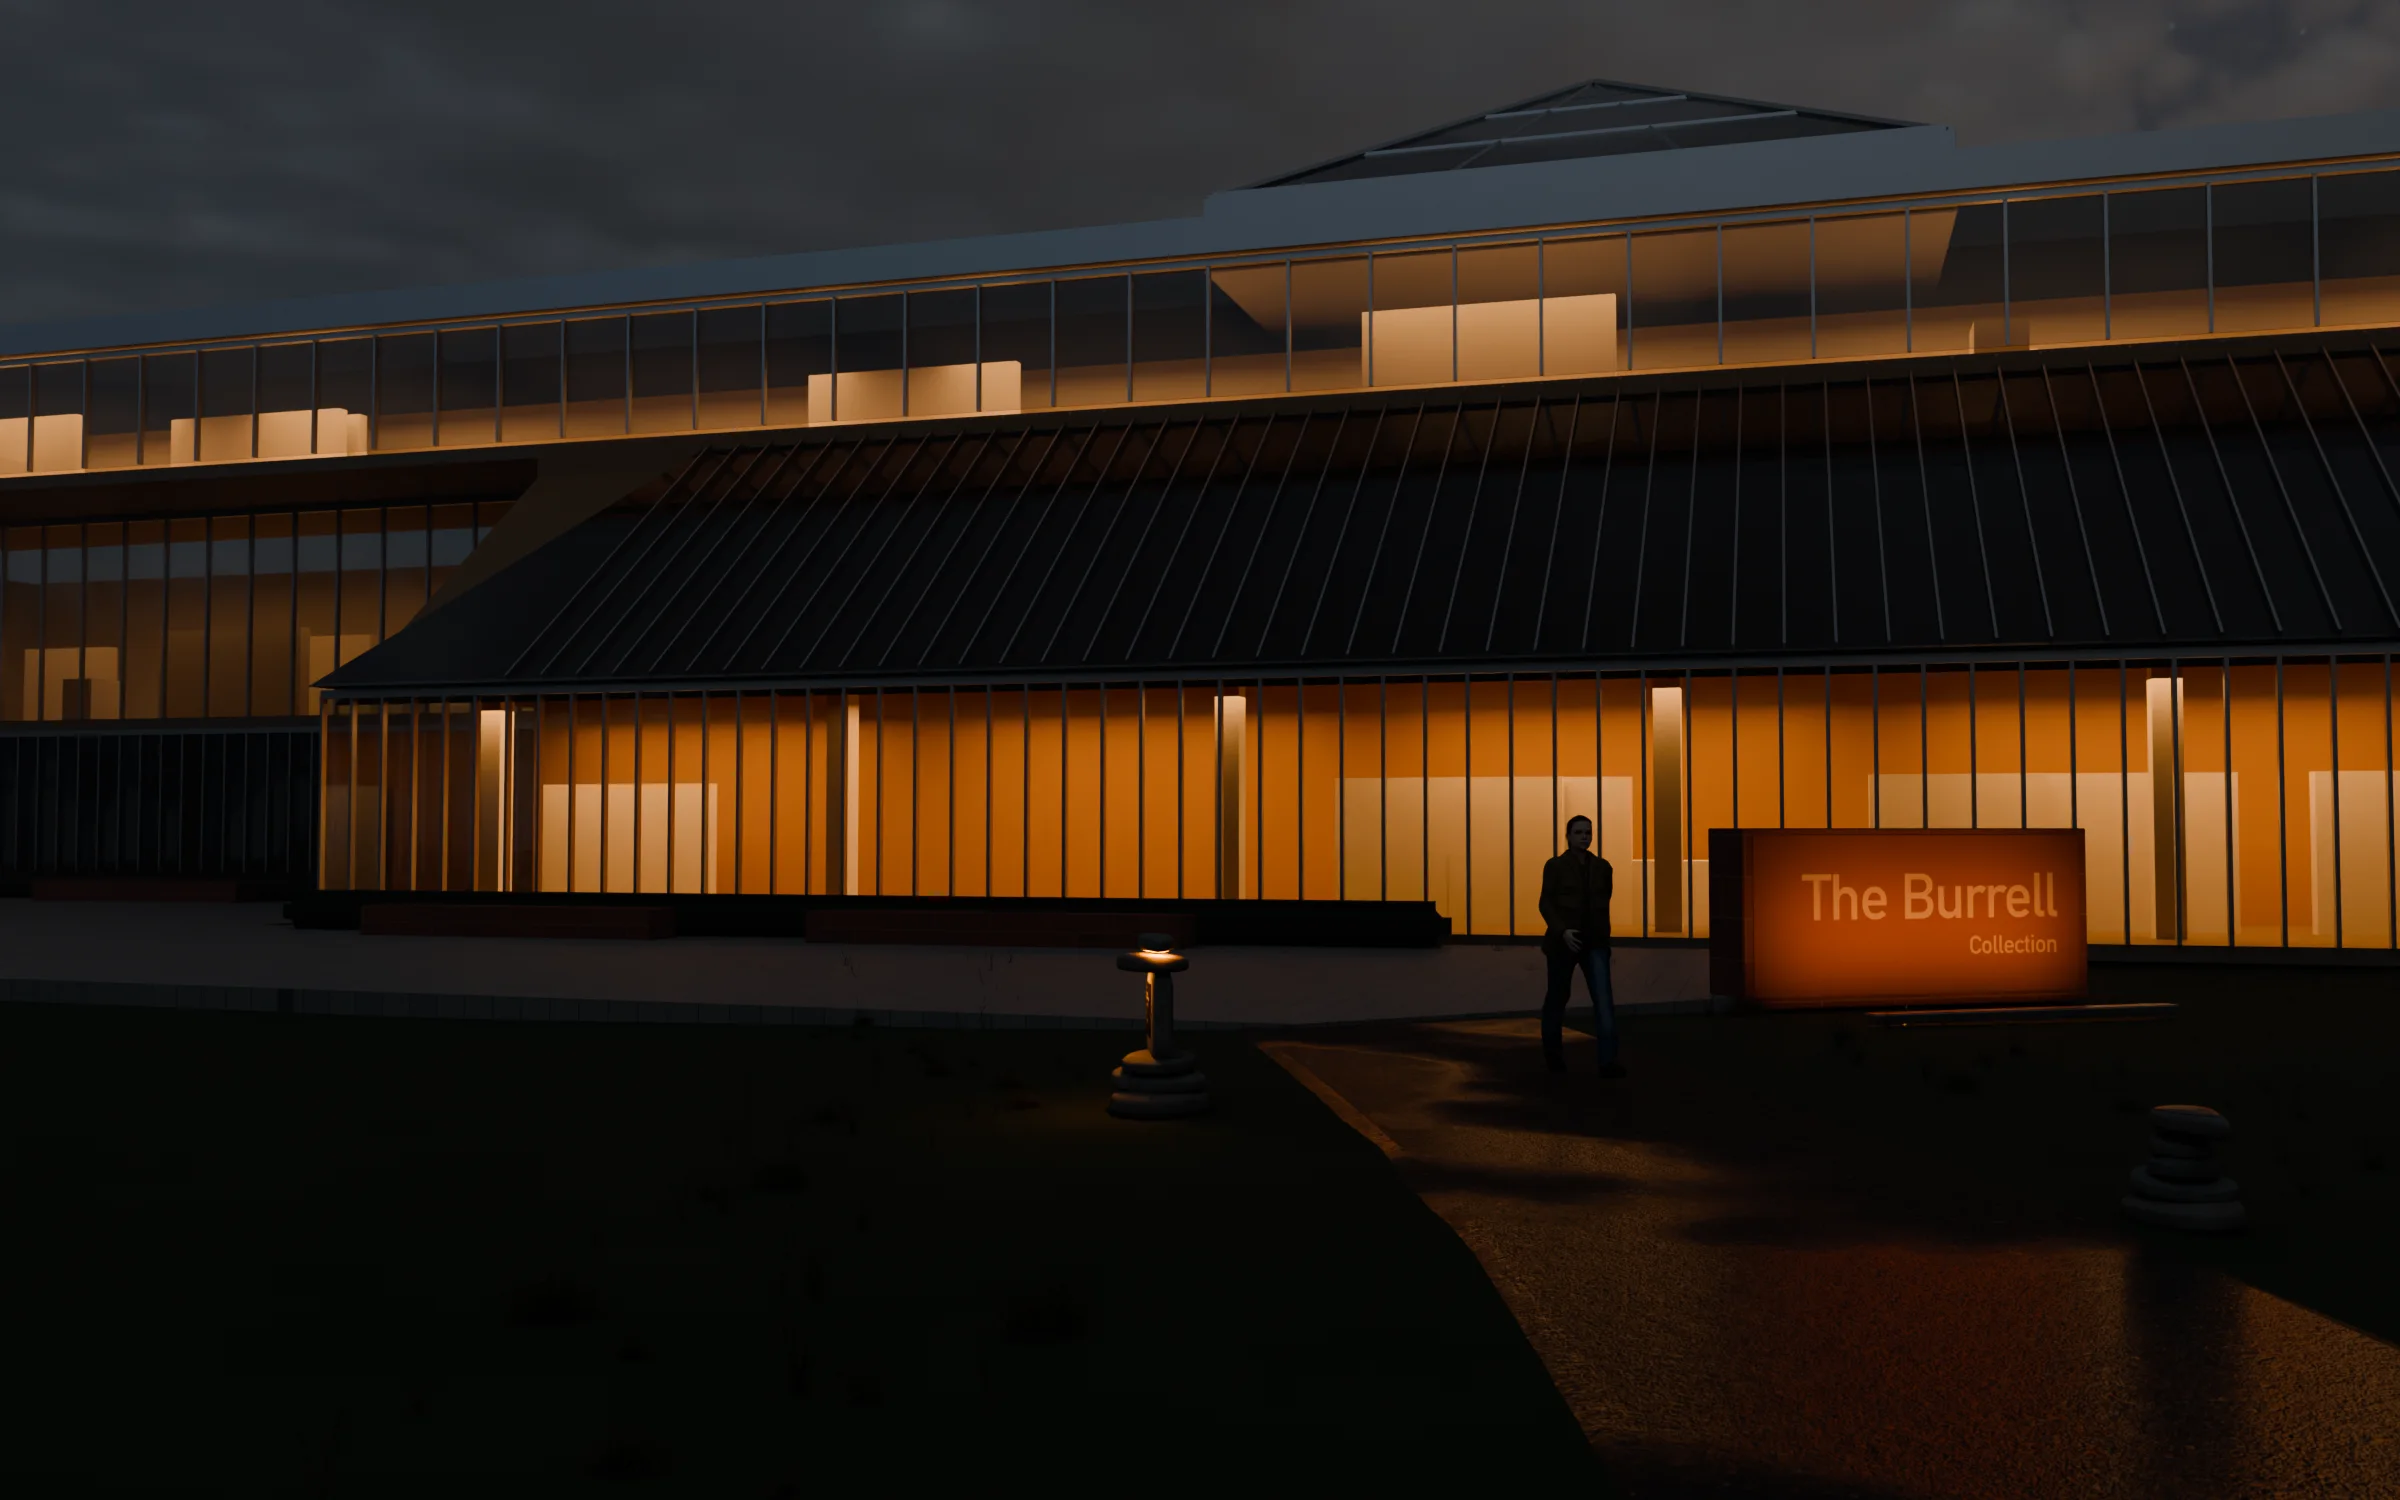
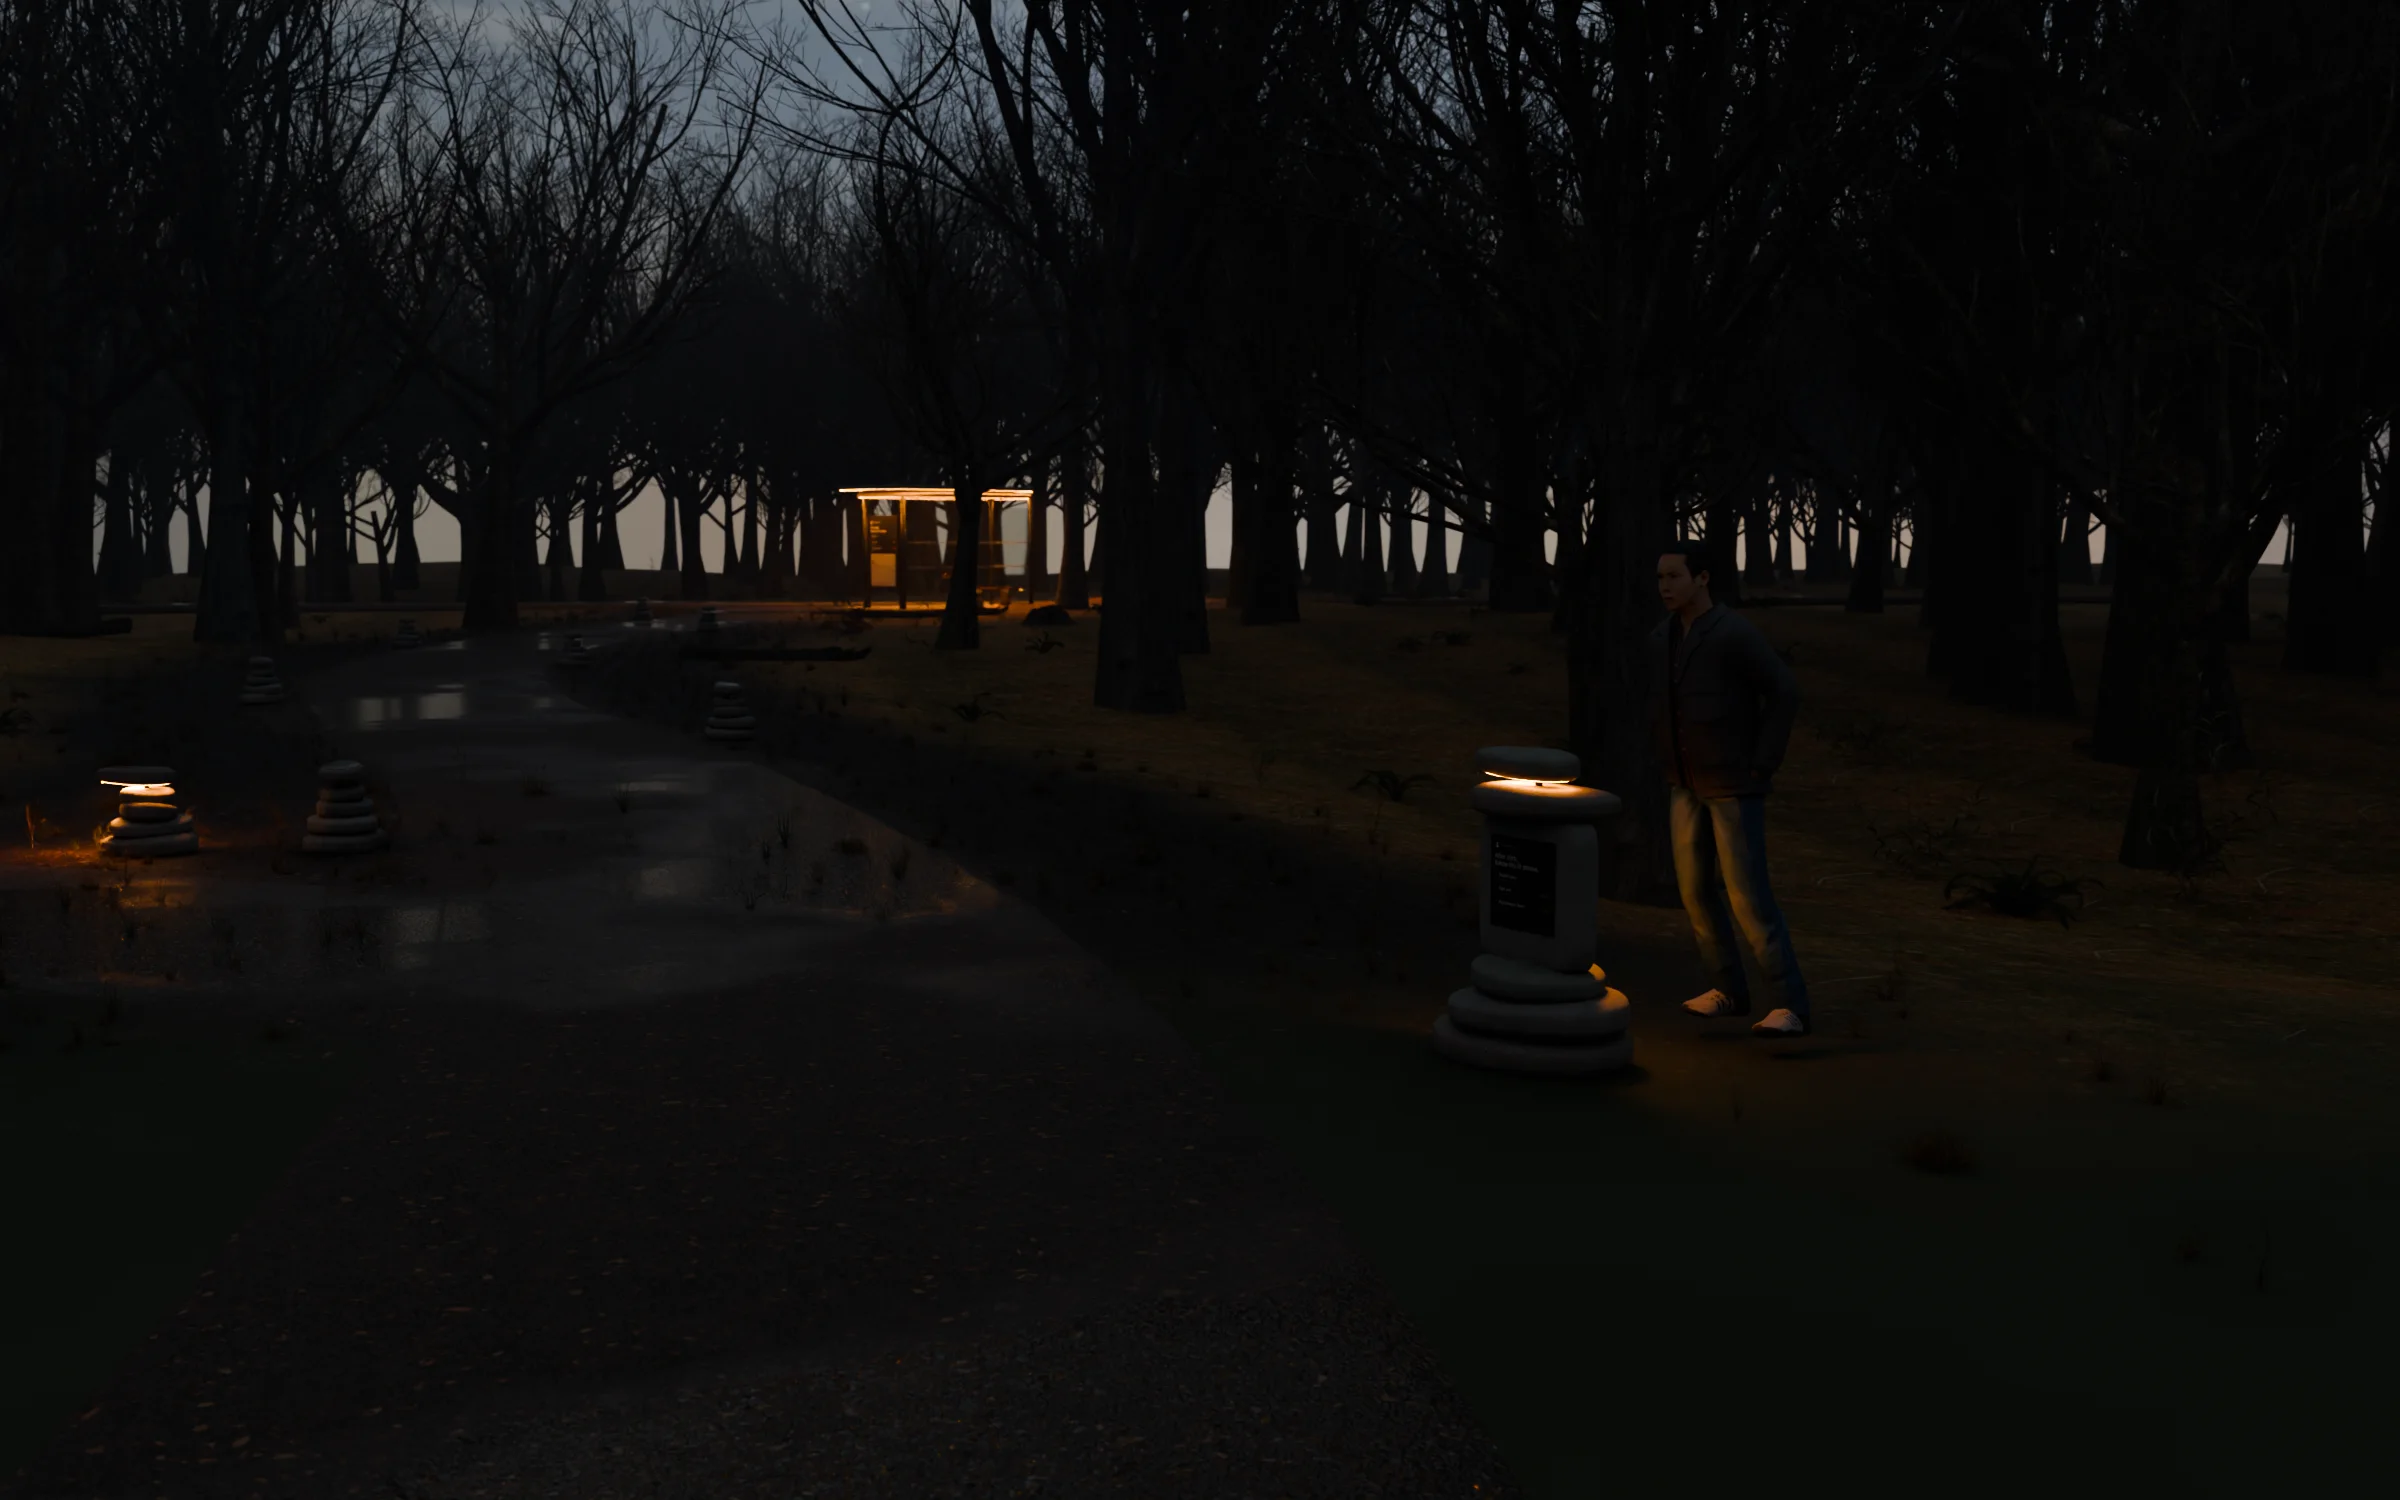
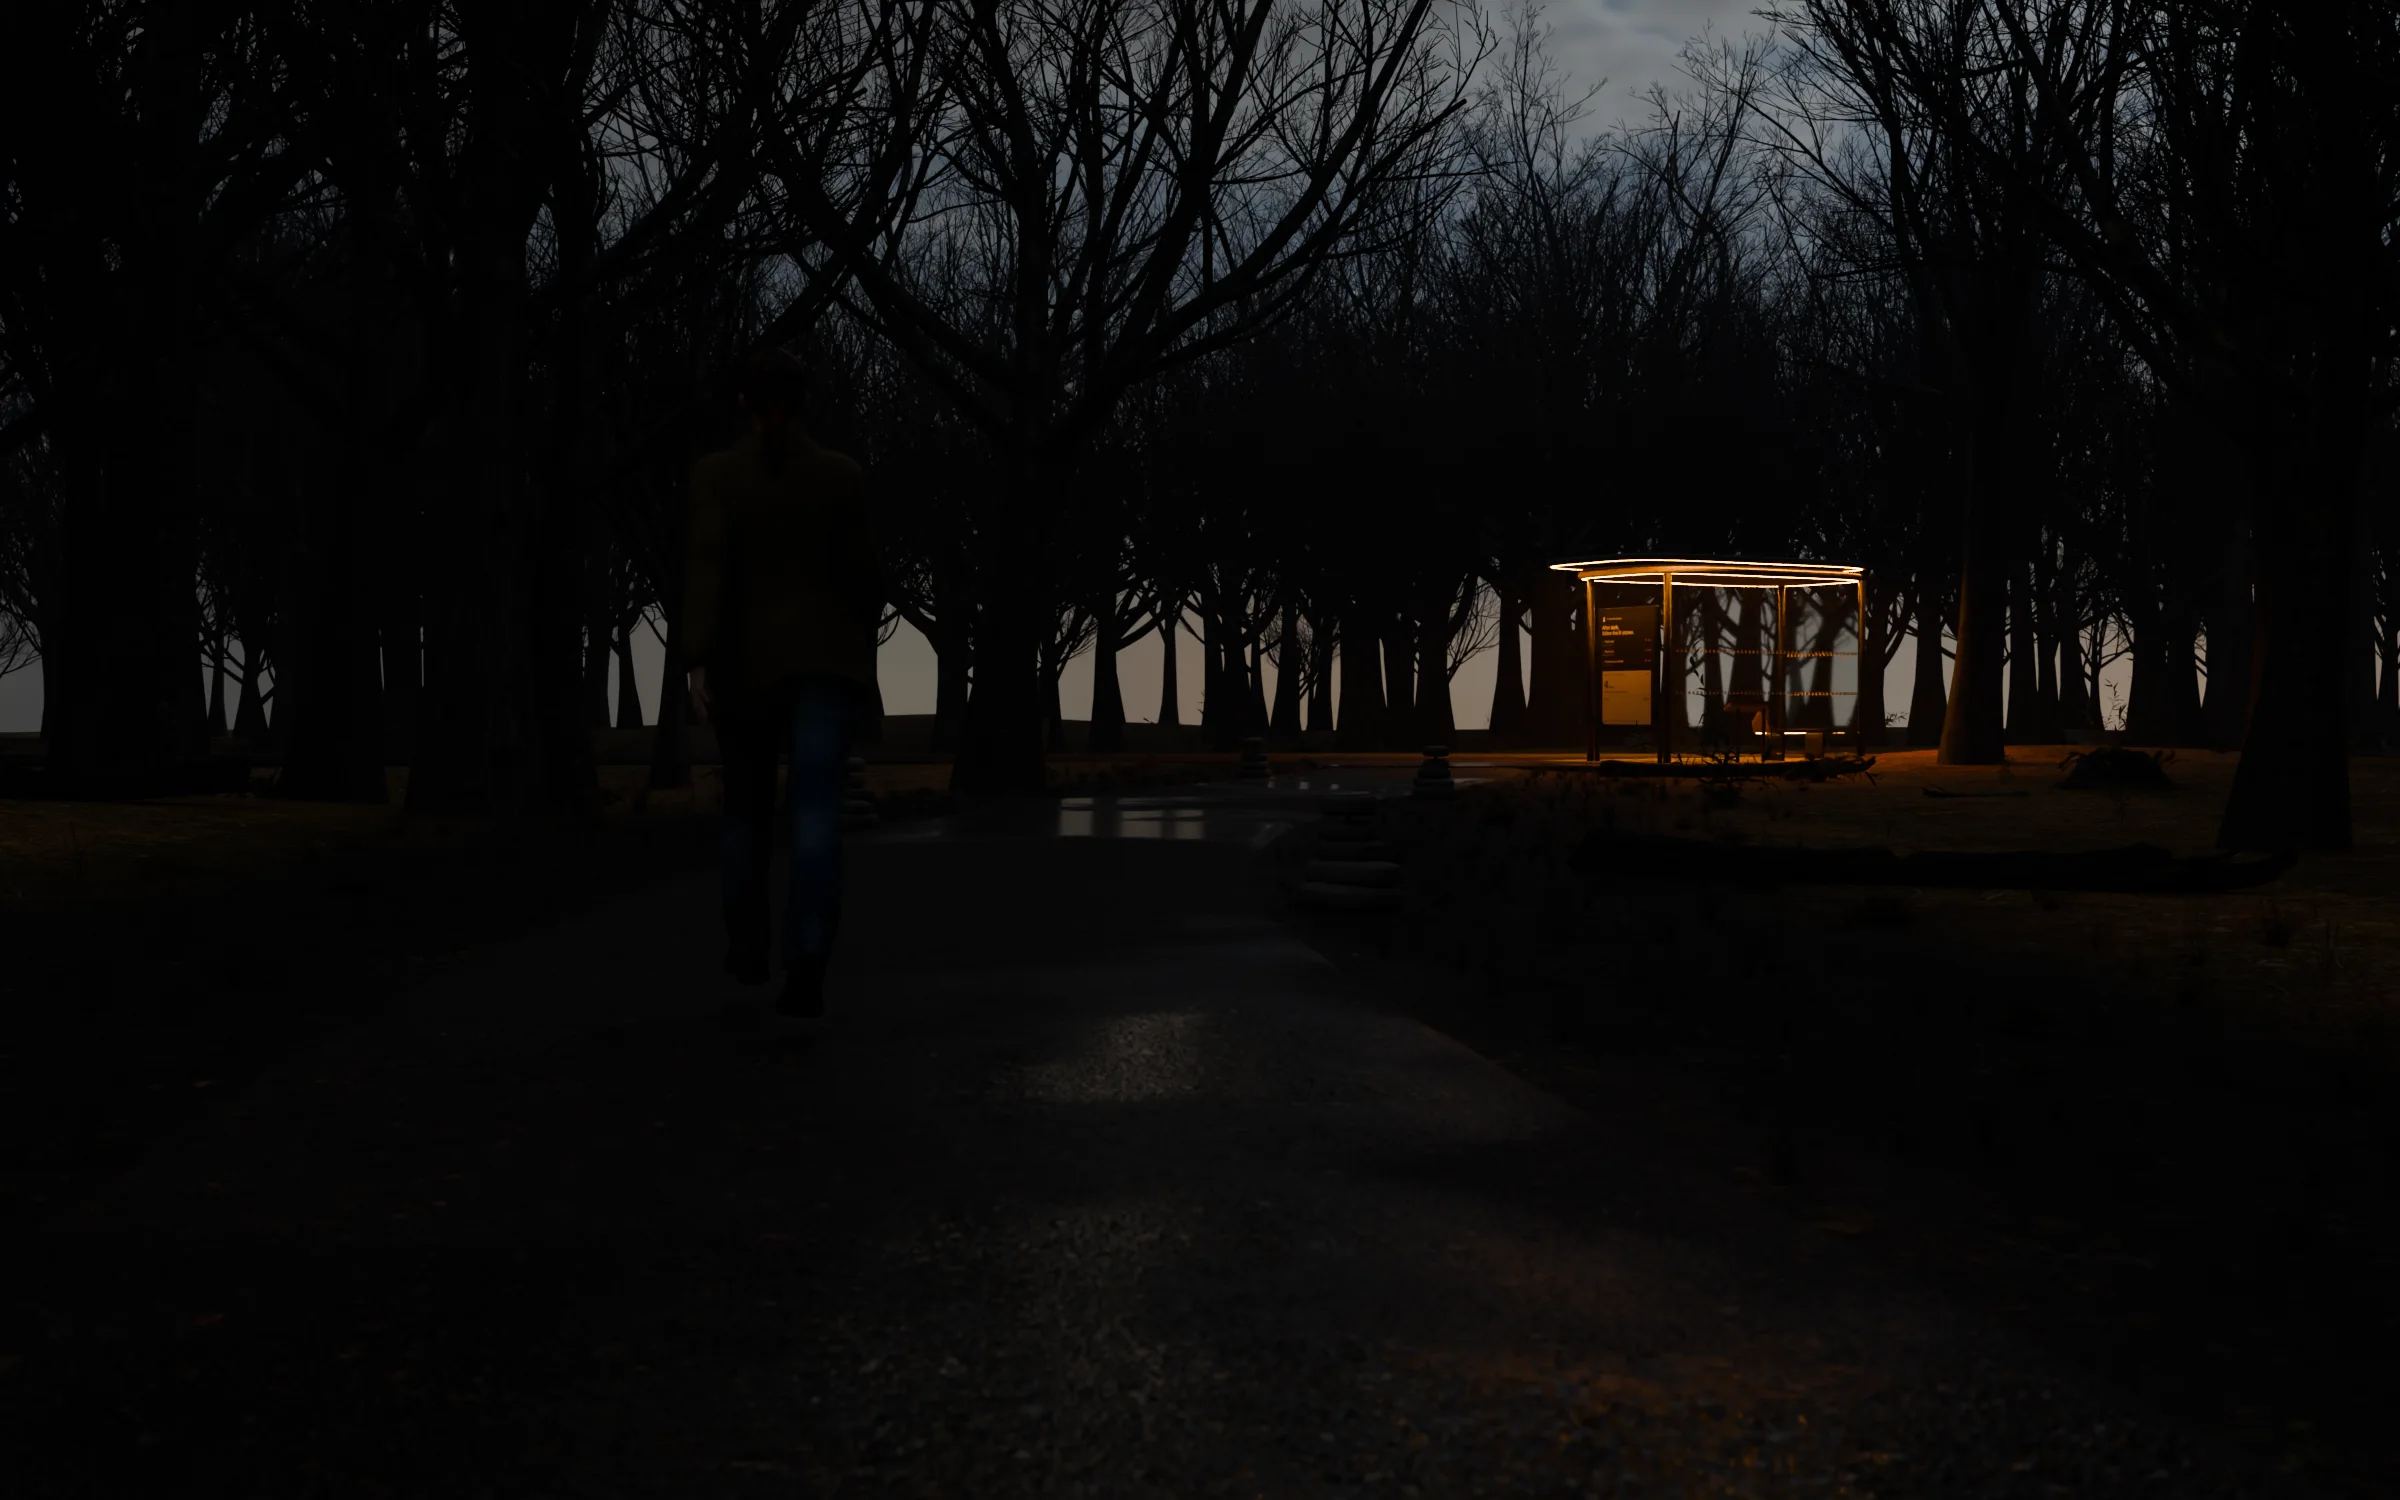
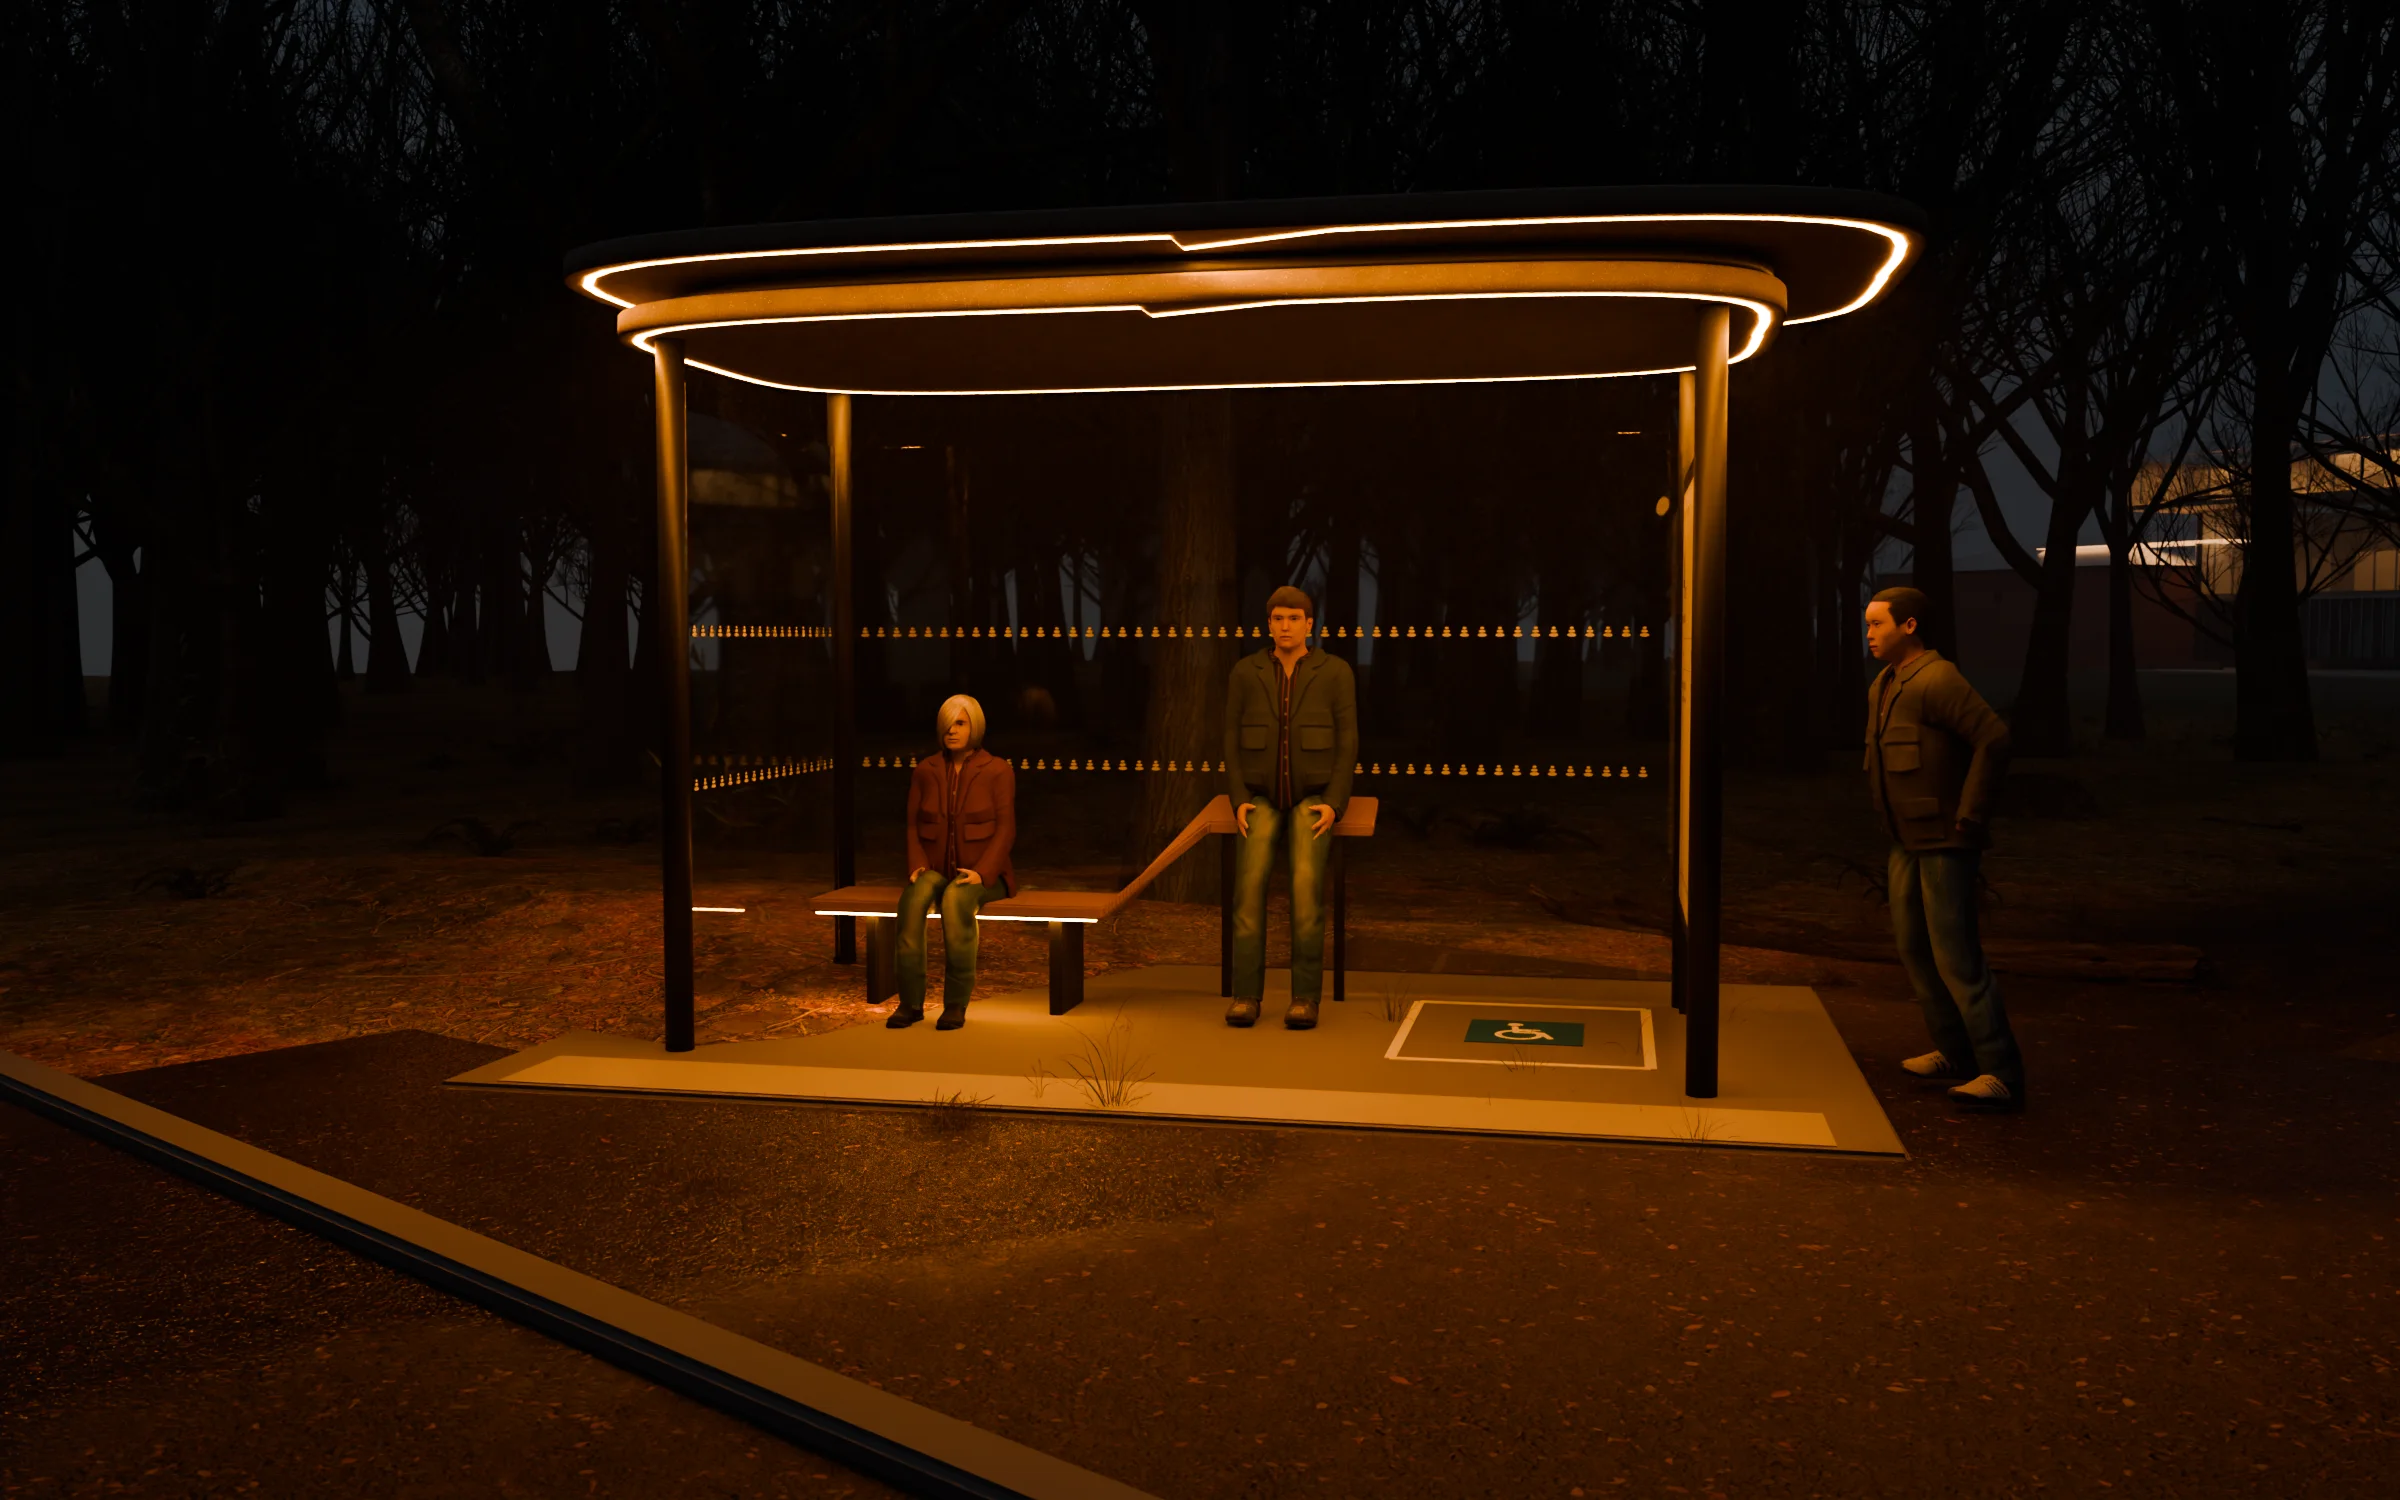
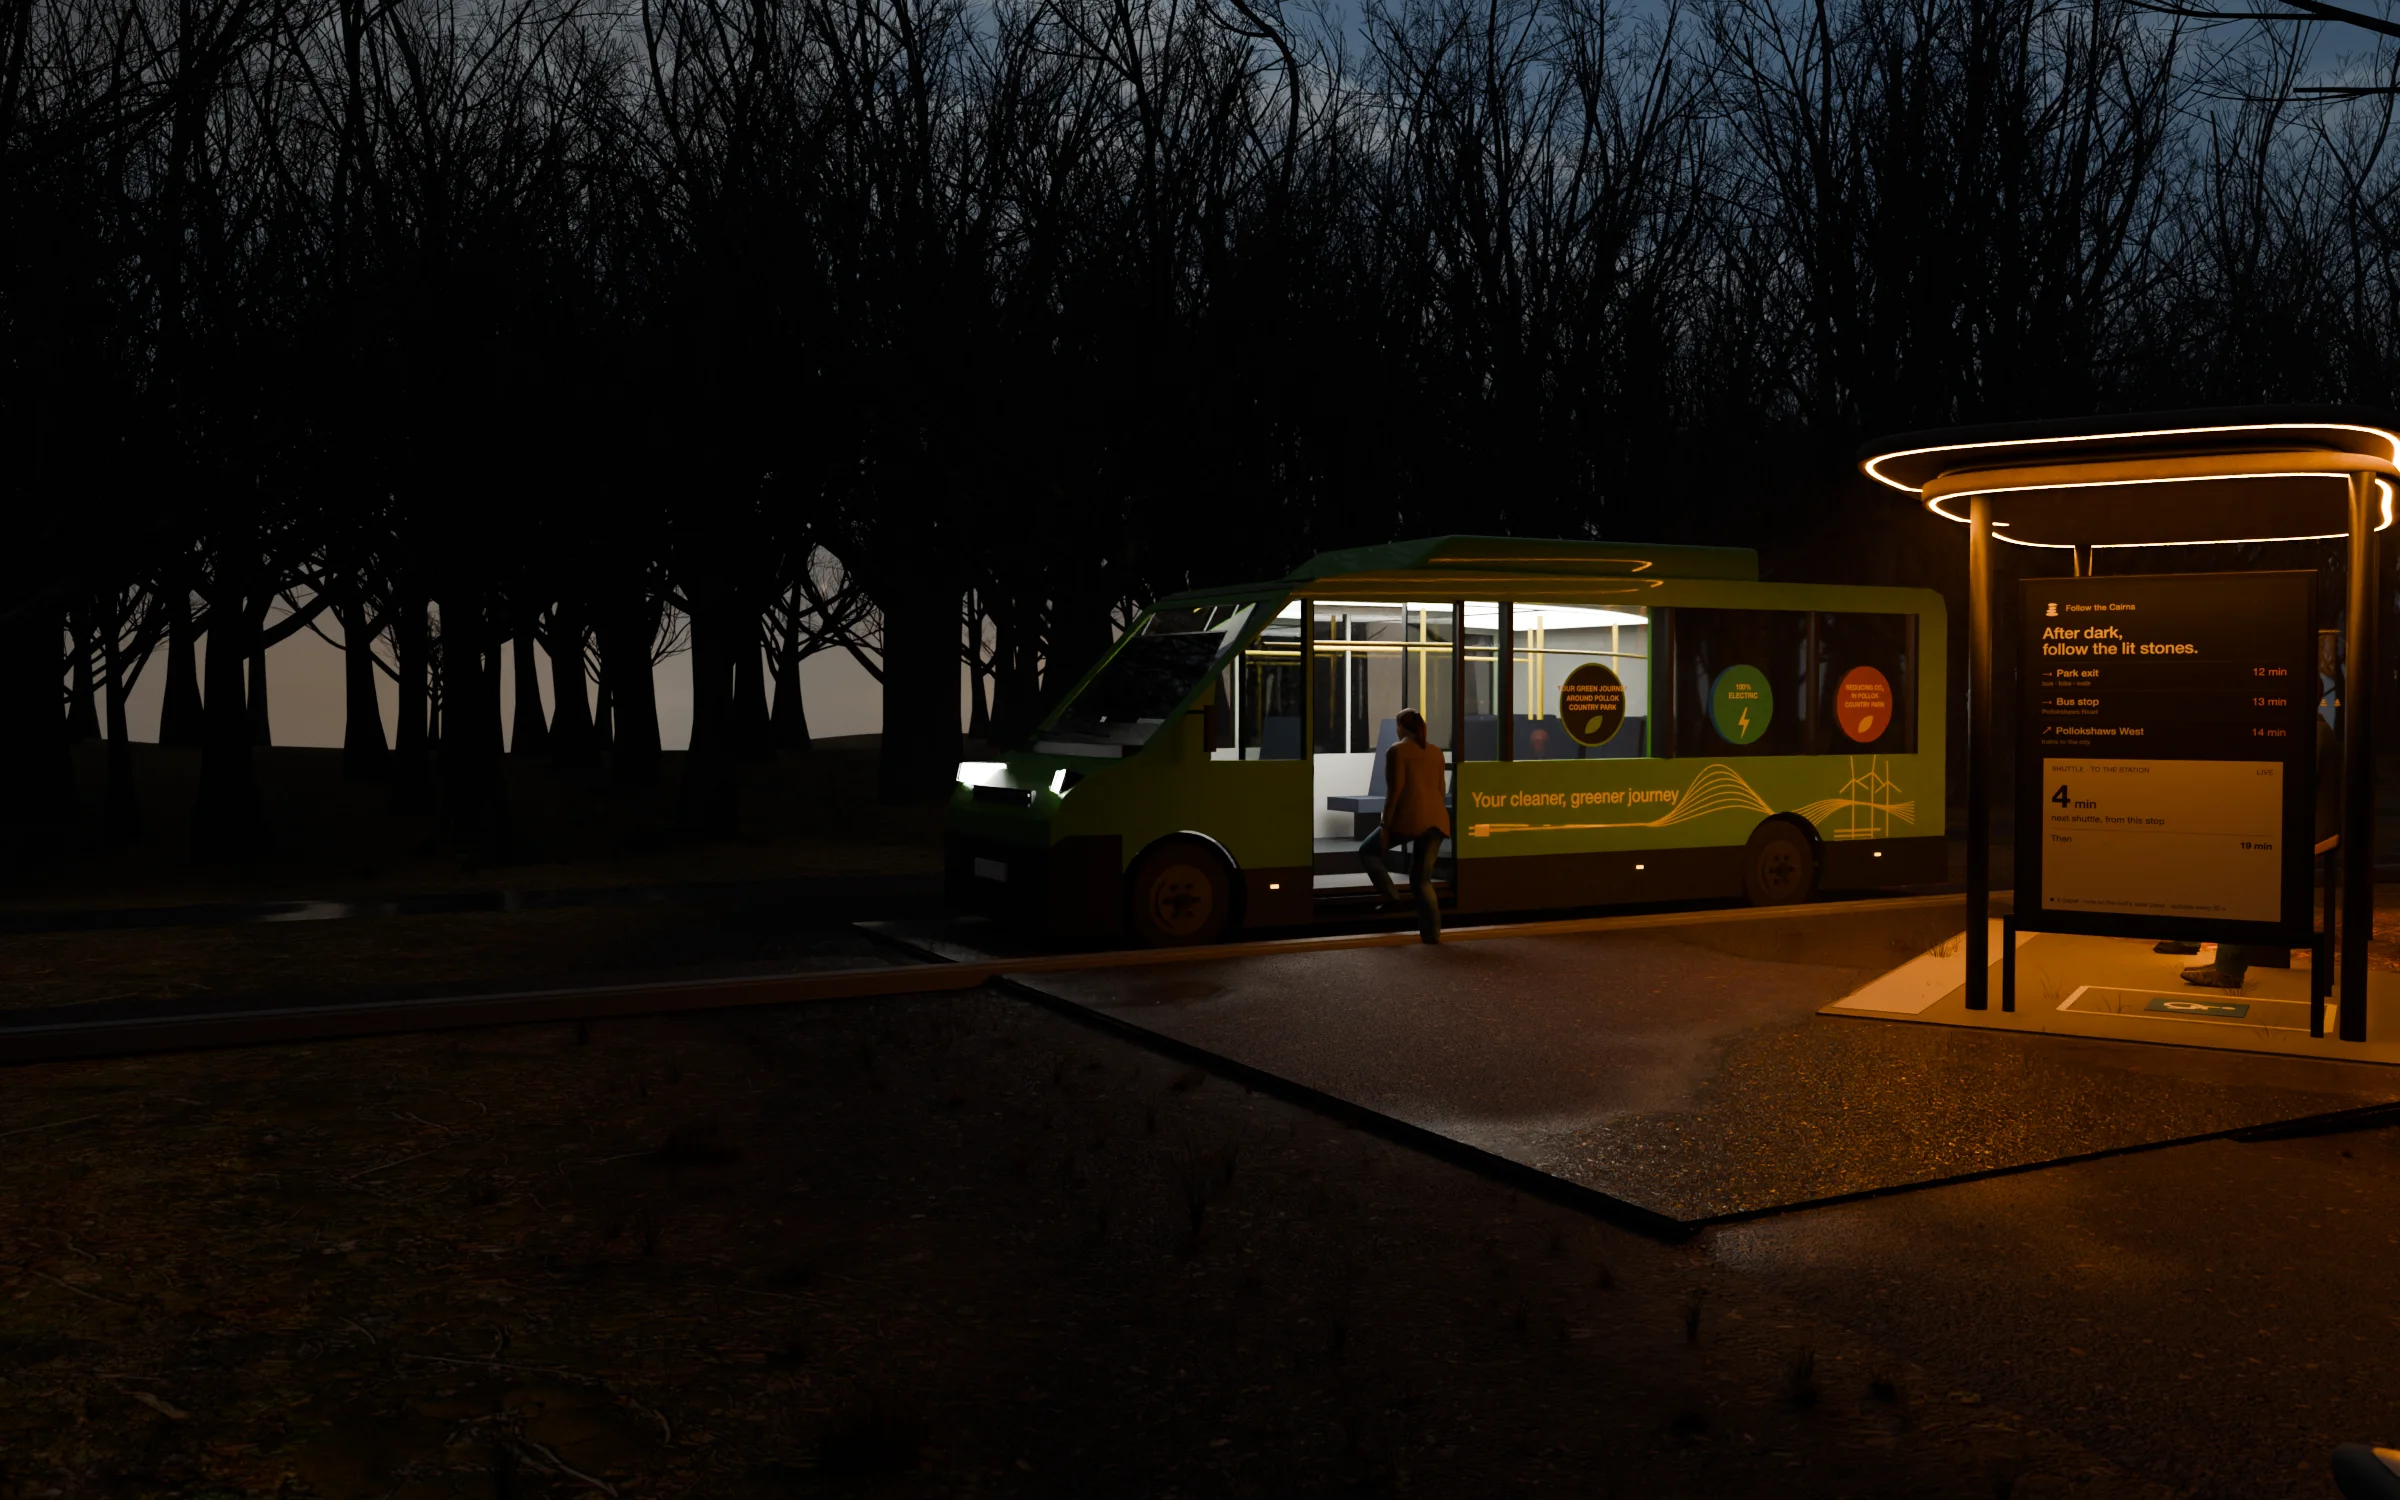
| The visitor | Steps out of the museum and decides how to get home. | Reaches the fork and checks which way is lit tonight. | Walks between stones without searching for the next one. | Arrives at the shuttle stop and decides whether to wait. | Boards the shuttle, or walks on to Pollokshaws West. |
|---|
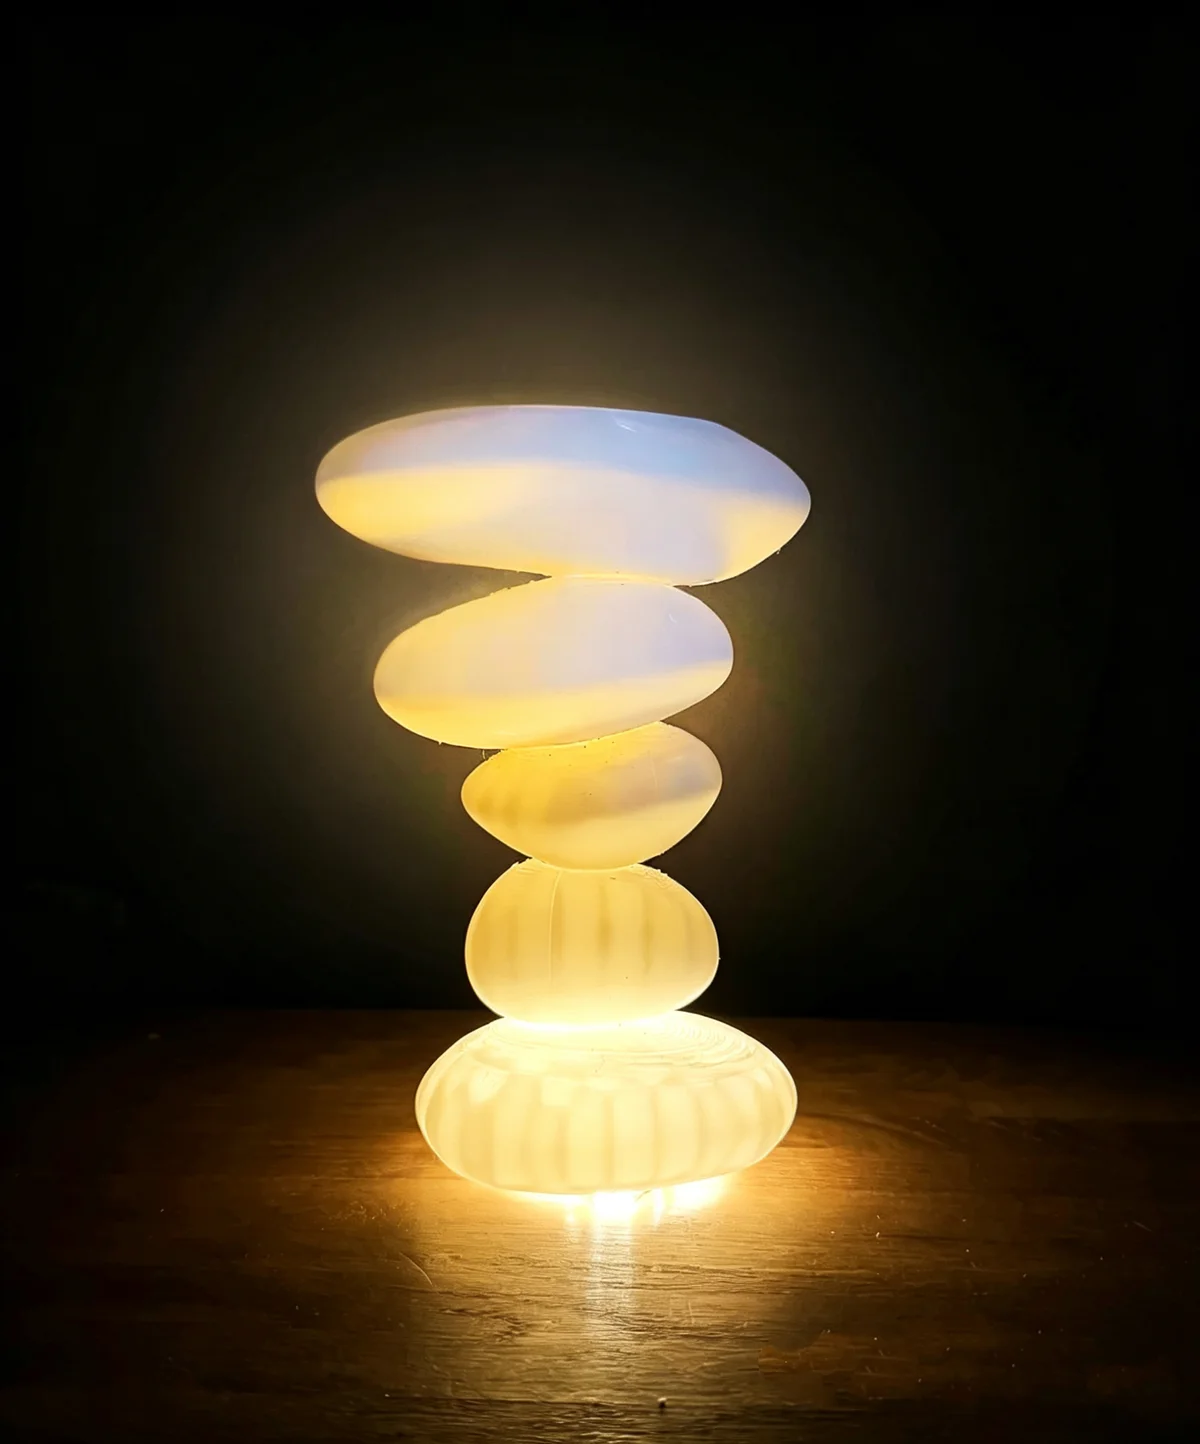
| What they see | A signpost cairn at the exit: three ways out and how long each takes. | A second signpost, and a pointer stone turned toward the after-dark route. | The next four or five waymarks light as she approaches, about 6 m apart, then fade after 90 seconds. | The Mother cairn: a sheltered seat out of the wind, and a board with the next shuttle and the walking times. | The shuttle stops at the shelter’s open side; the lit route continues beyond it. |
|---|
| Behind it | The museum updates closures and shuttle hours on the same panel artwork as its website. | The park team turns the pointer stone when the route changes, with one key, no digging. | Each stone reports its battery and sensor state; a monthly round checks the lenses and verge cut. | The shuttle operator feeds departure times to the board; the park team keeps the shelter clean and lit. | One timetable for the shuttle, the board and the museum website. |
|---|
| If it fails | If a route is closed, its line on the panel is covered, not left to be discovered on the path. | An unlit branch simply has no lit stones. Darkness is the signal not to go that way. | A dead stone leaves one gap of 12 m, not a dark route. The next stone still lights. | With no live feed, the board says so and gives the walking time instead of an empty screen. | If the last shuttle has gone, the board shows the lit walking route: 14 minutes to the station. |
|---|